Varnishing a Violin
How a new, handmade fine violin is varnished in the Ruschil workshop, London
When the woodwork of a new handmade violin has been completed, the varnishing stage begins. With the experience and patience of a master luthier, it can enhance an instrument’s beauty and sound quality.
In this article we take you through the steps we take at the Ruschil workshop to produce the look of a fine Italian oil varnish.
The violin being varnished is, “The Argyle, 2024” which can be seen and heard here:
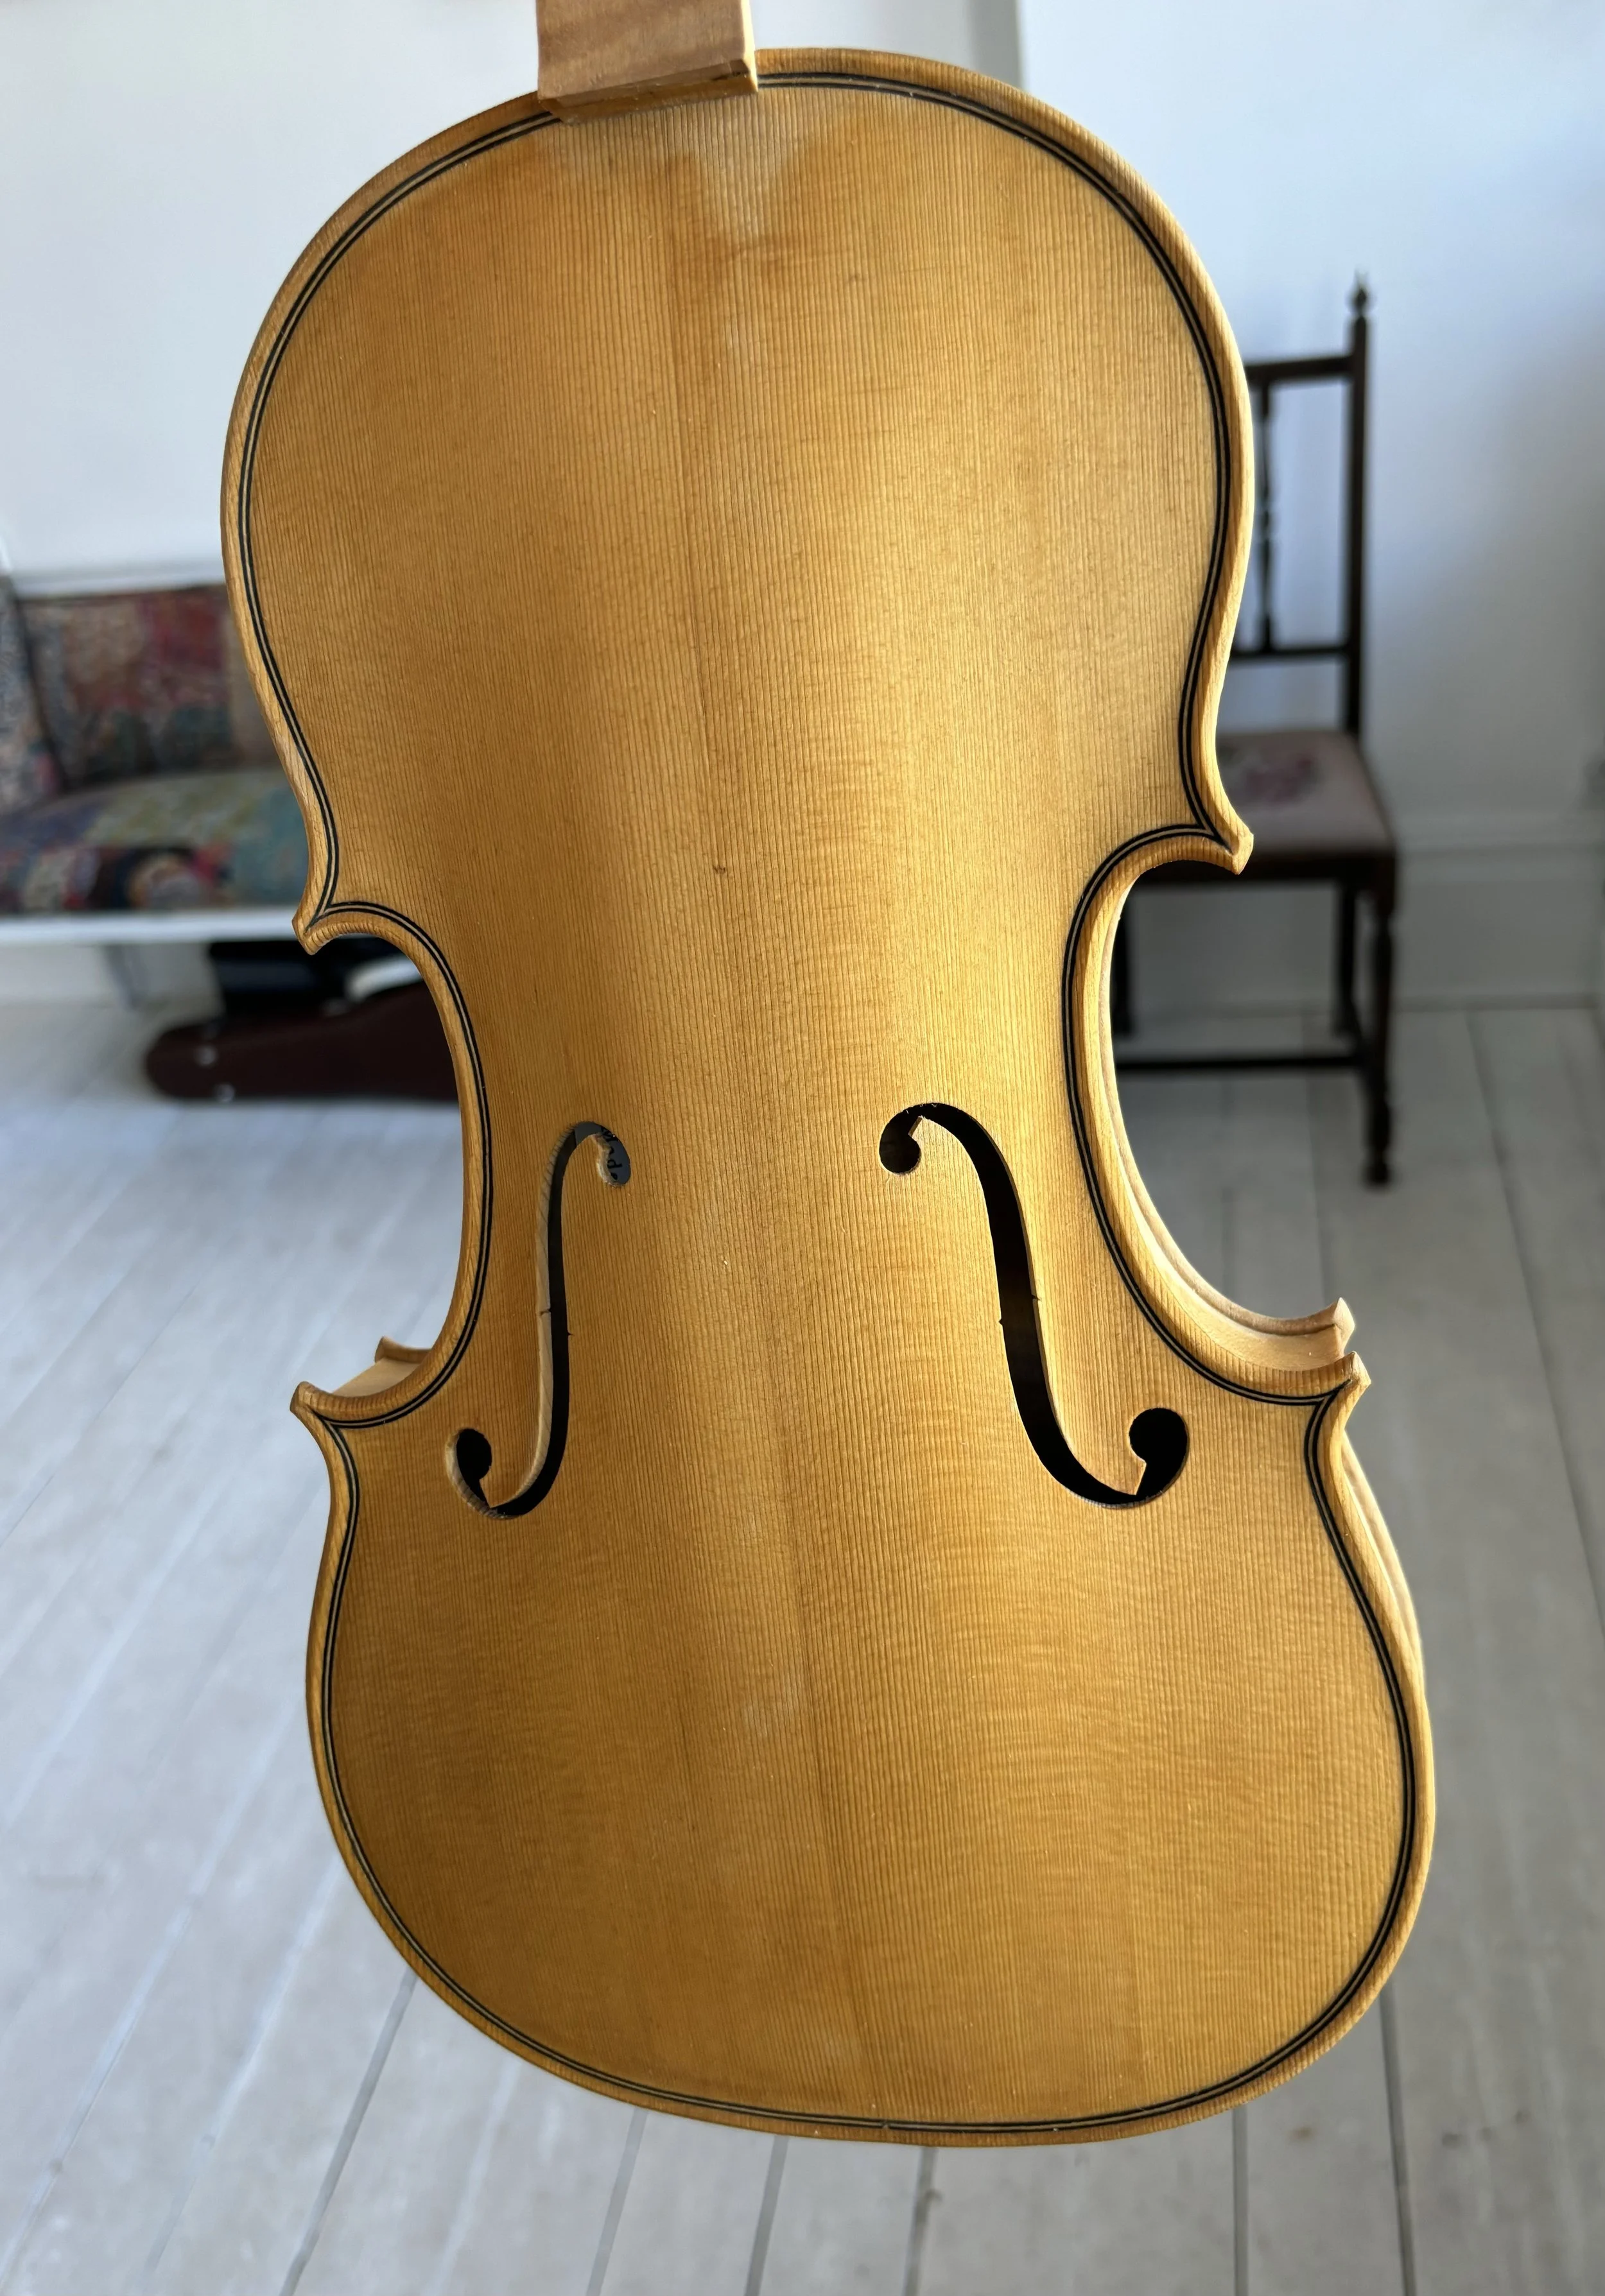
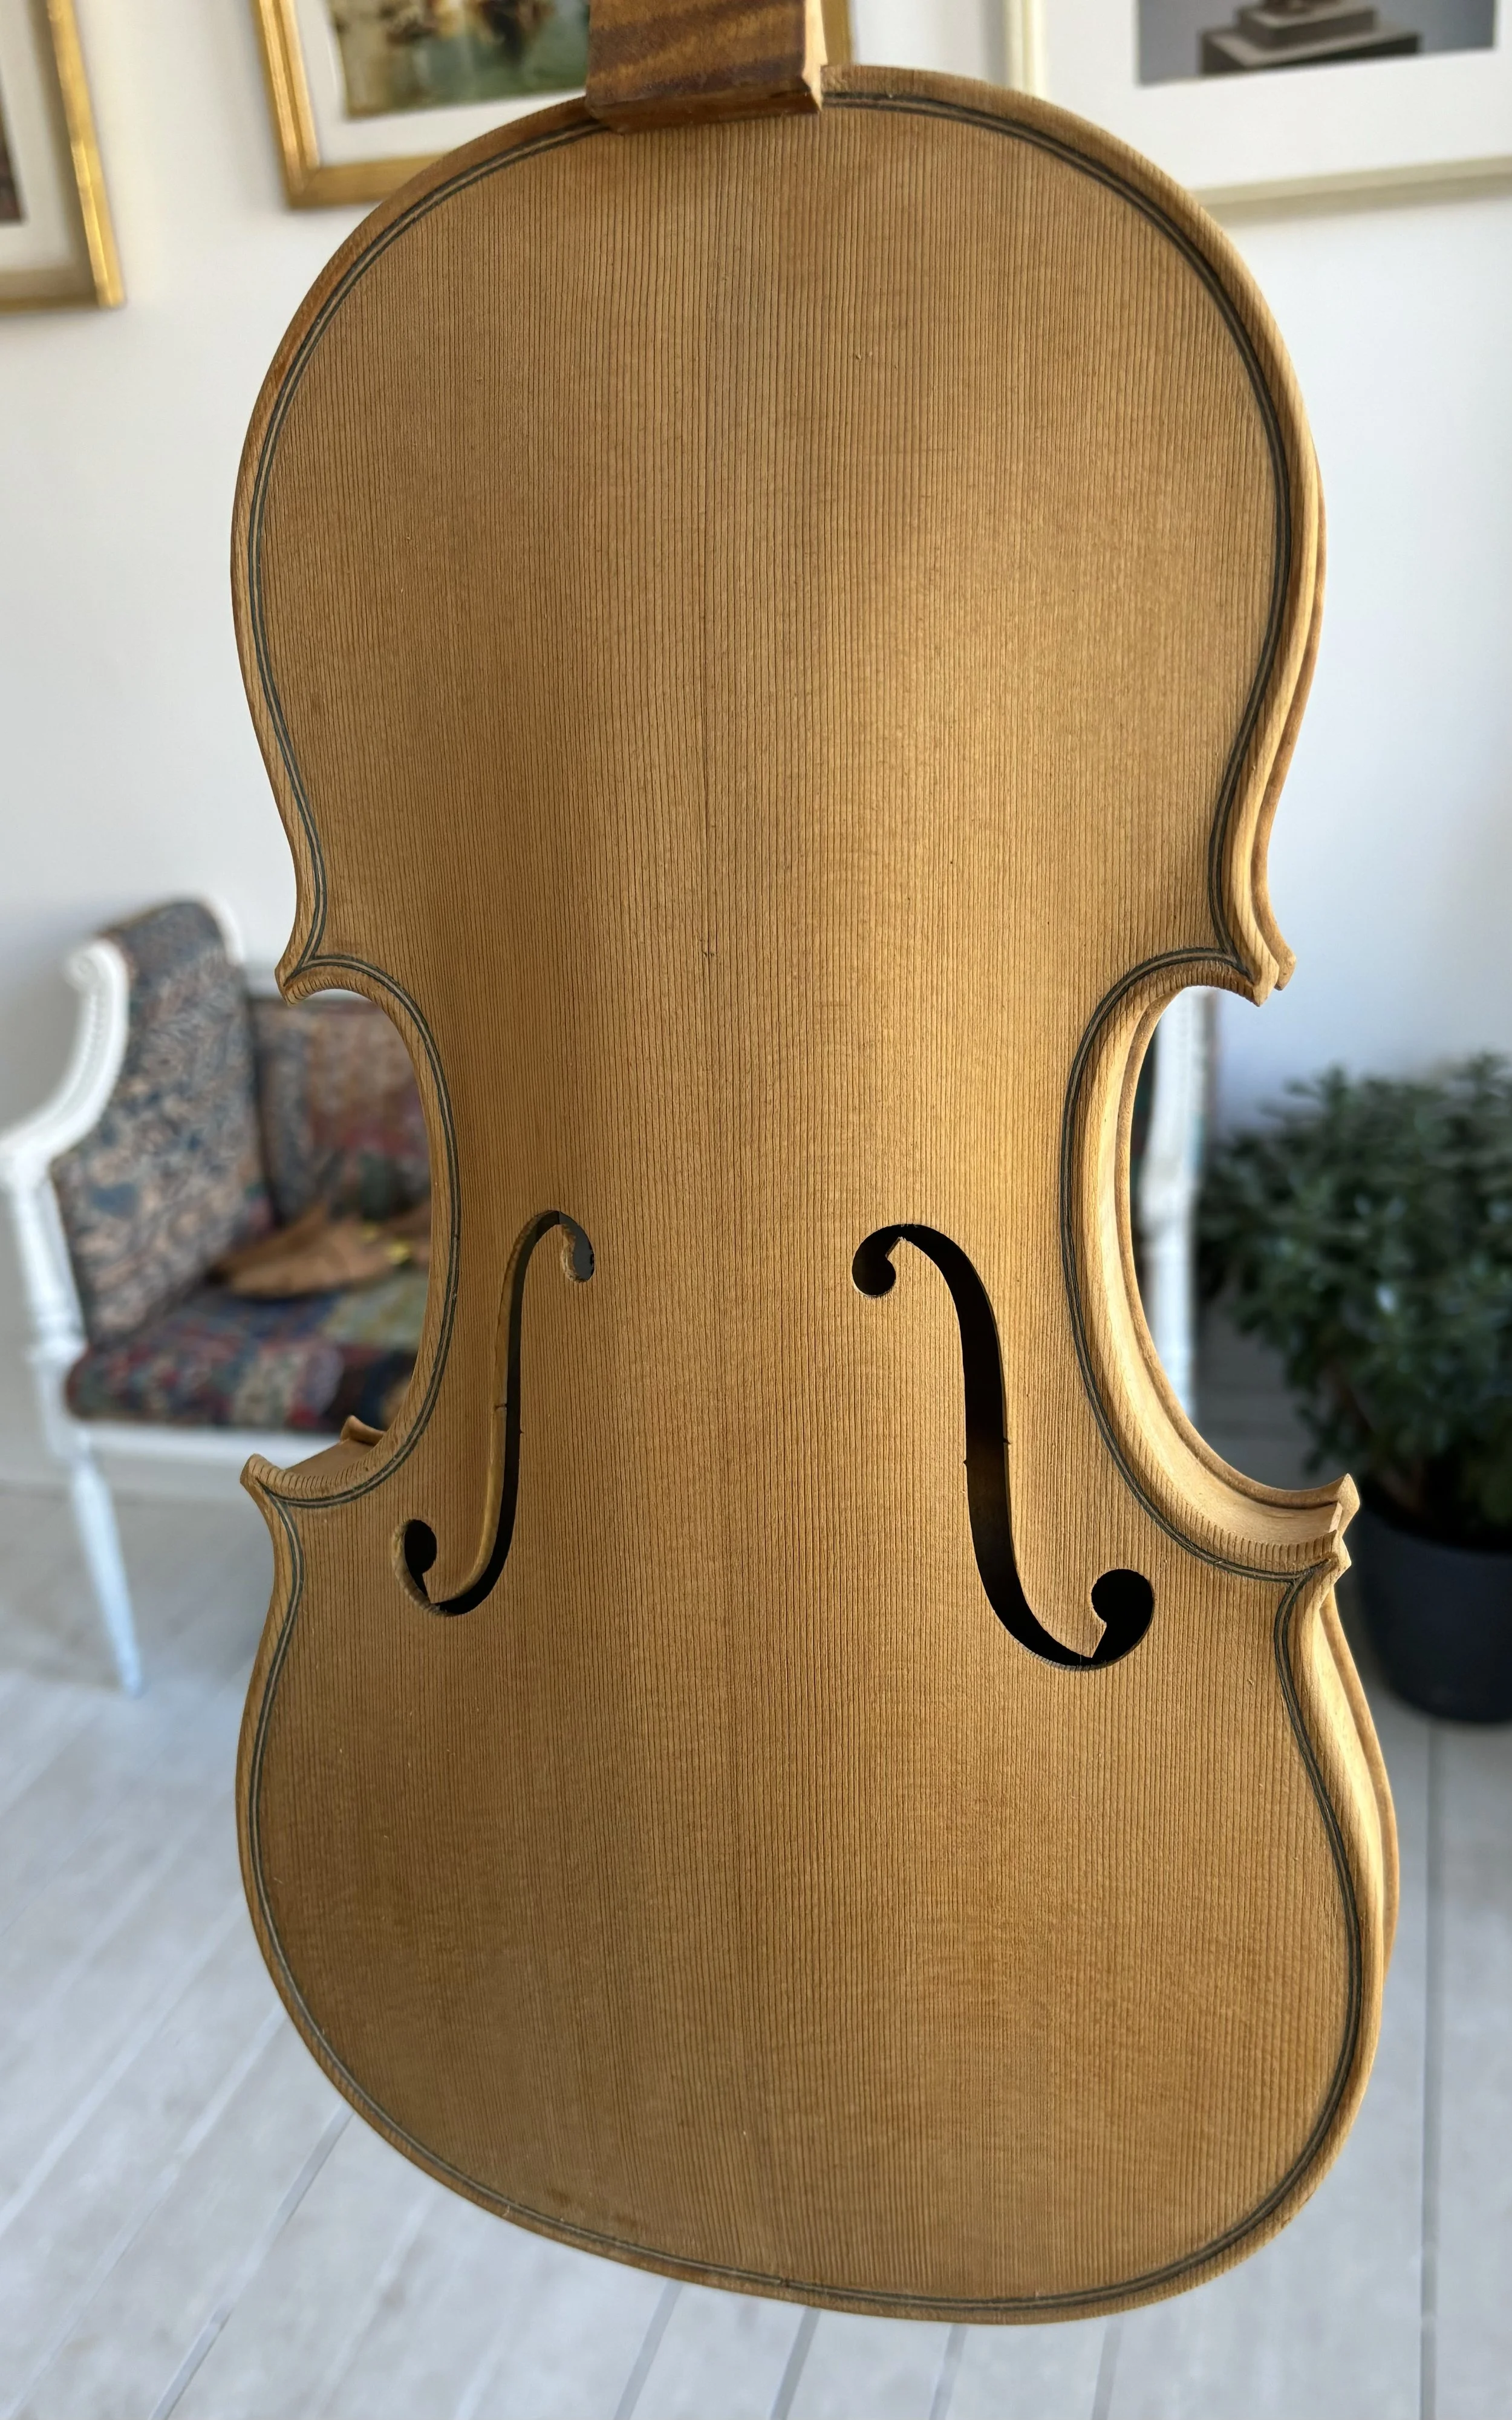
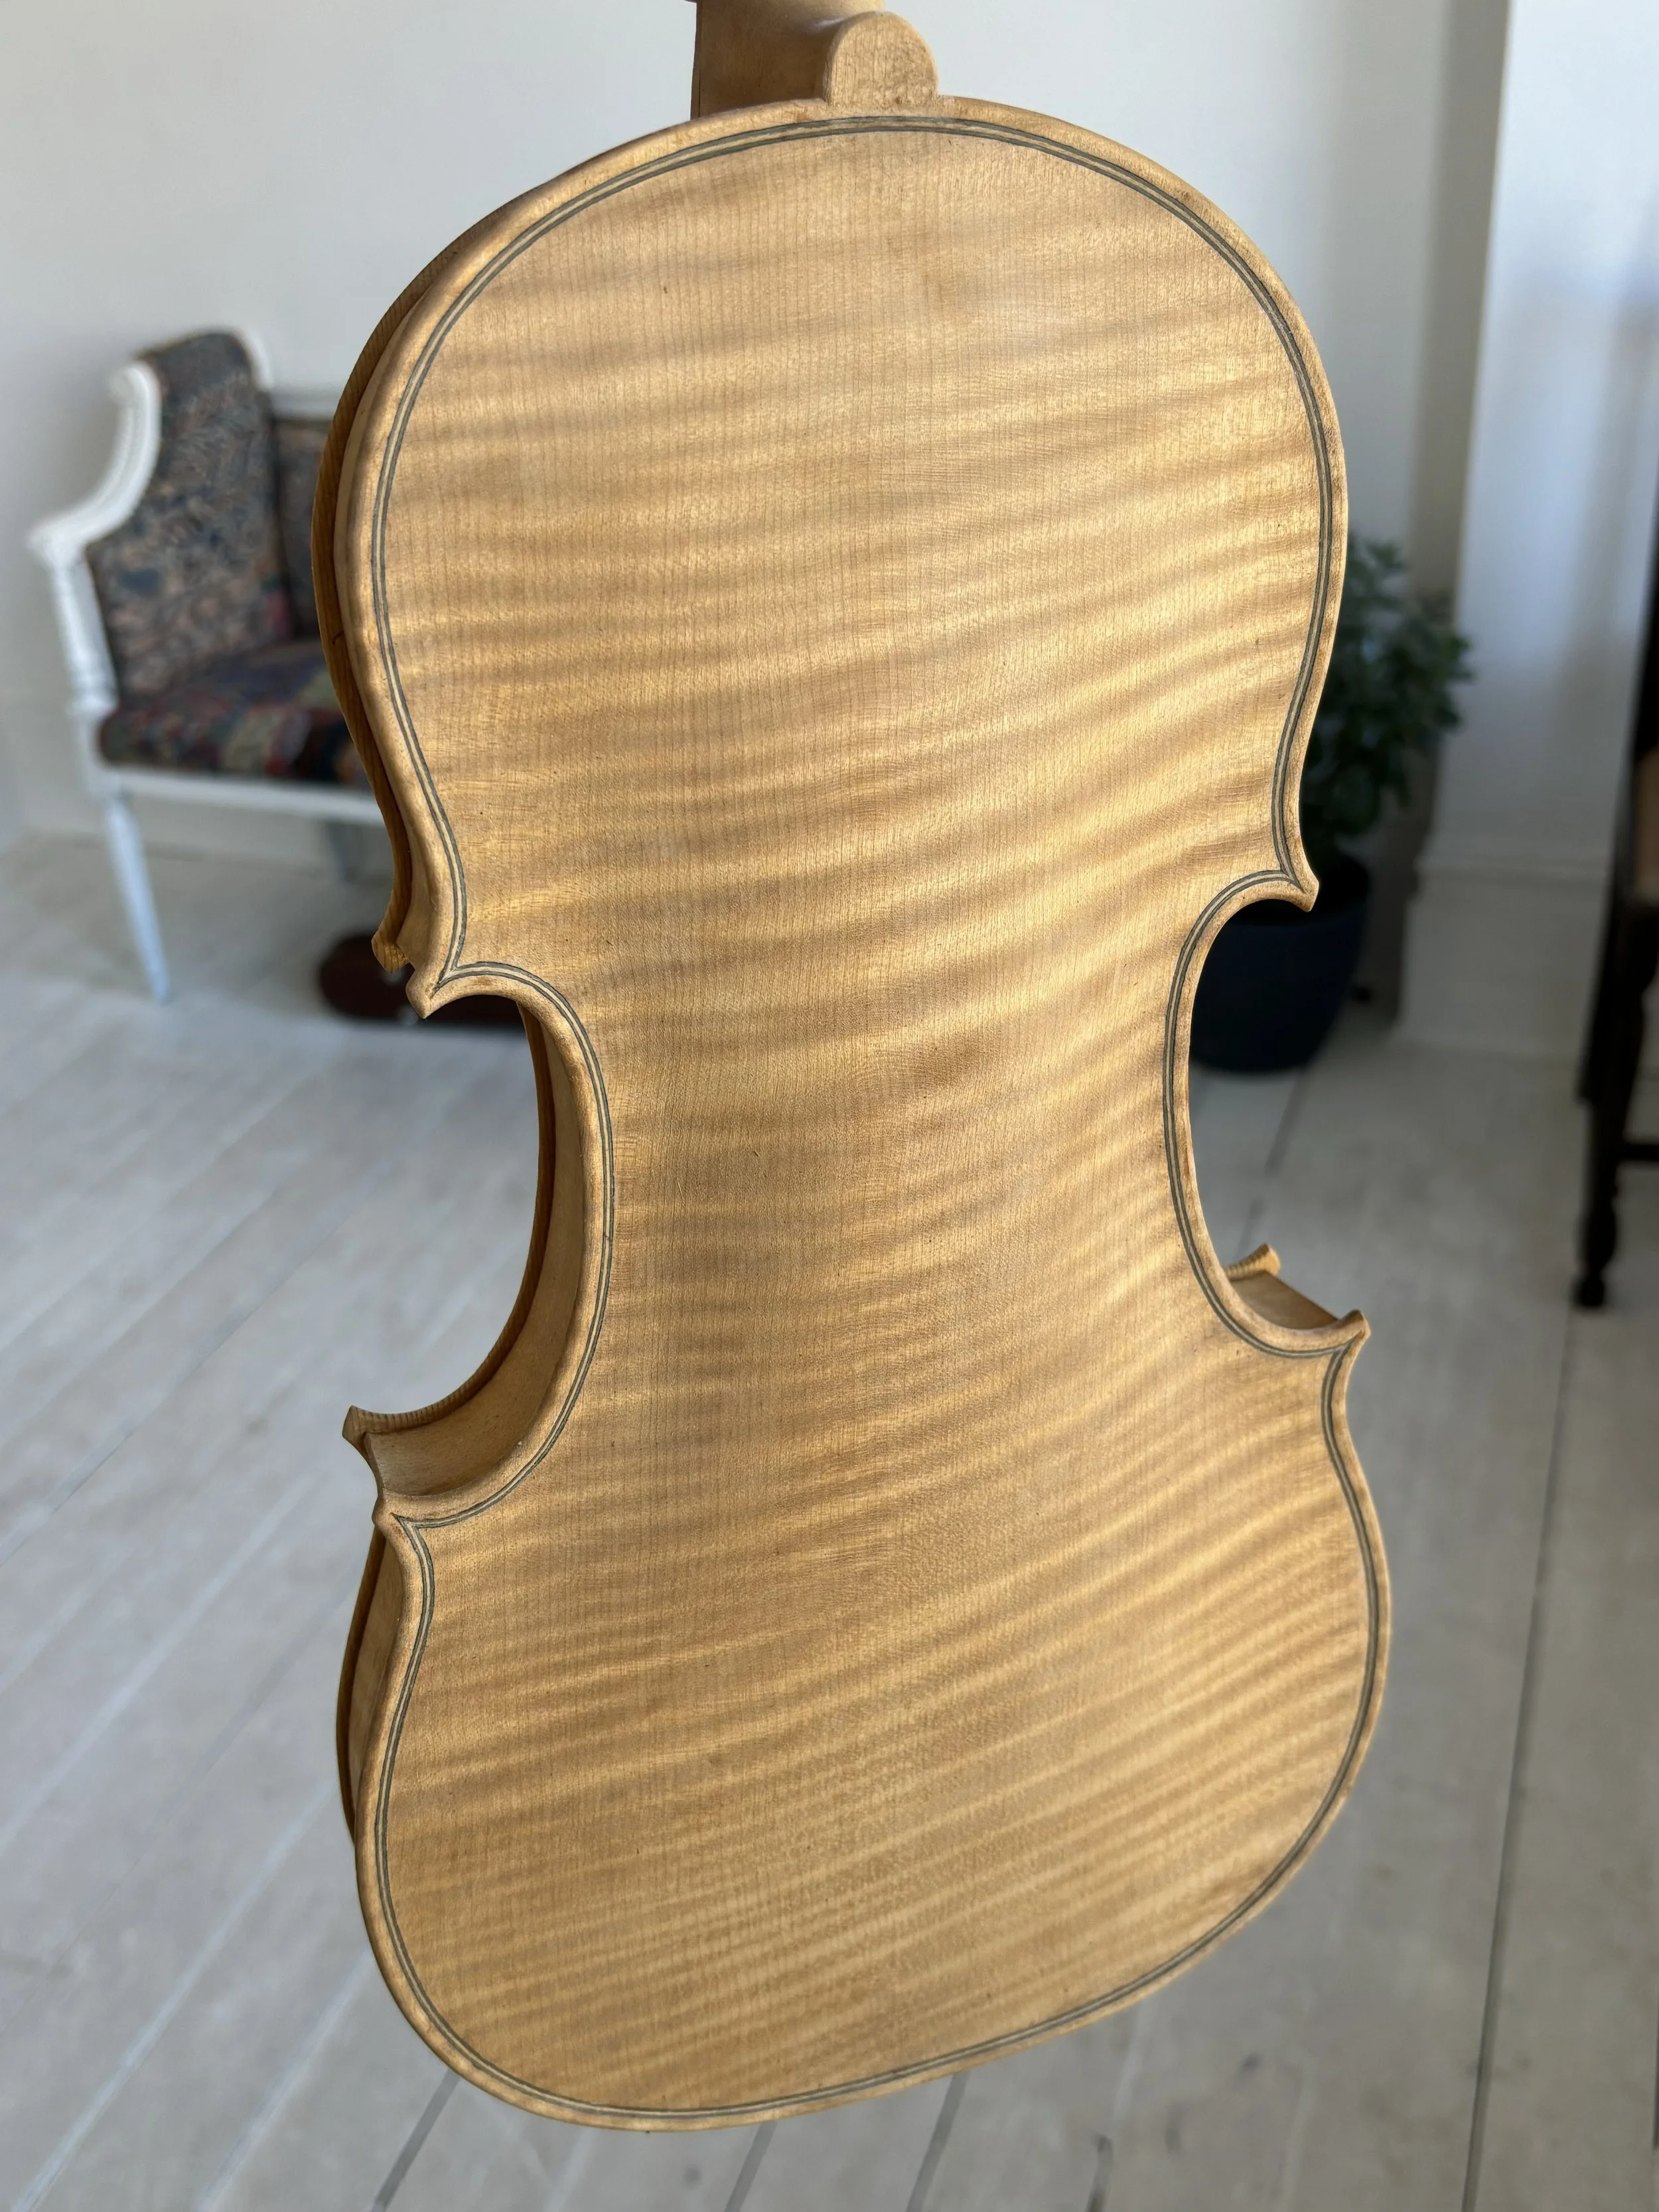
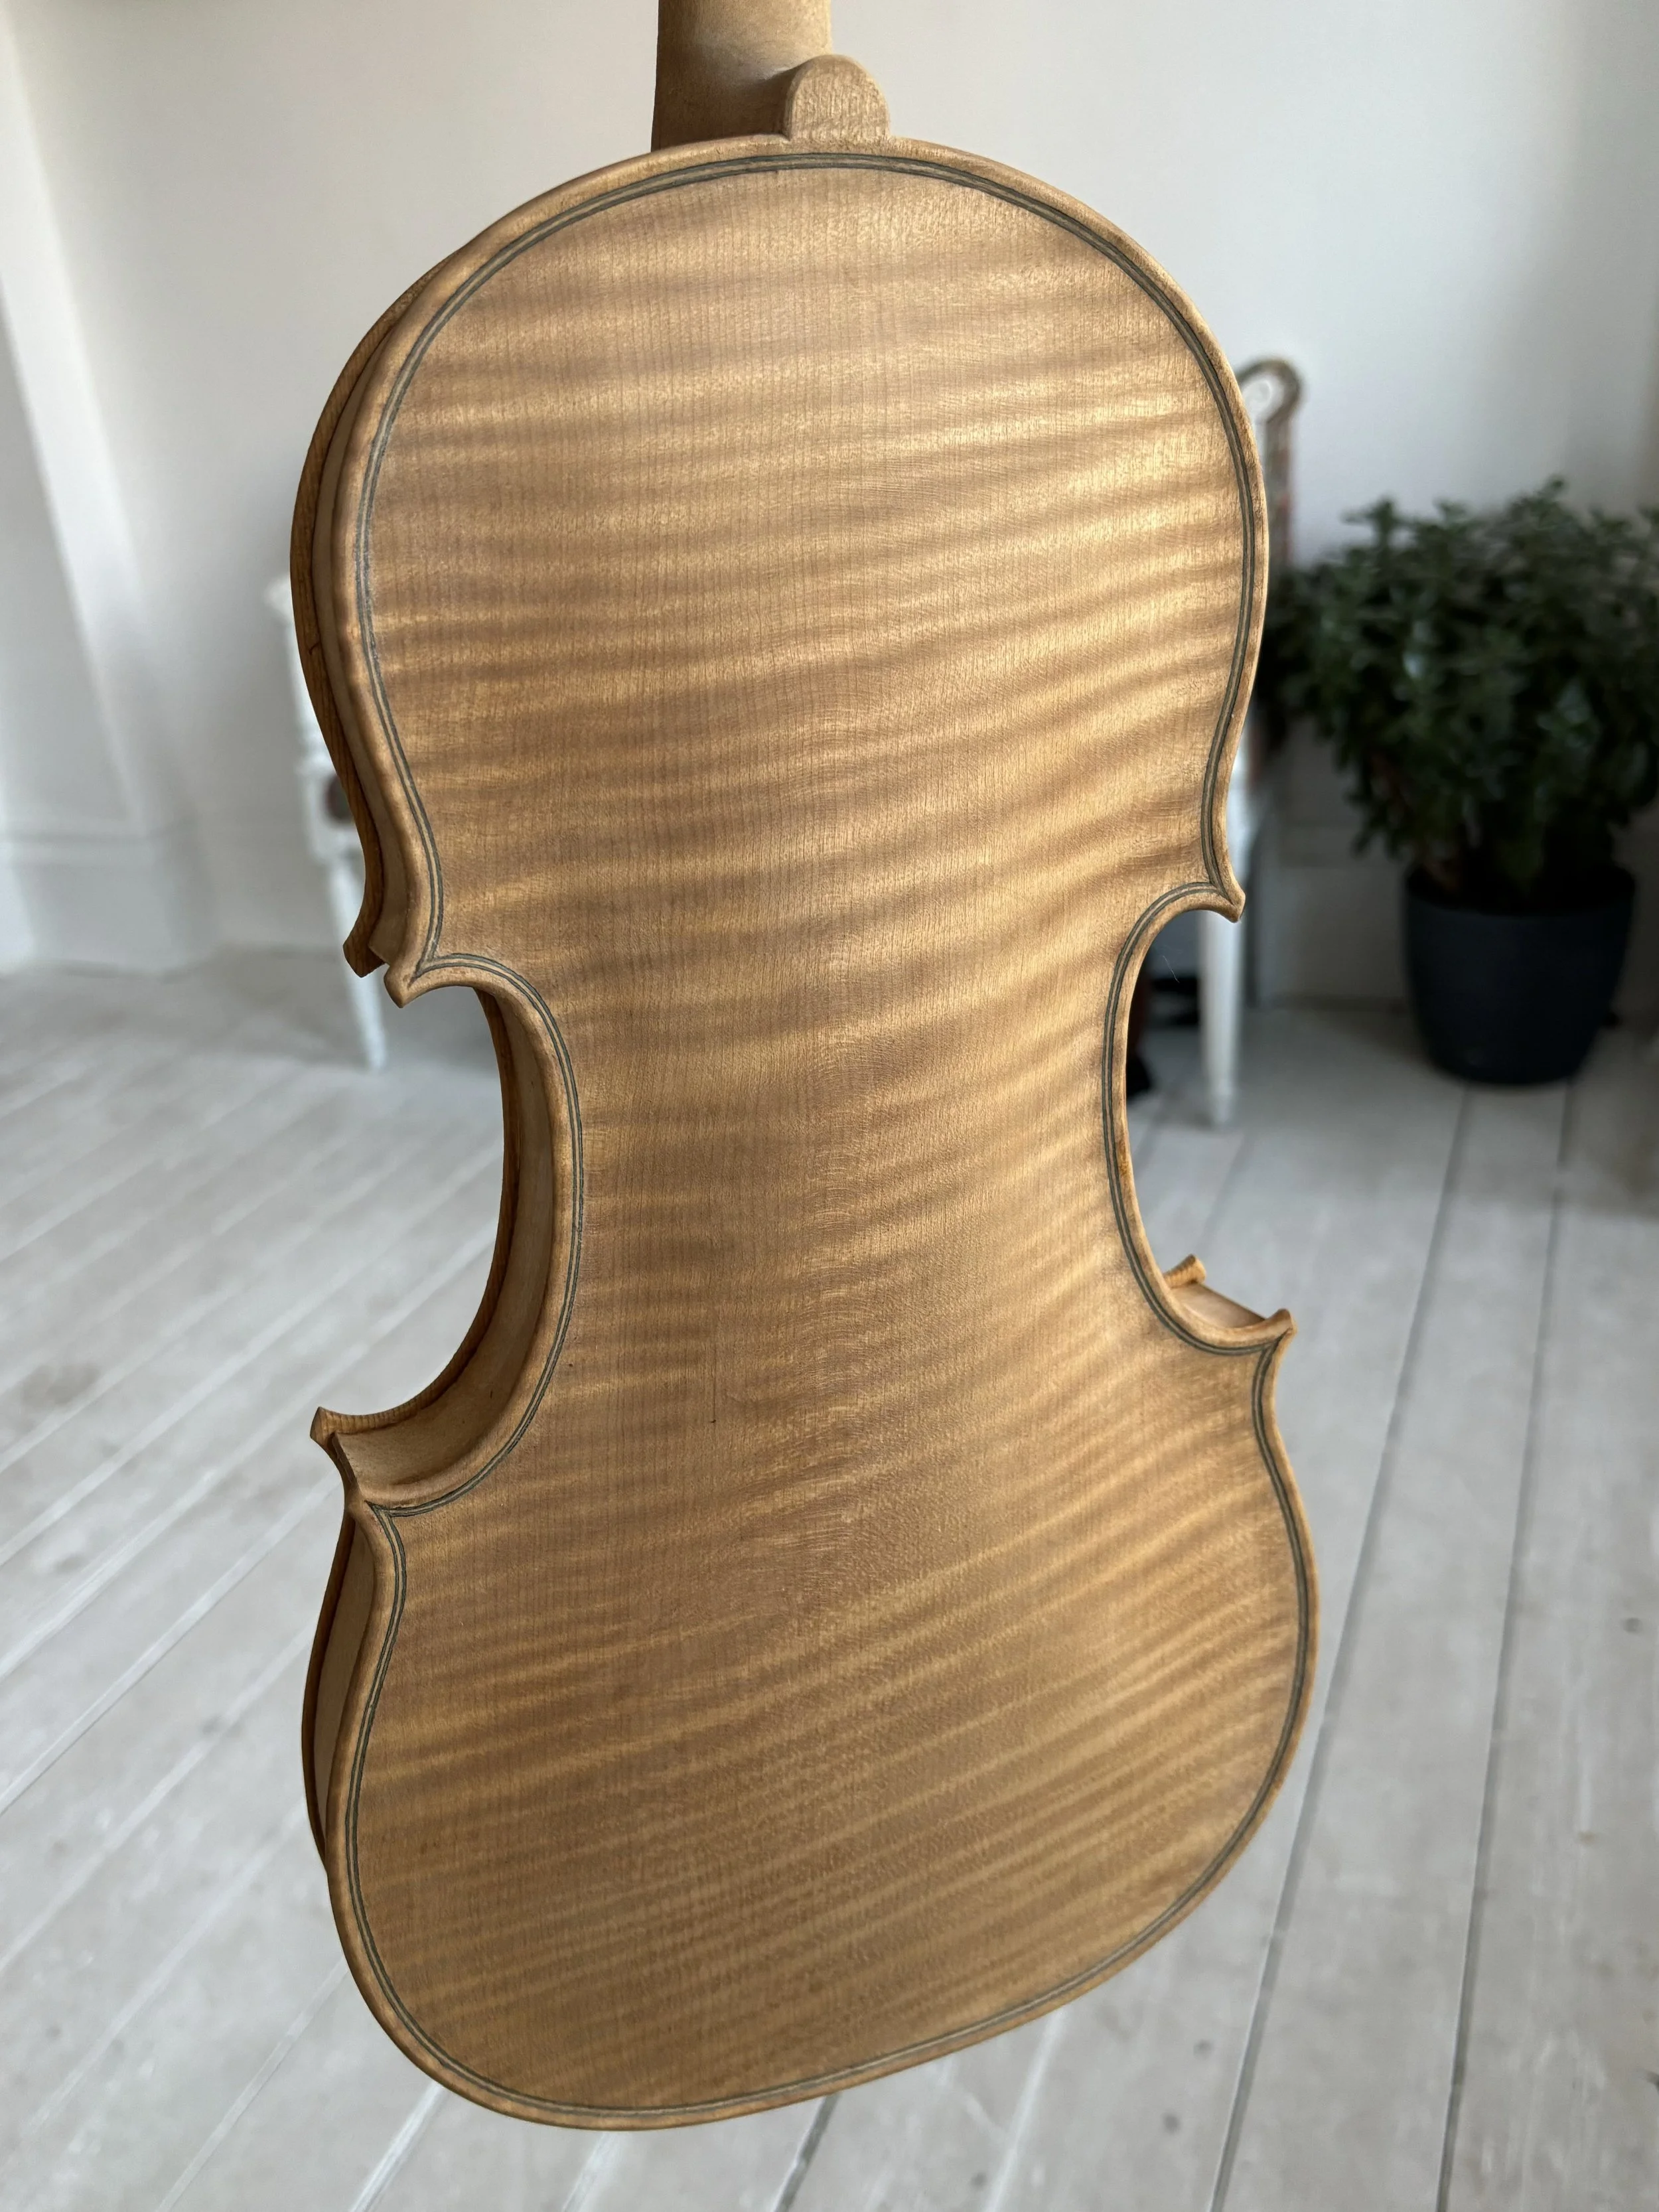
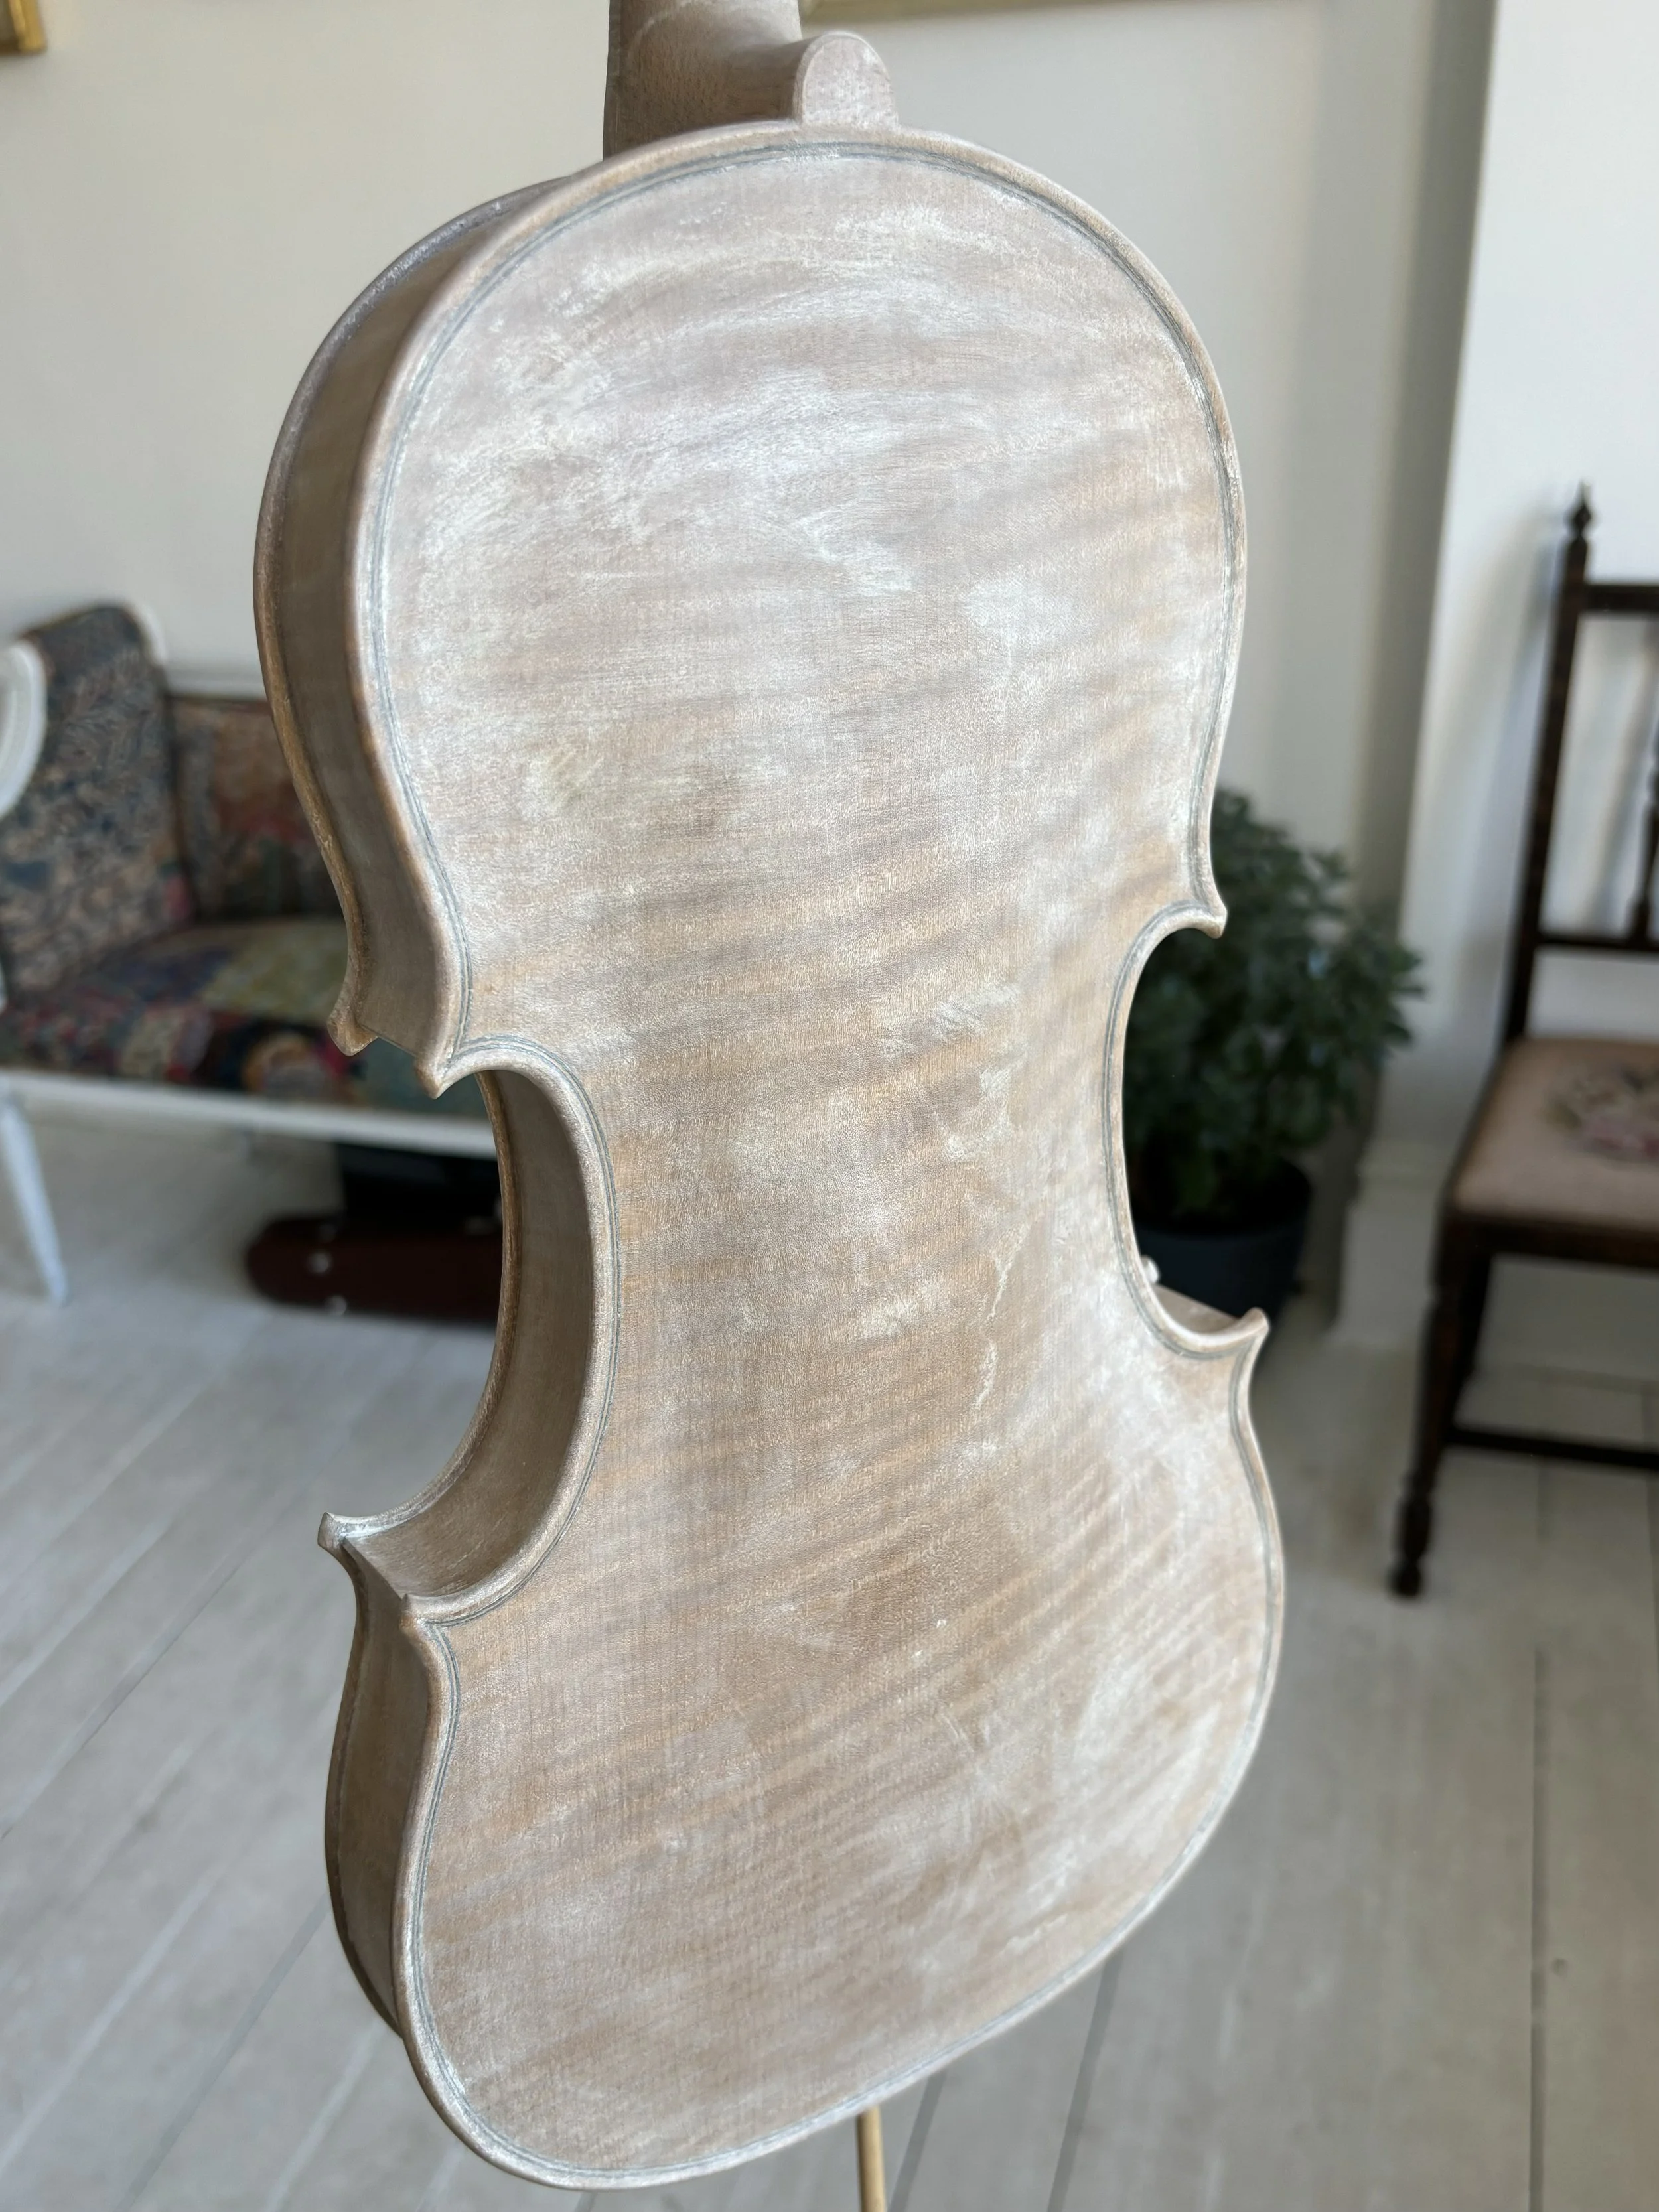
The violin finished “in the white”
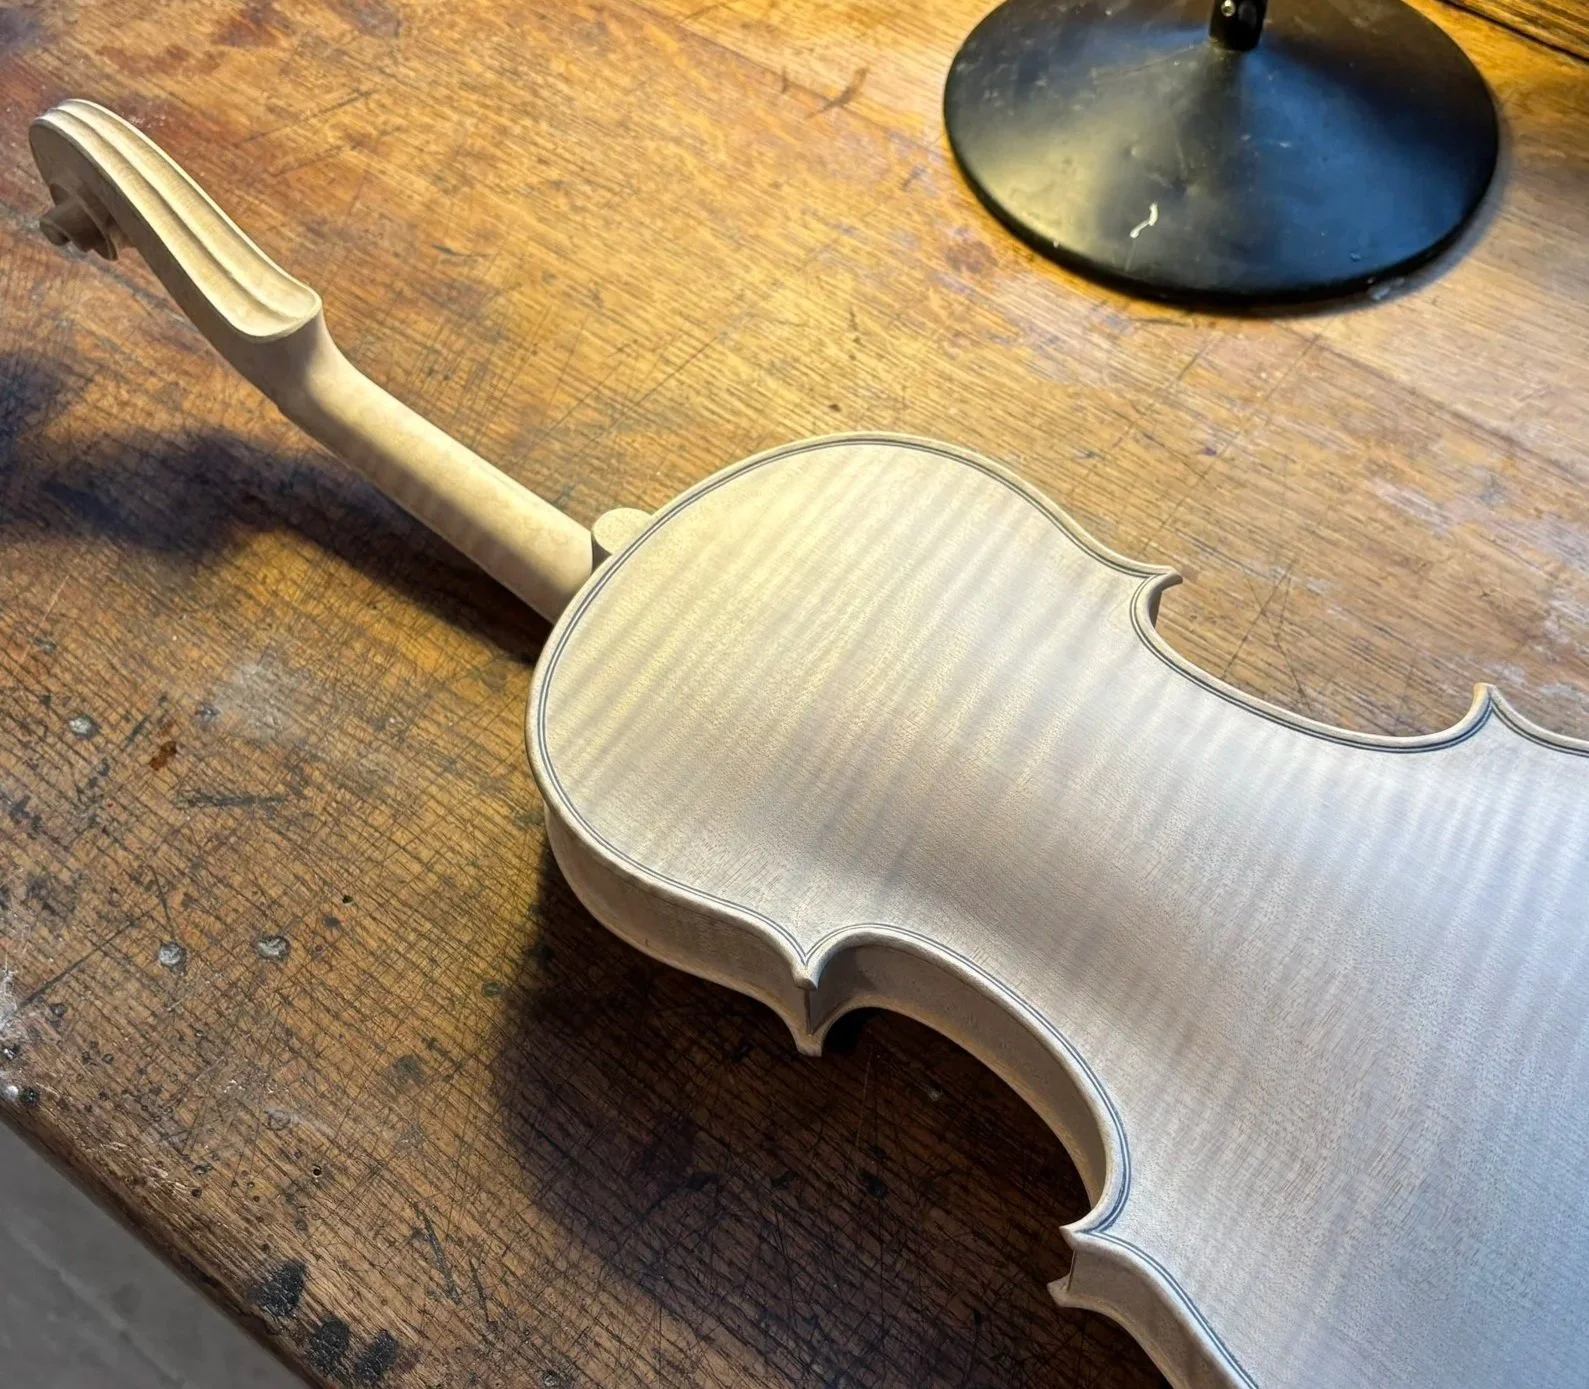

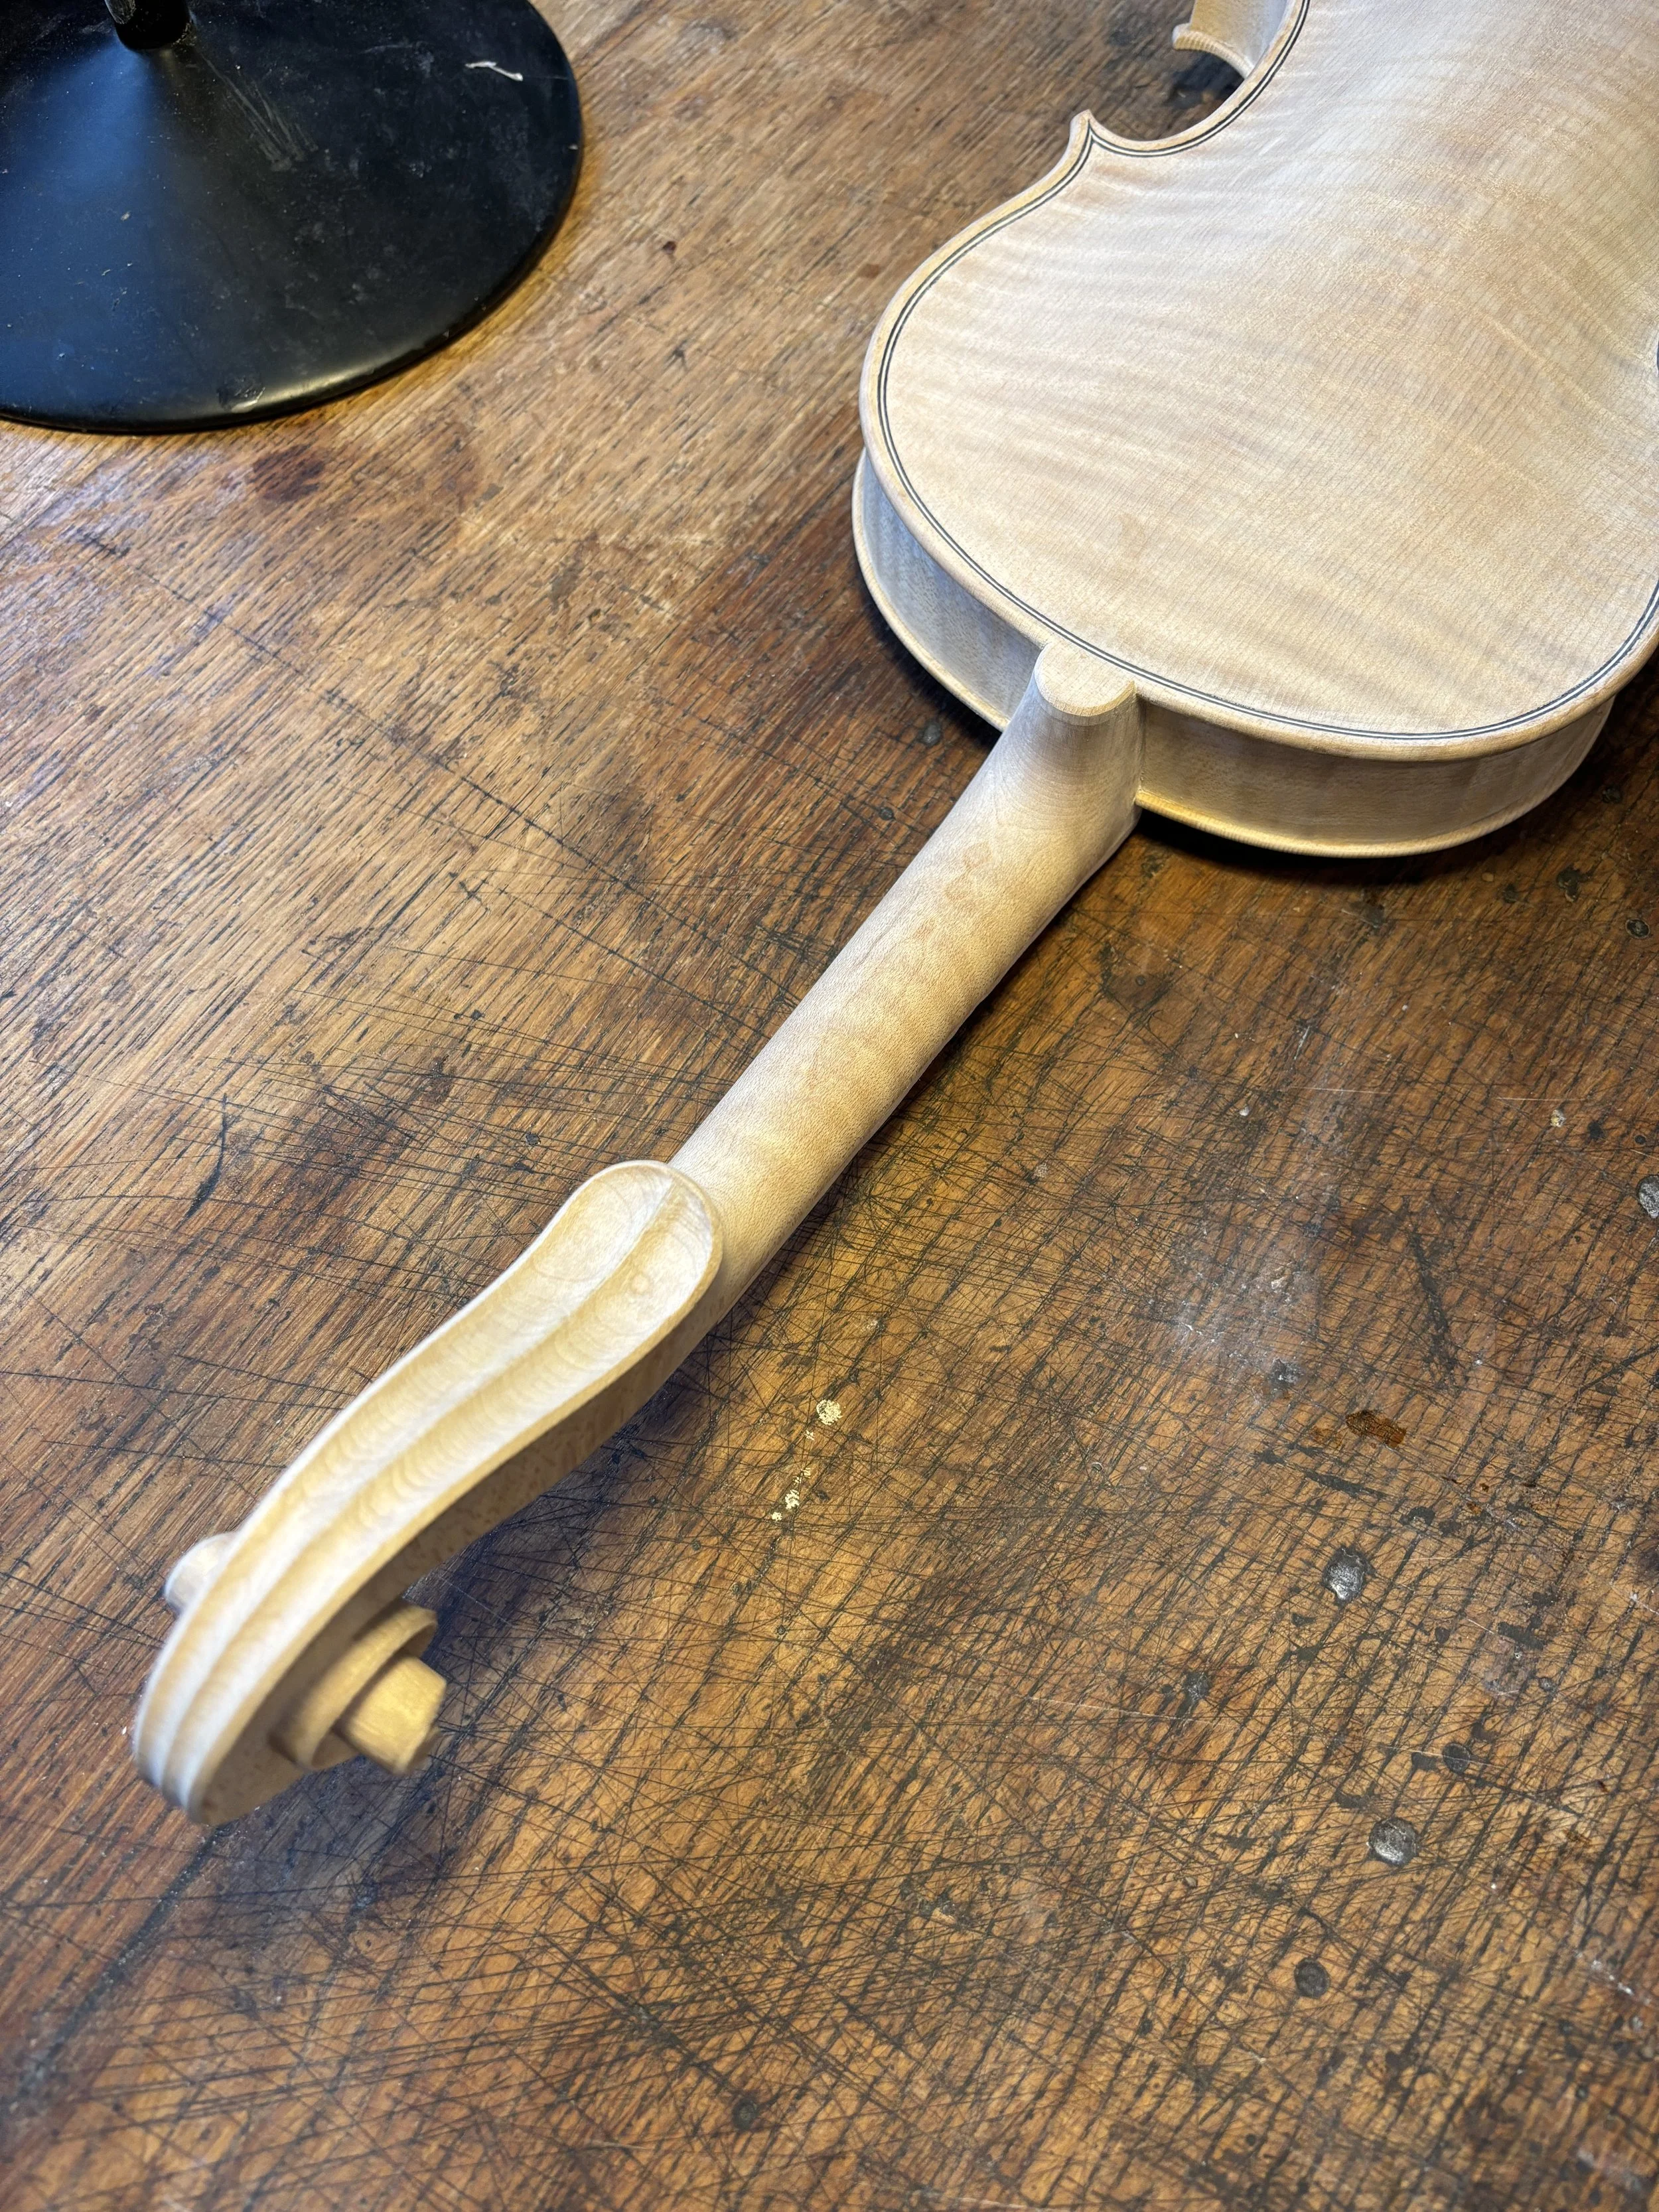
Before beginning, the new violin is finished with scrapers to ensure a fine finish and to accentuate the character of the wood. The idea of the varnish is to protect the instrument whilst enhancing the character of the wood below. Other traditional methods of finishing the spruce and maple of a new violin are using dried horsetail reed, pumice and even dogfish skin.
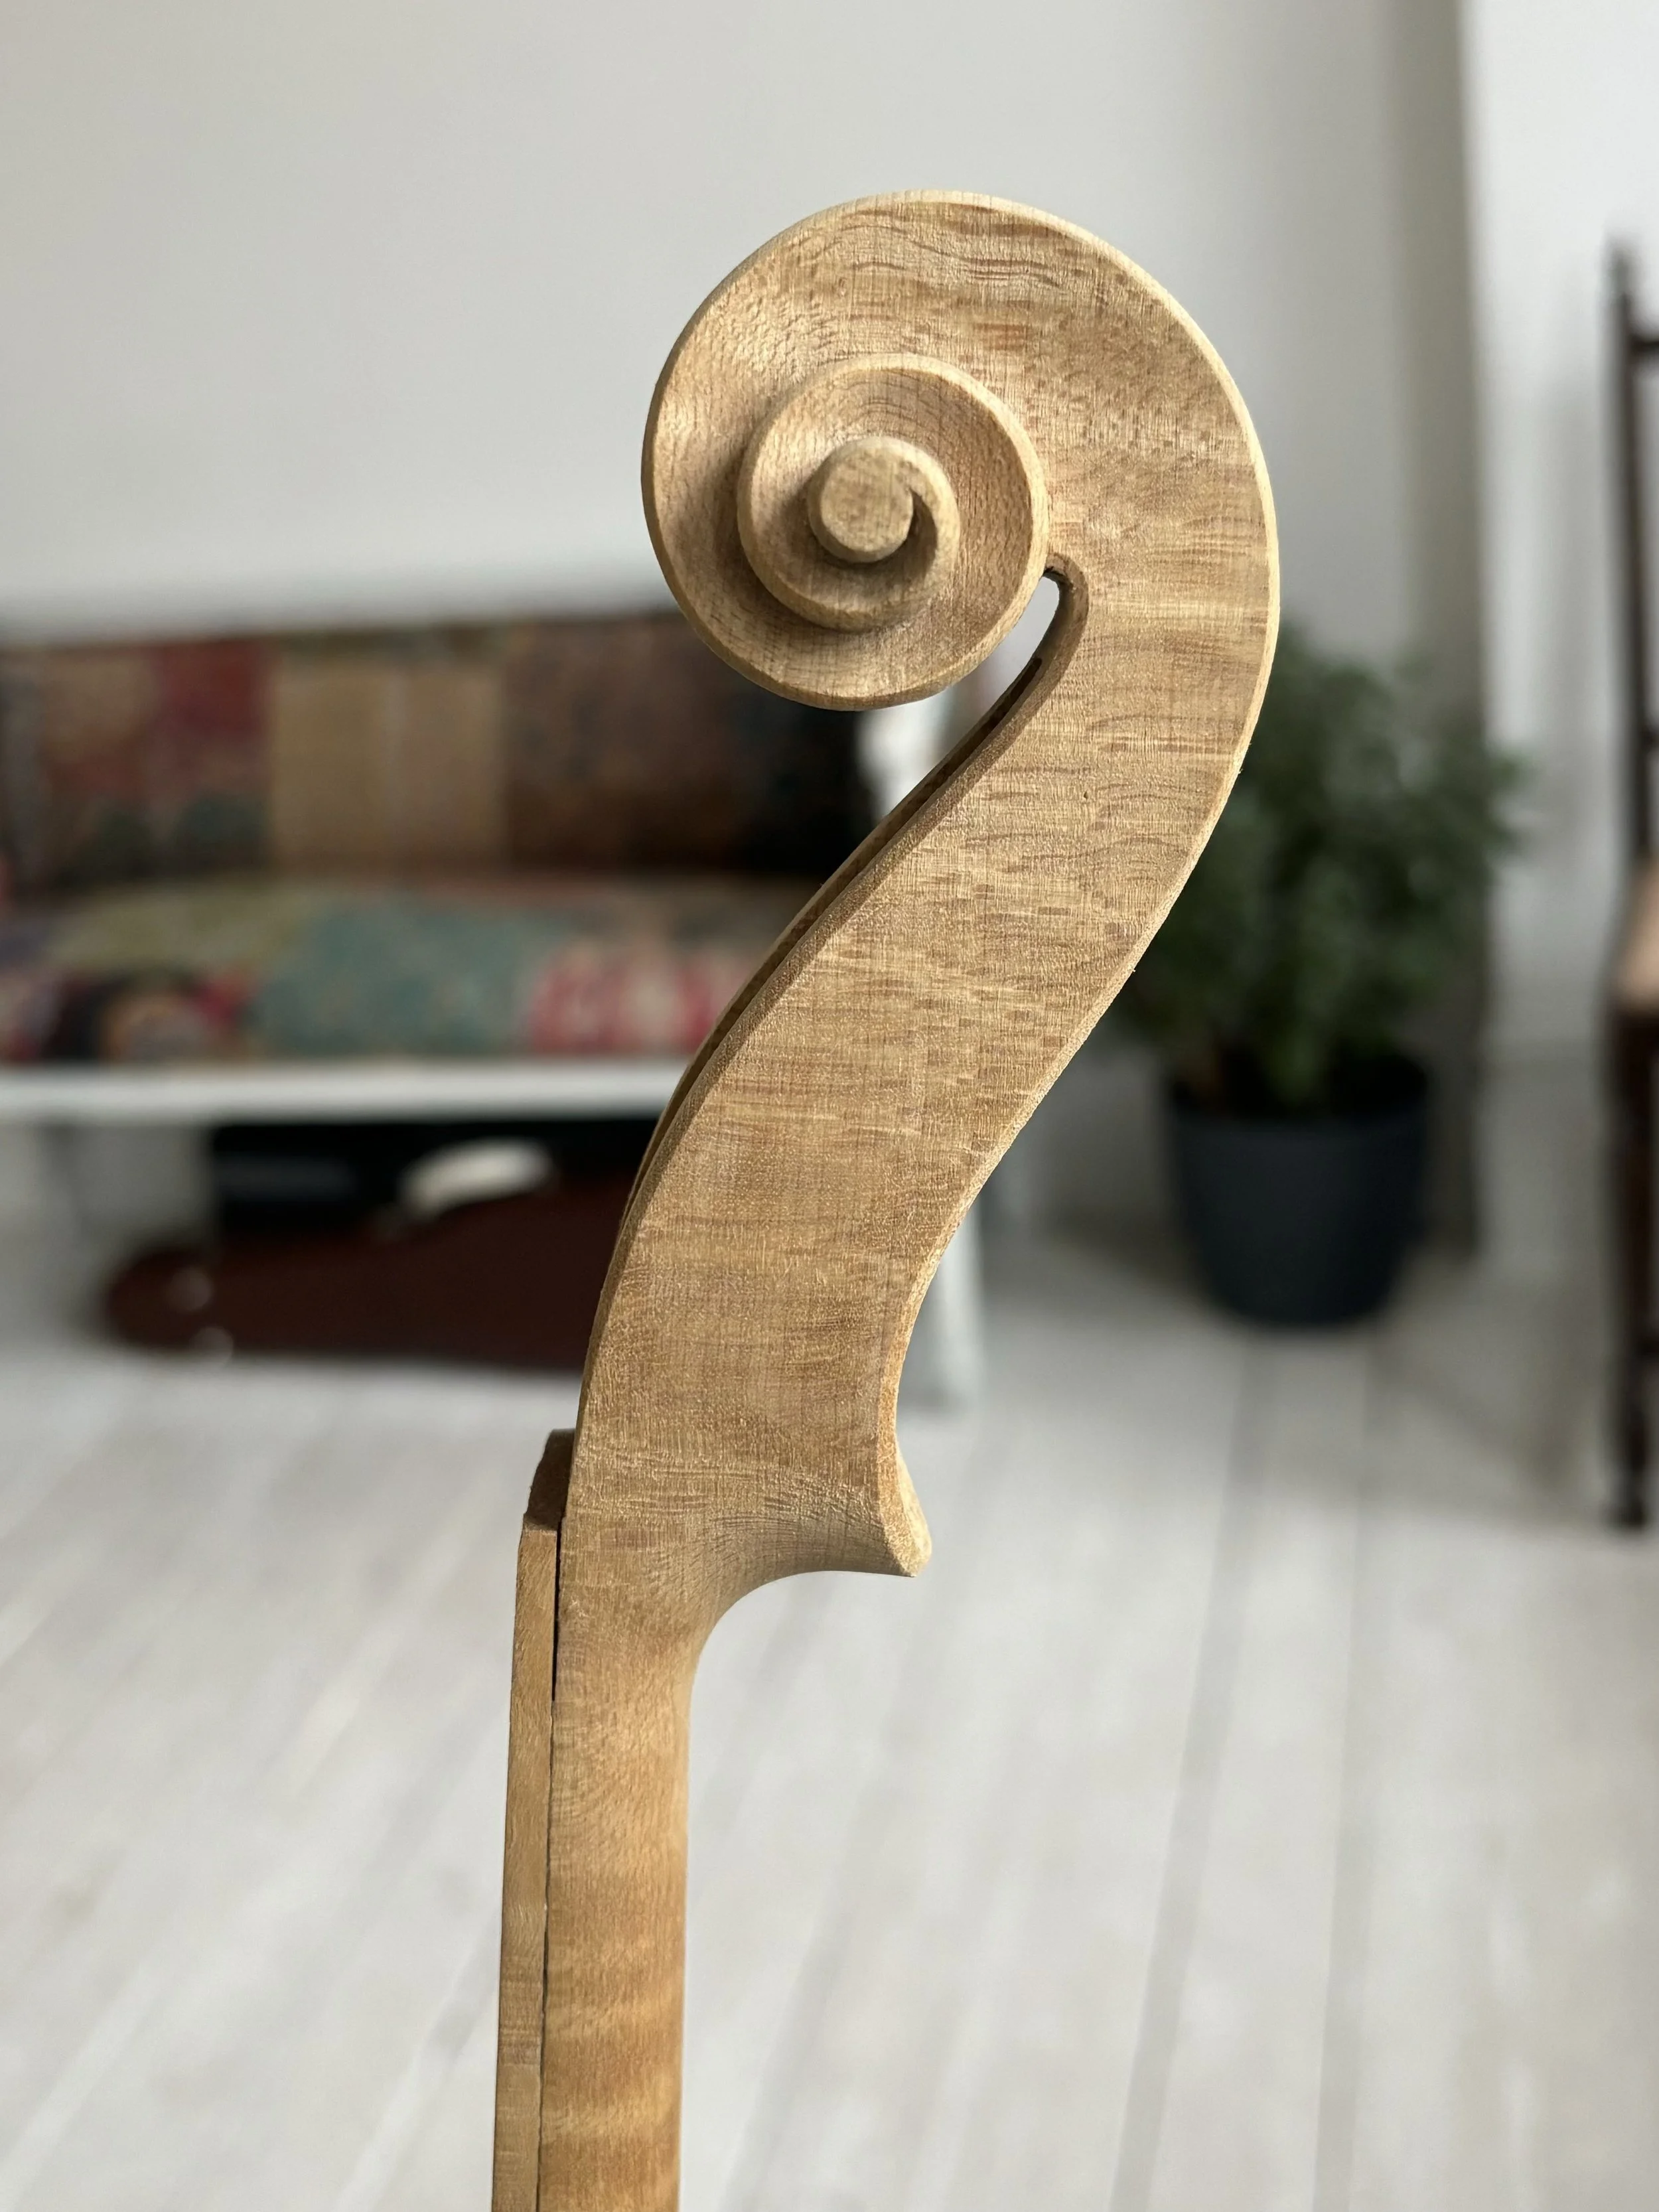
This is called finishing the violin, “in the white”.
-
The Violin Ground
Enhancing the beauty of a violin’s wood starts at the very base of the instrument, letting the character shine through. The special formula Ruschil workshop ground is applied to the wood of the whole violin to colour and enhance the timbers.
Whilst remaining a secret, this consists of a completely natural, very traditional mixture of liquid with added minerals, used for centuries in woodworking and craft.


Tanning and Enhancement
After the ground has been applied to the wood, the violin is immediately placed into UV light, either natural sunlight or using tanning bulbs emitting UVA & UVB rays that replicate sunlight. Reacting with the ground and the chemicals in the wood, the UV light will tan the violin evenly and bring out the character of the maple & spruce.
No stains are used in this process, but rather a traditional, natural process, letting the violin develop its colour slowly by itself.
To recreate the look of a fine old Italian violin, each handmade instrument from the Ruschil workshop is left in the UV light for as long as one month for the best results.
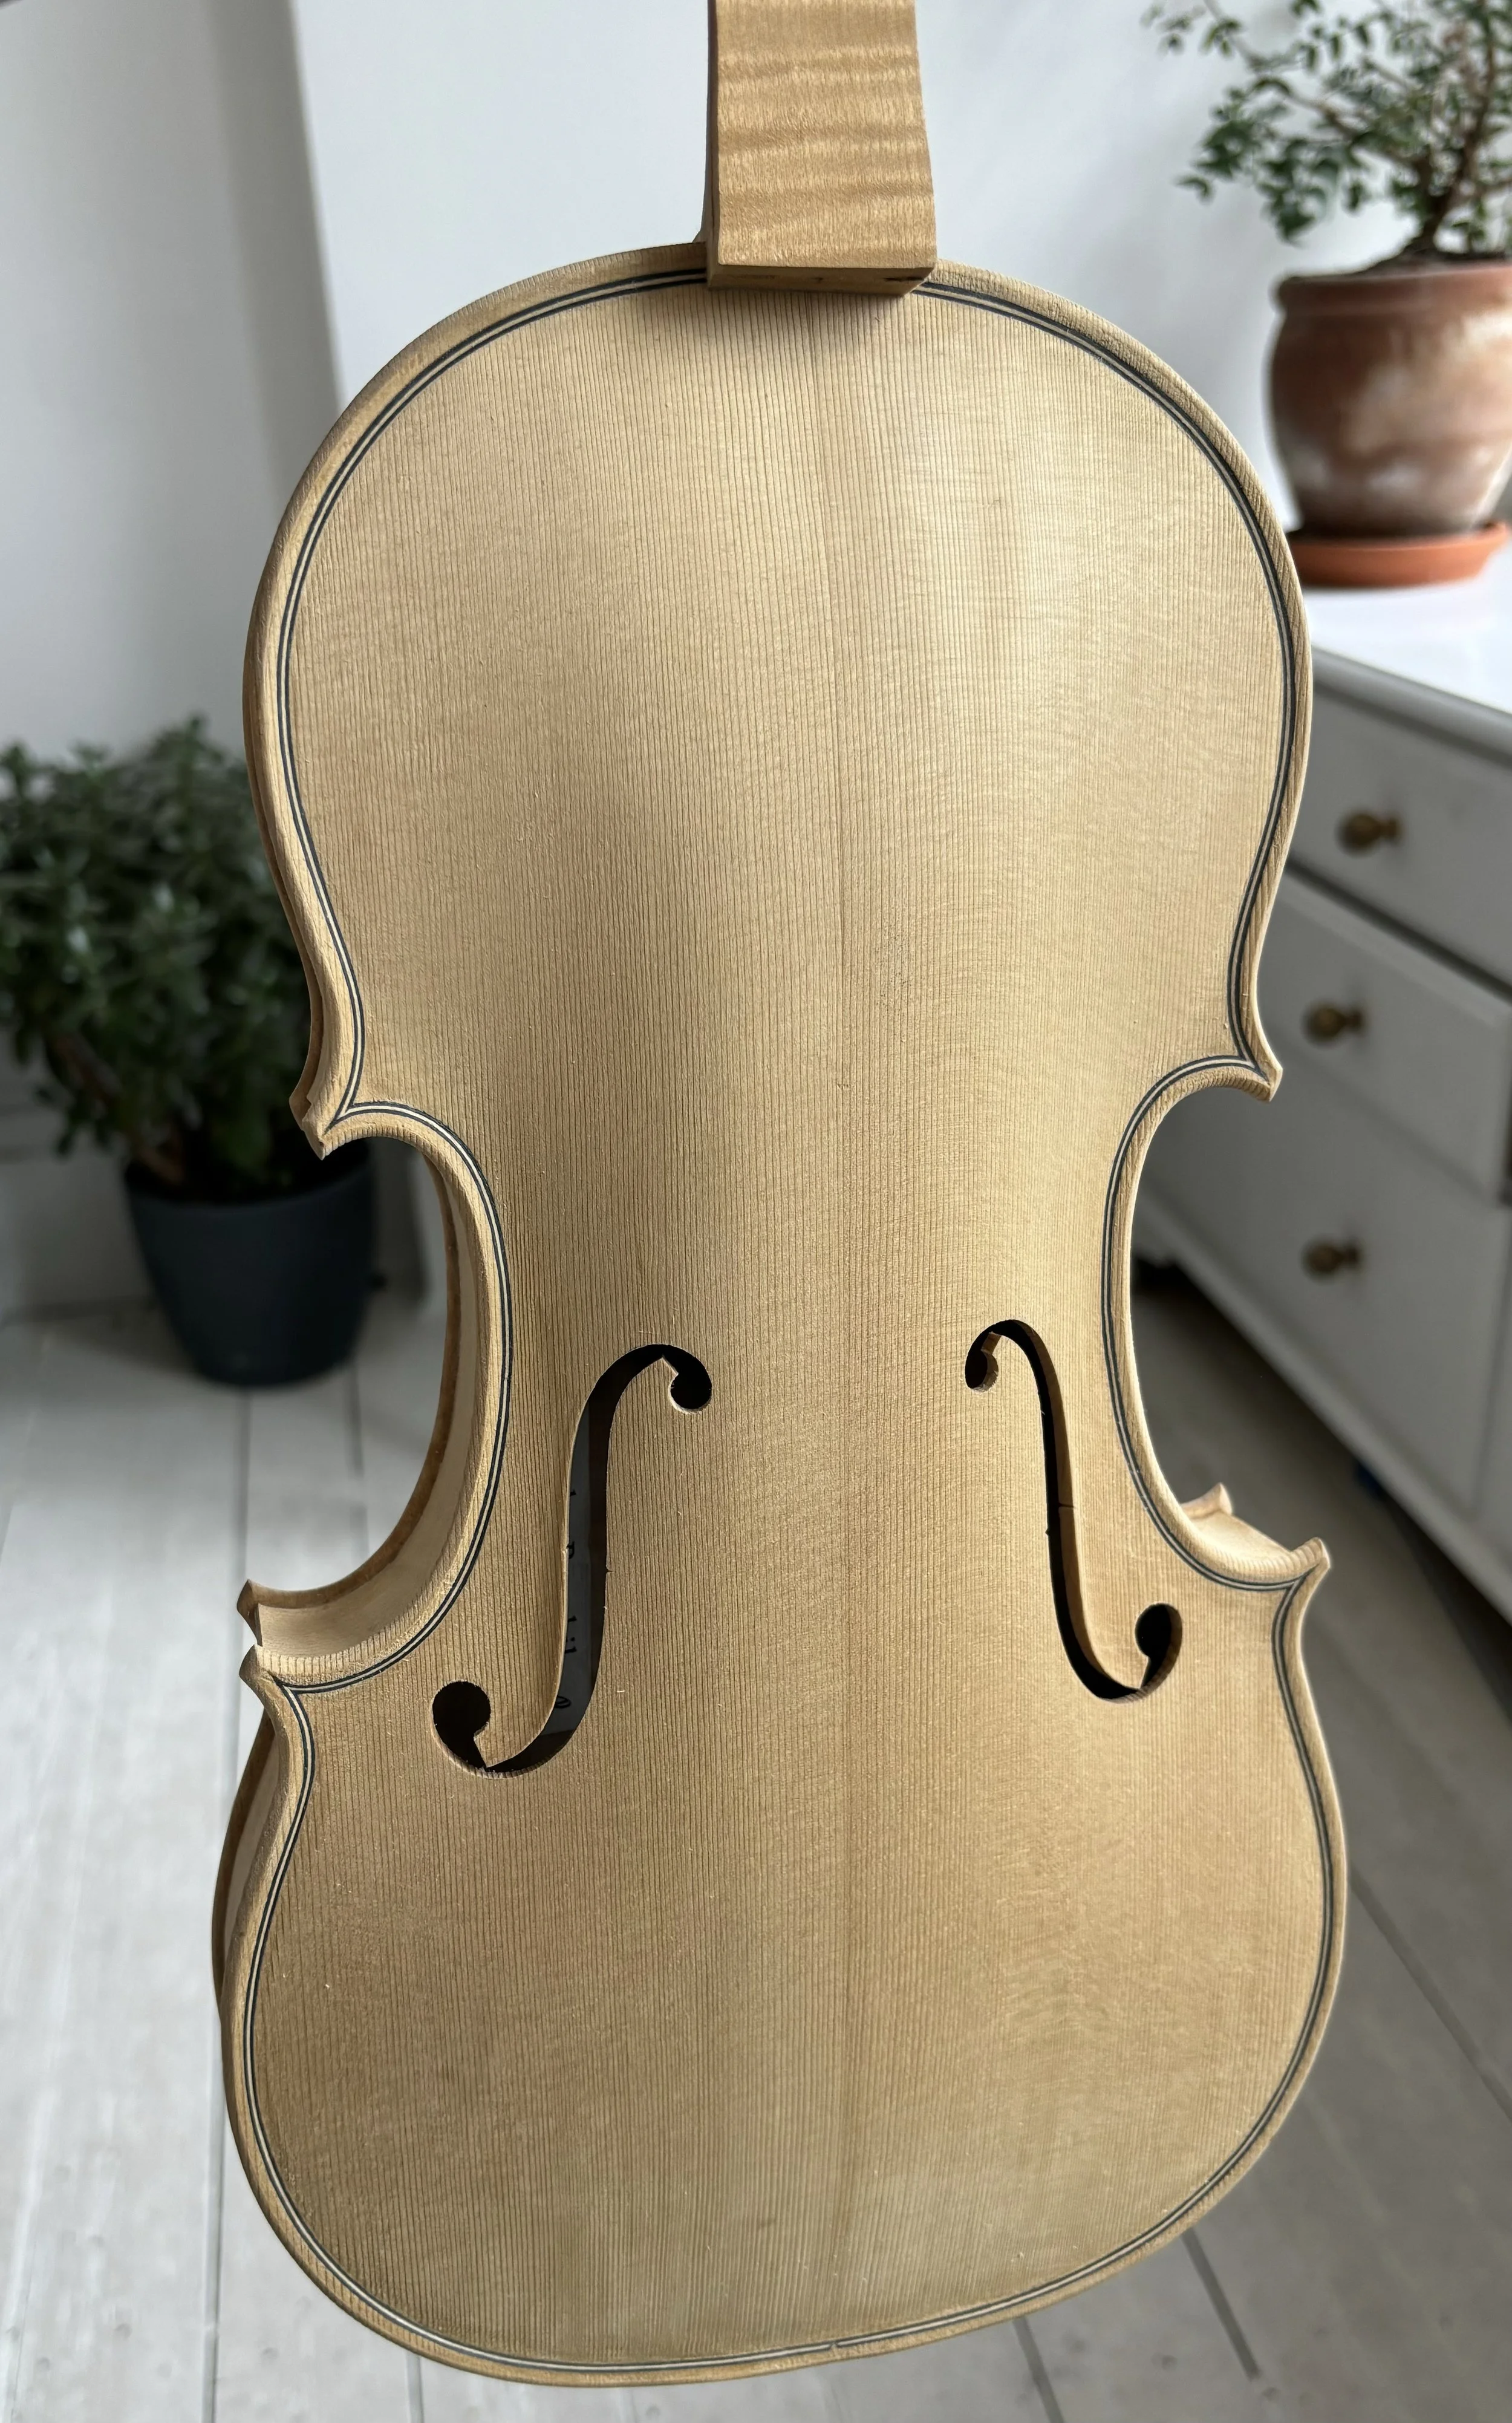

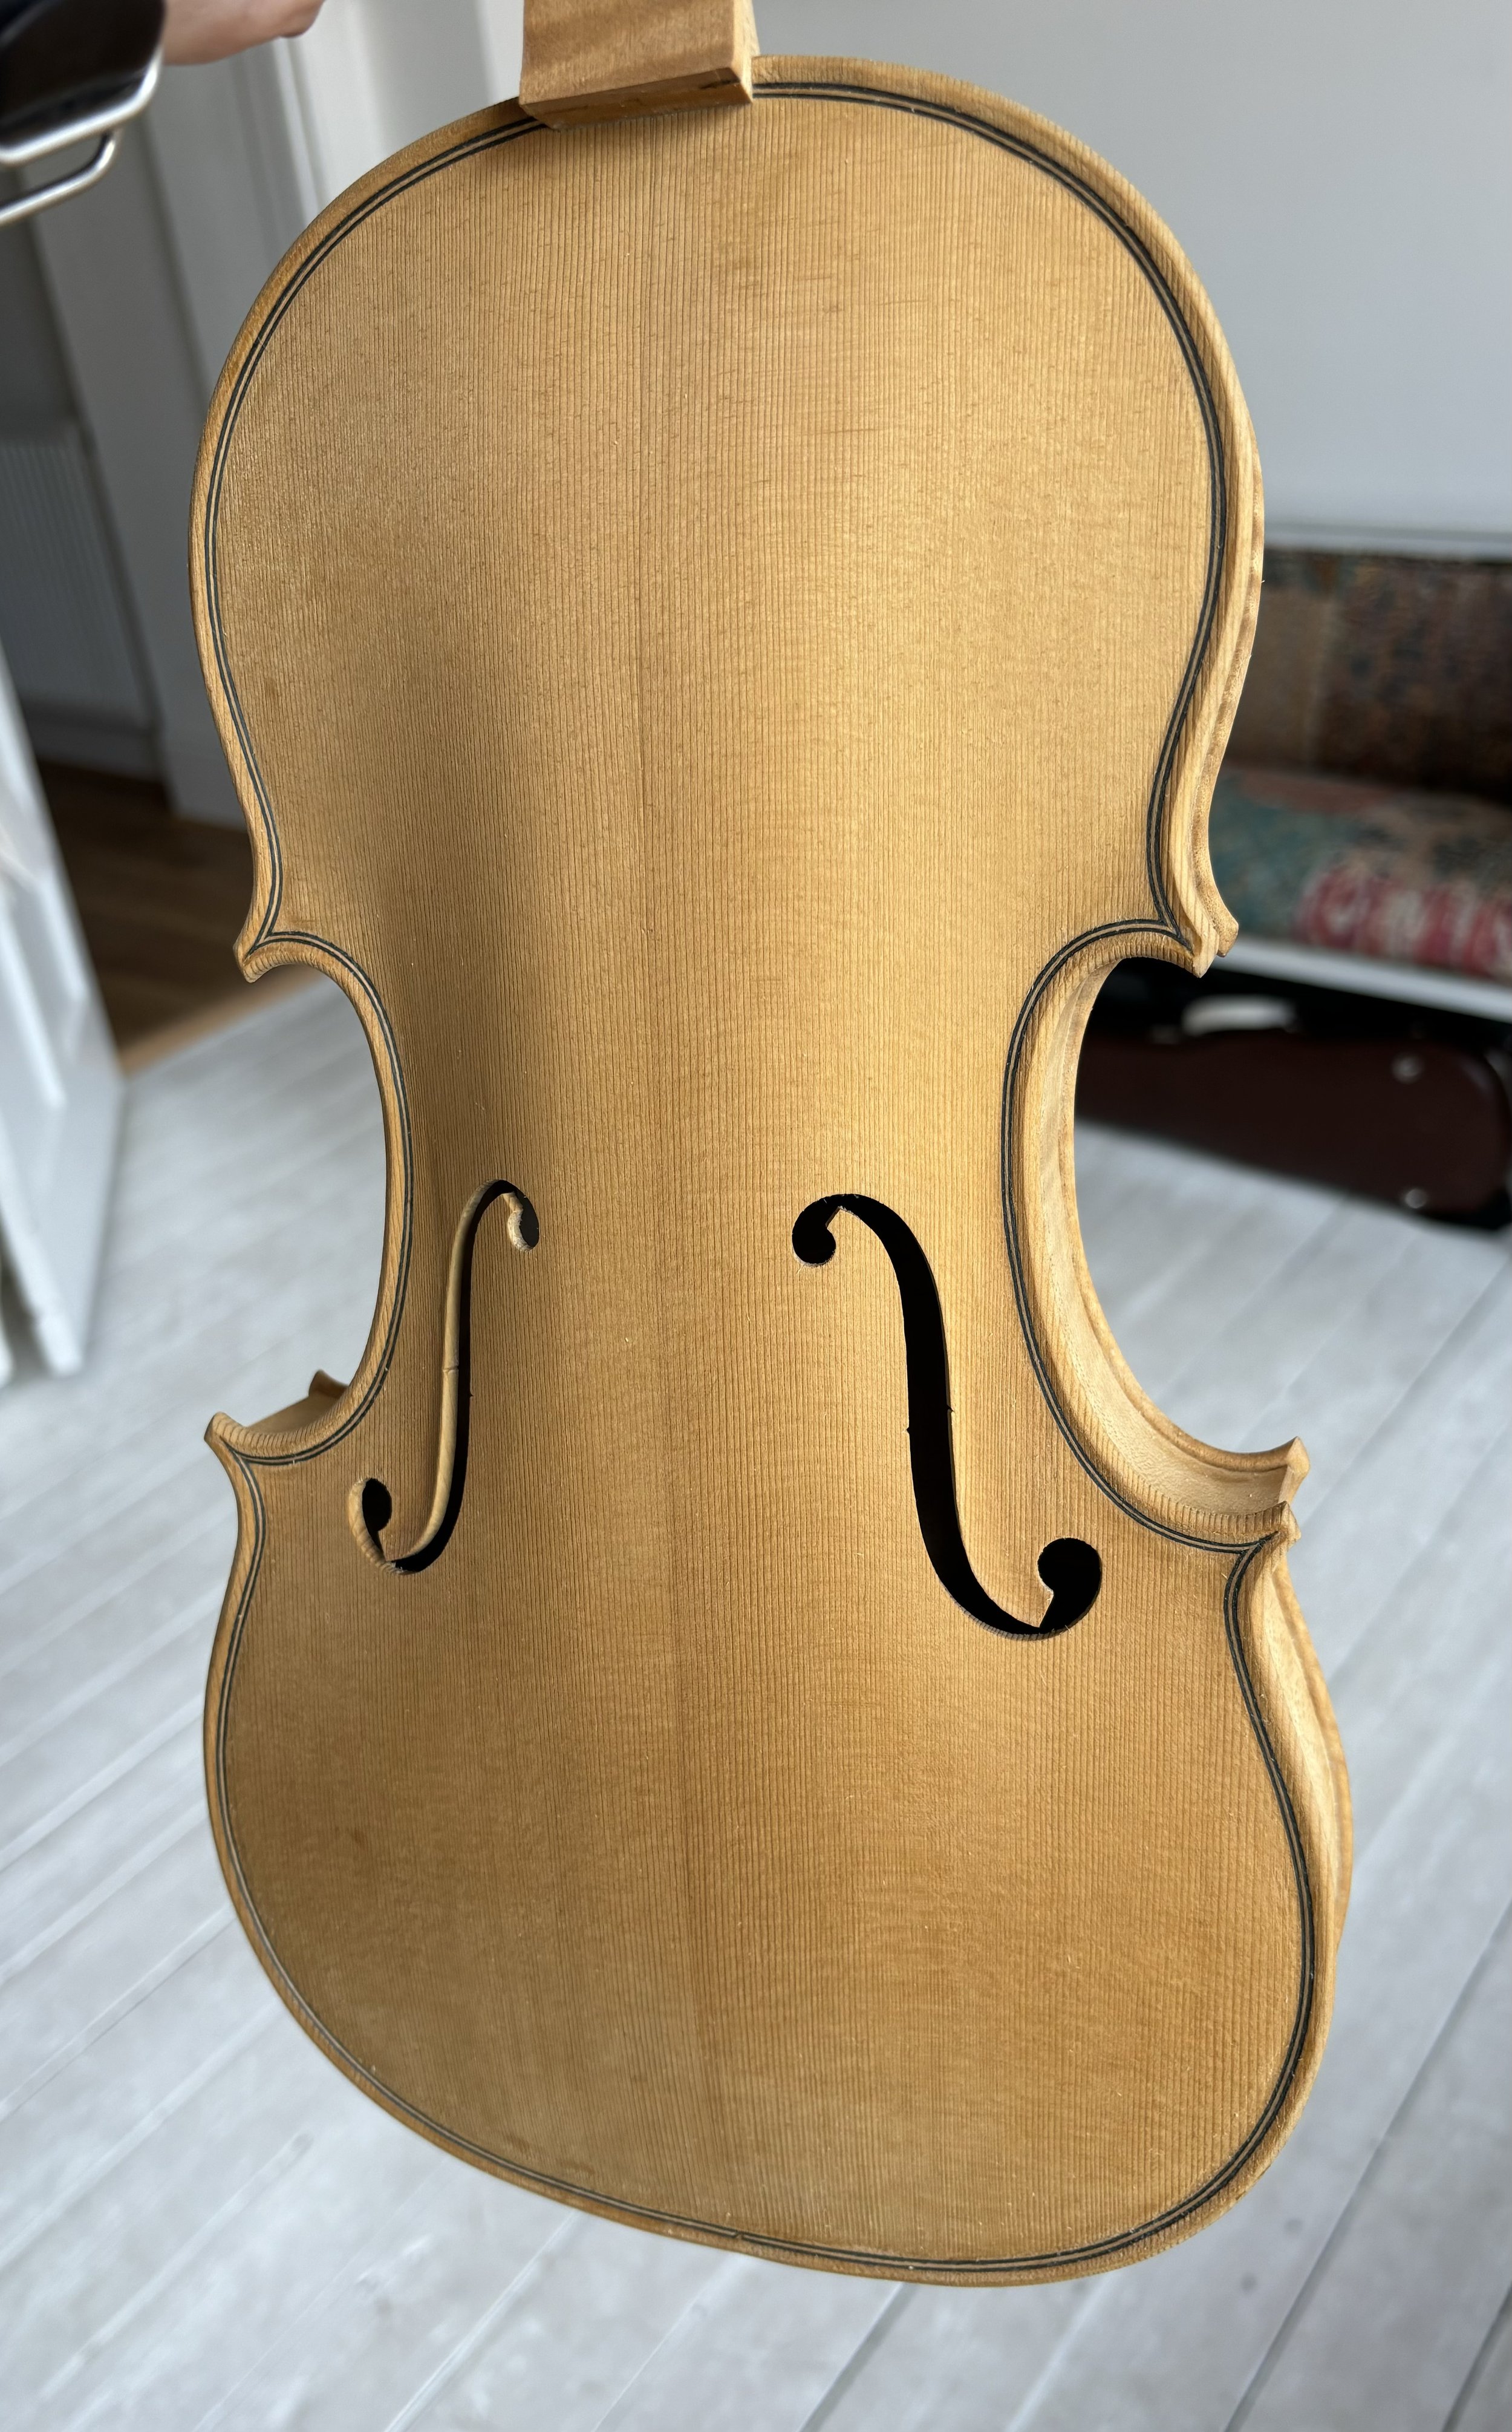
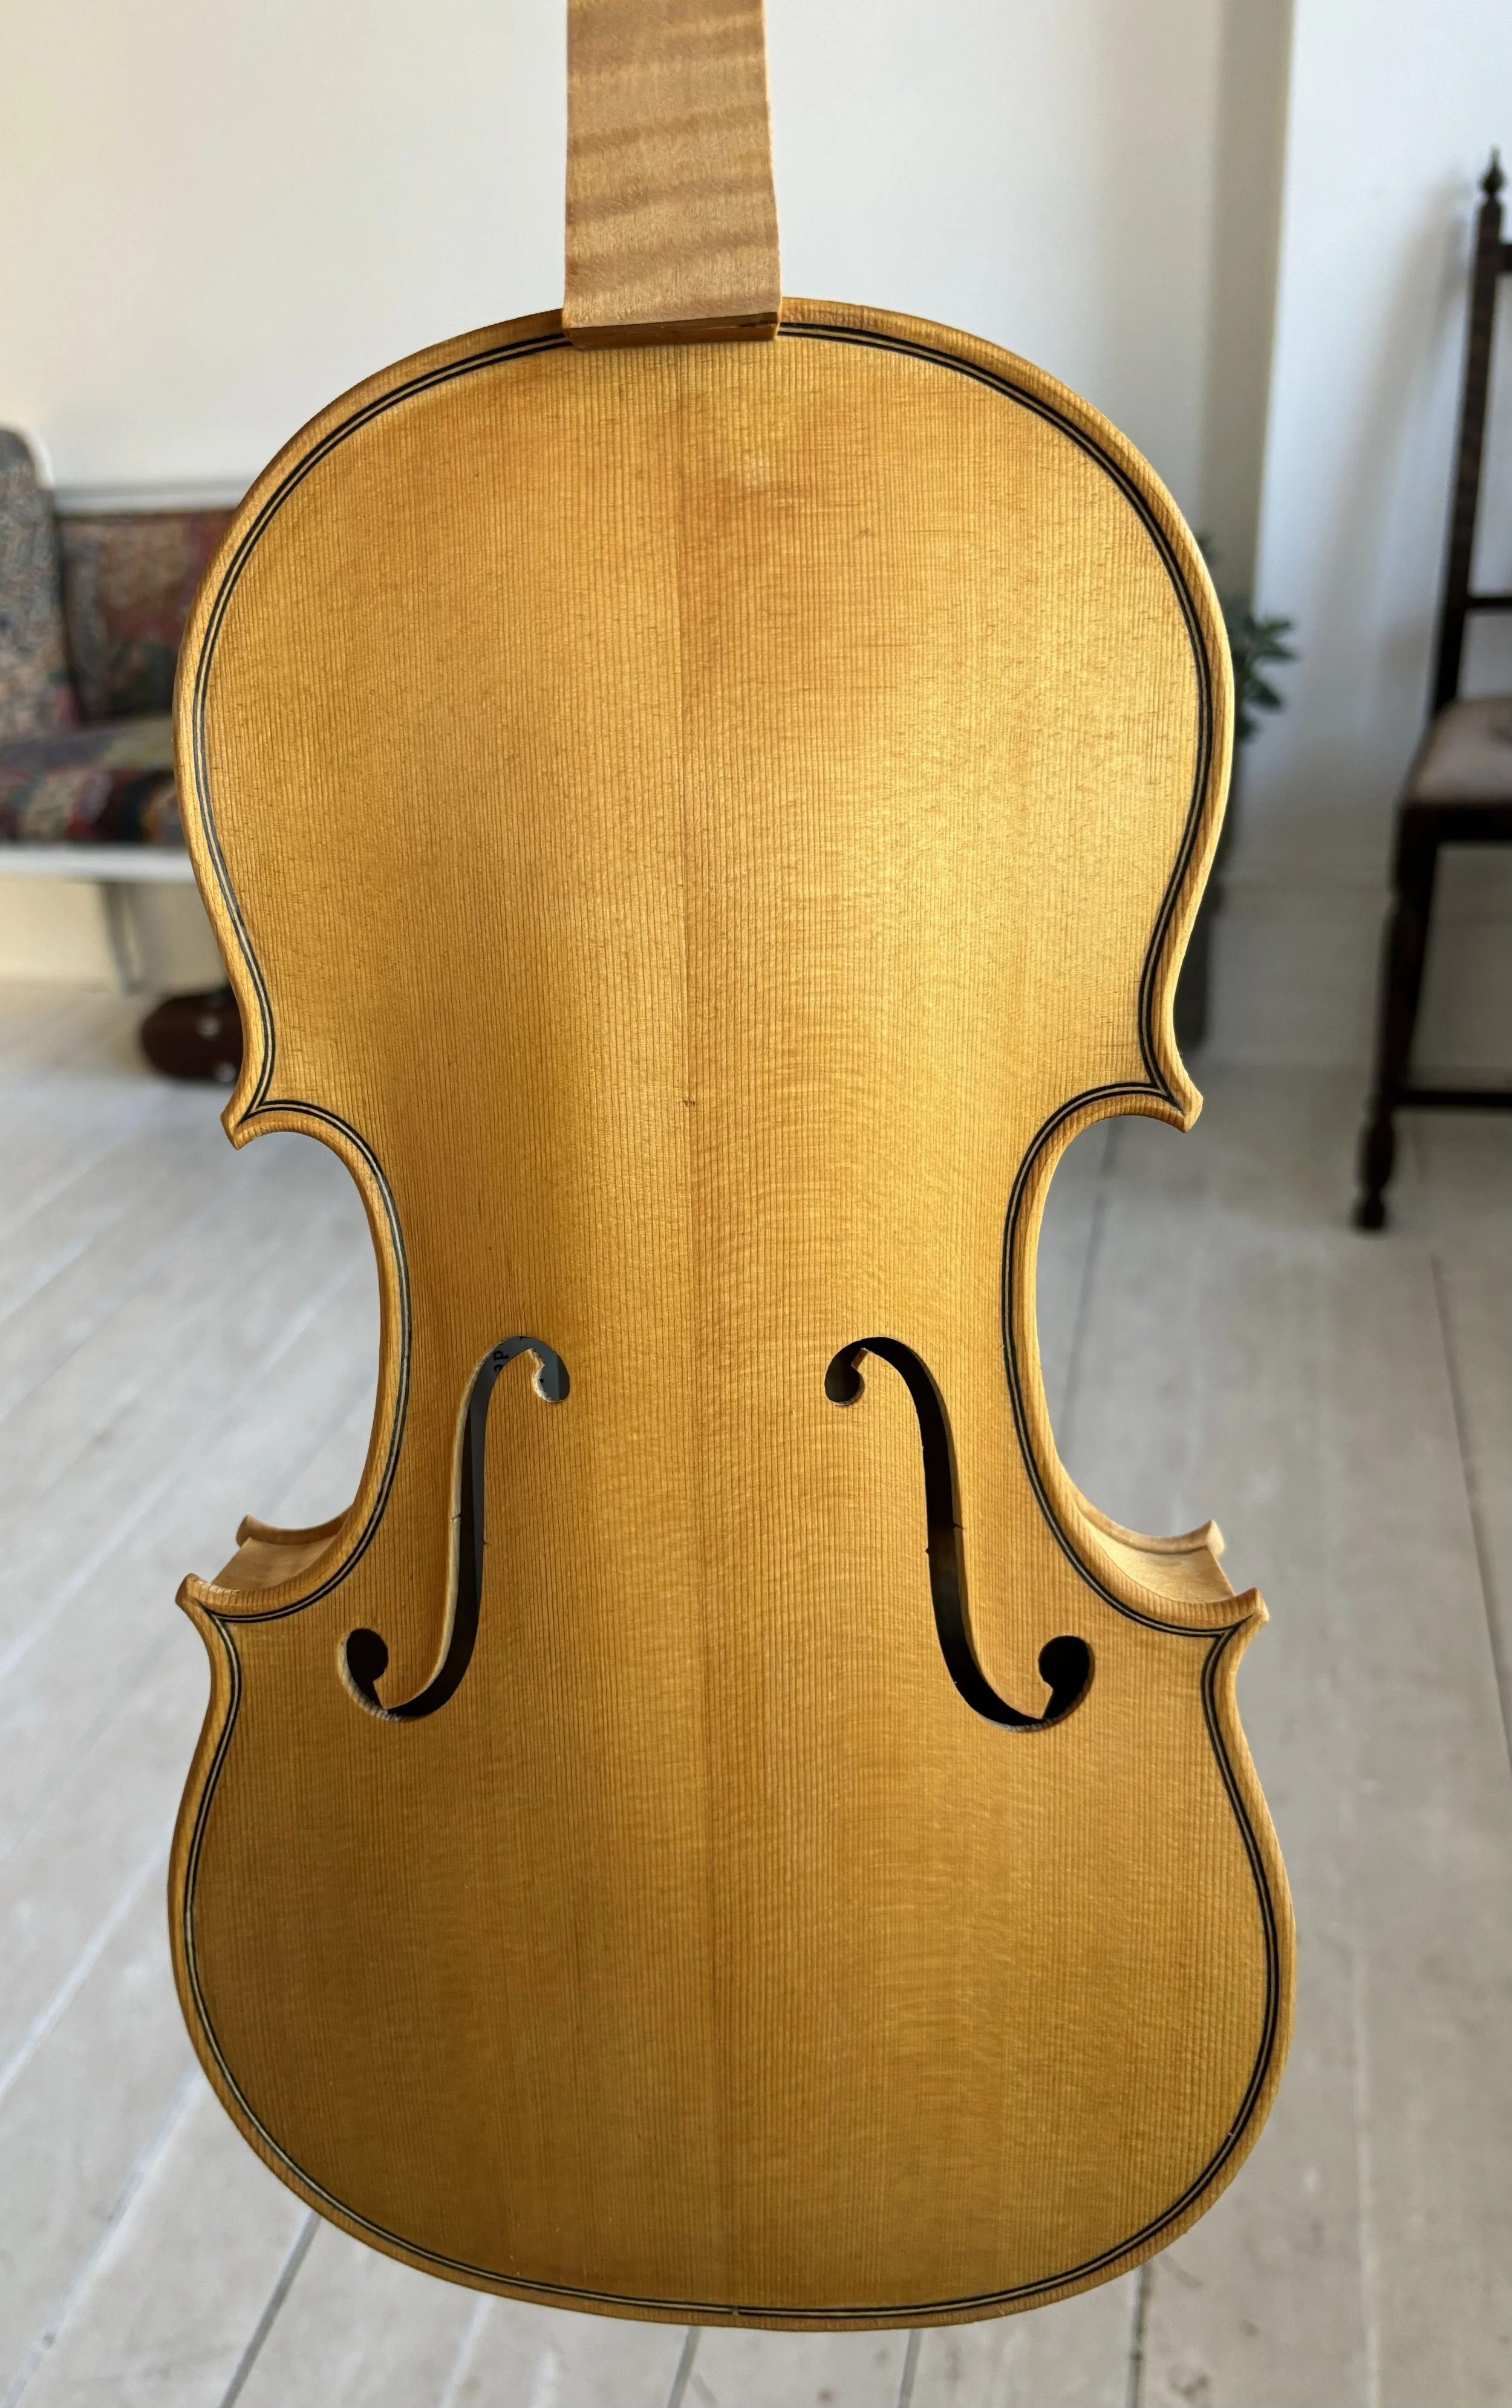
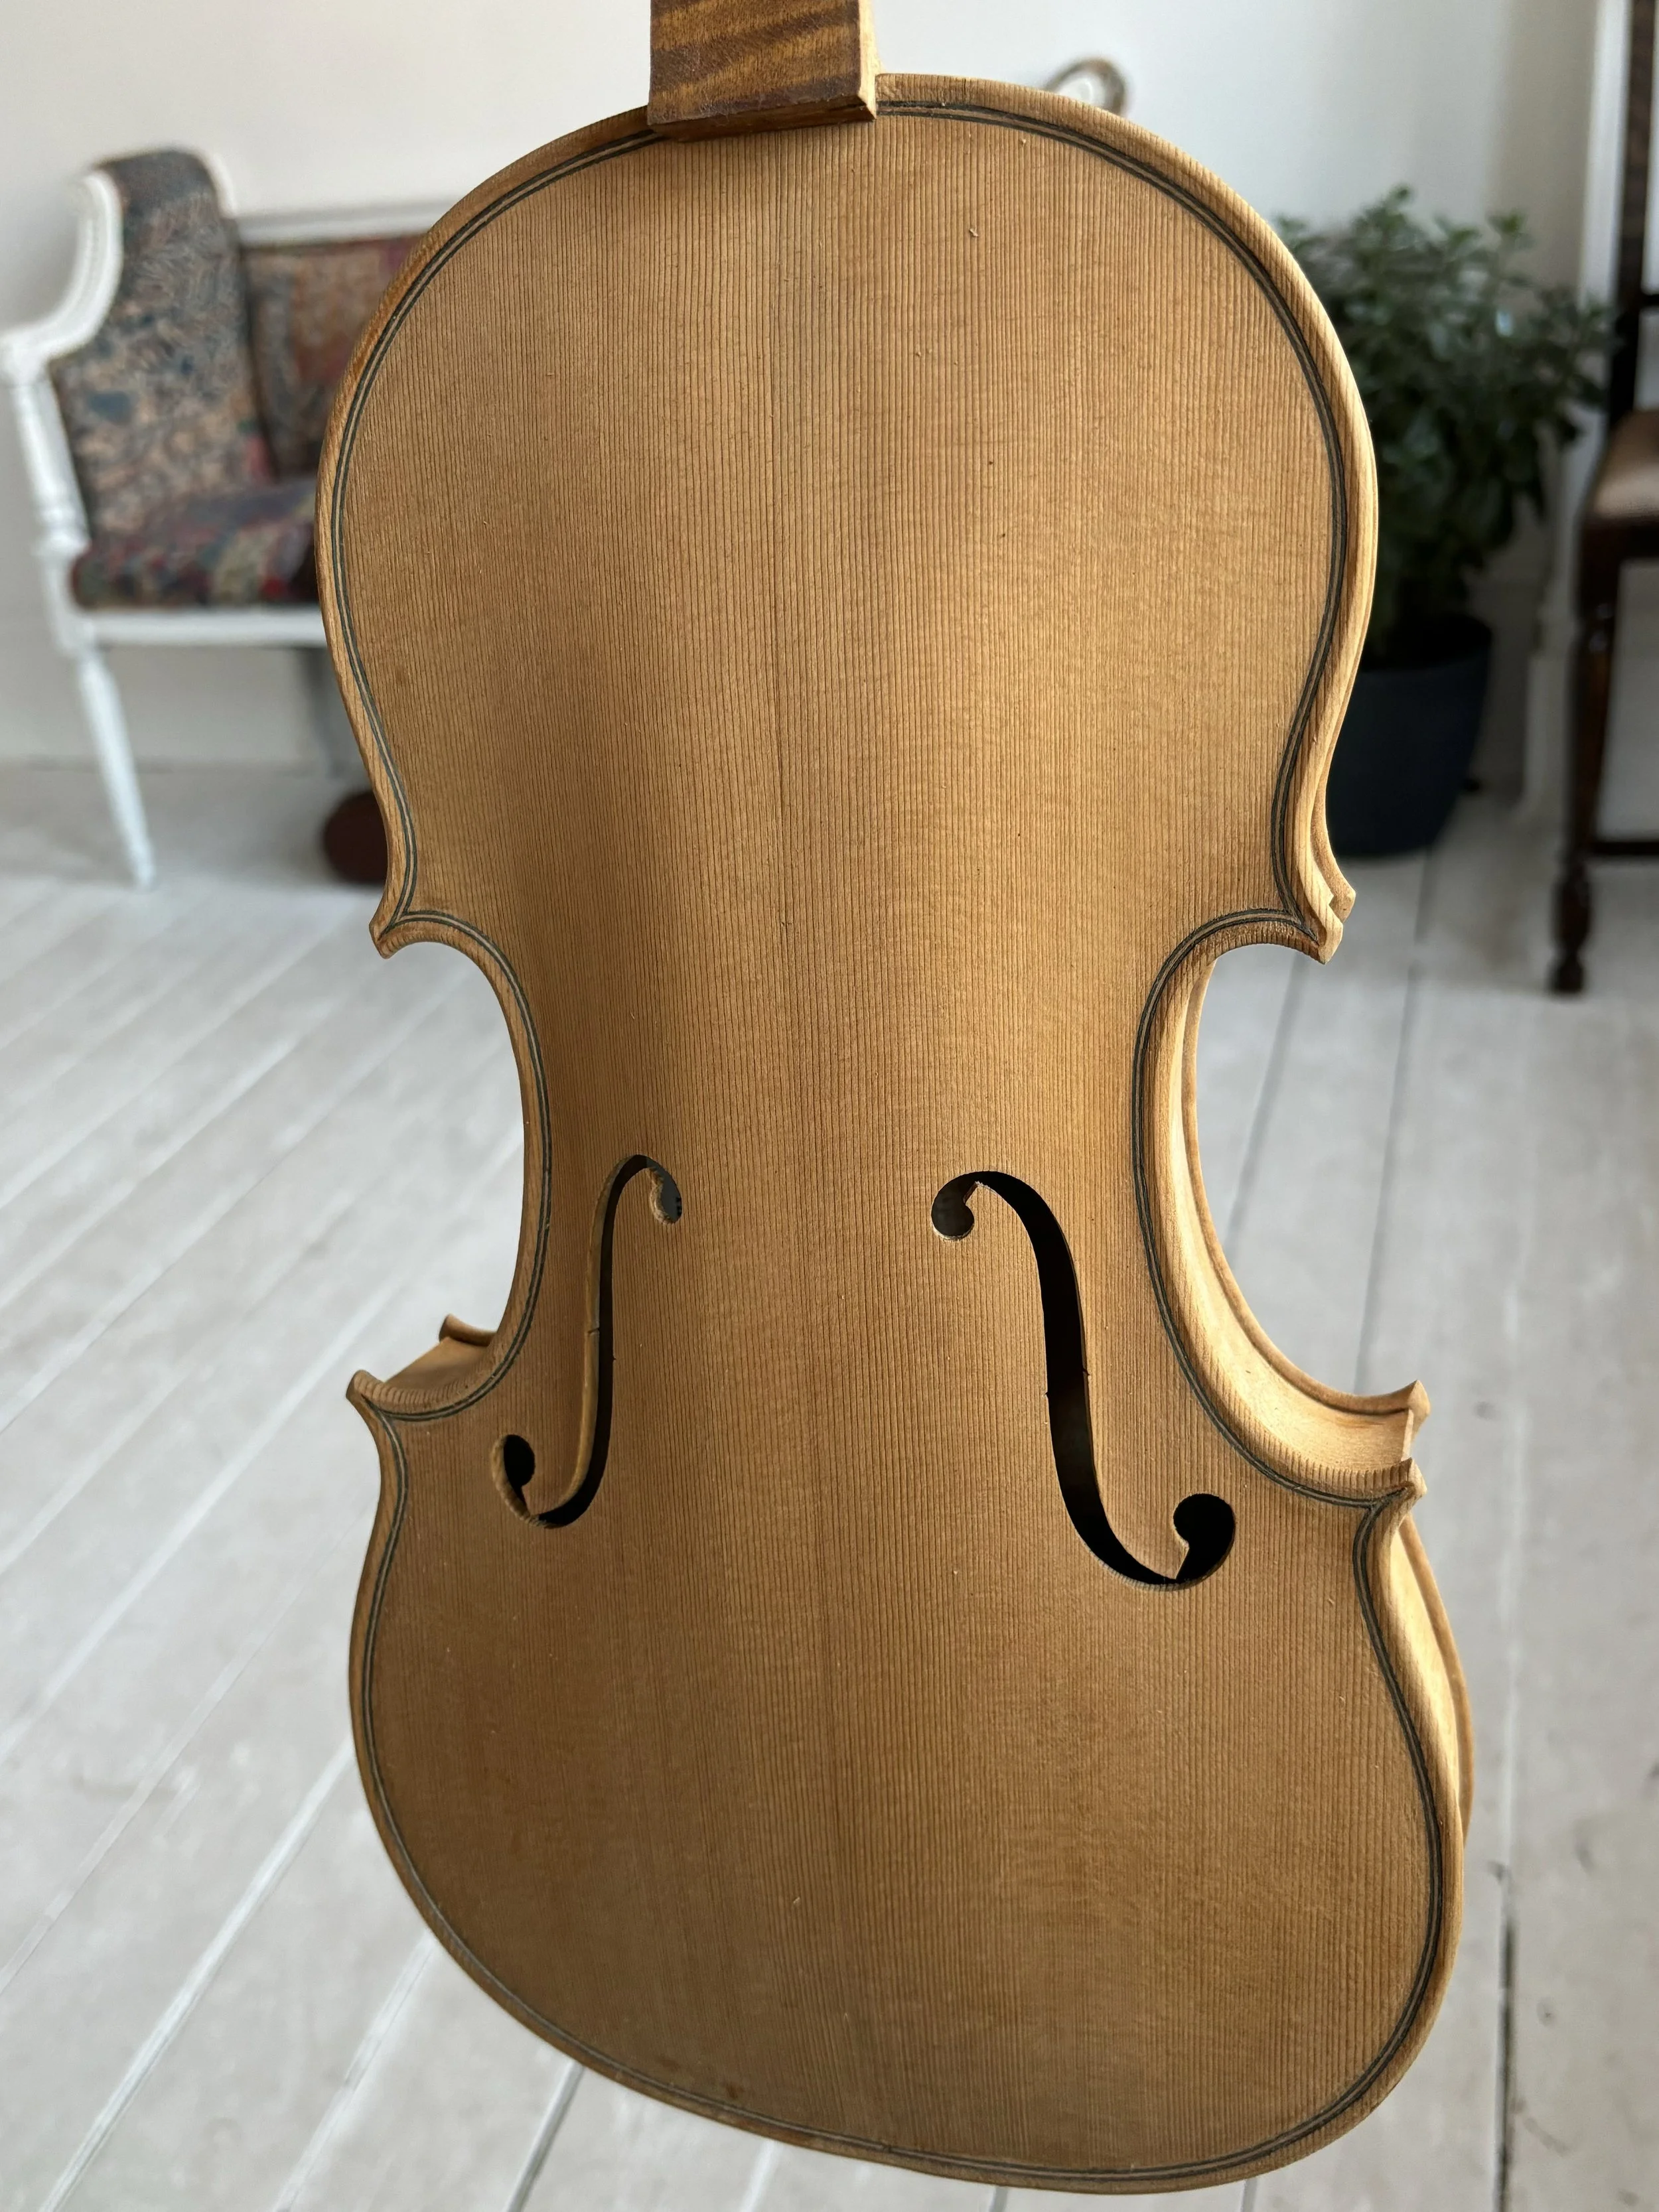
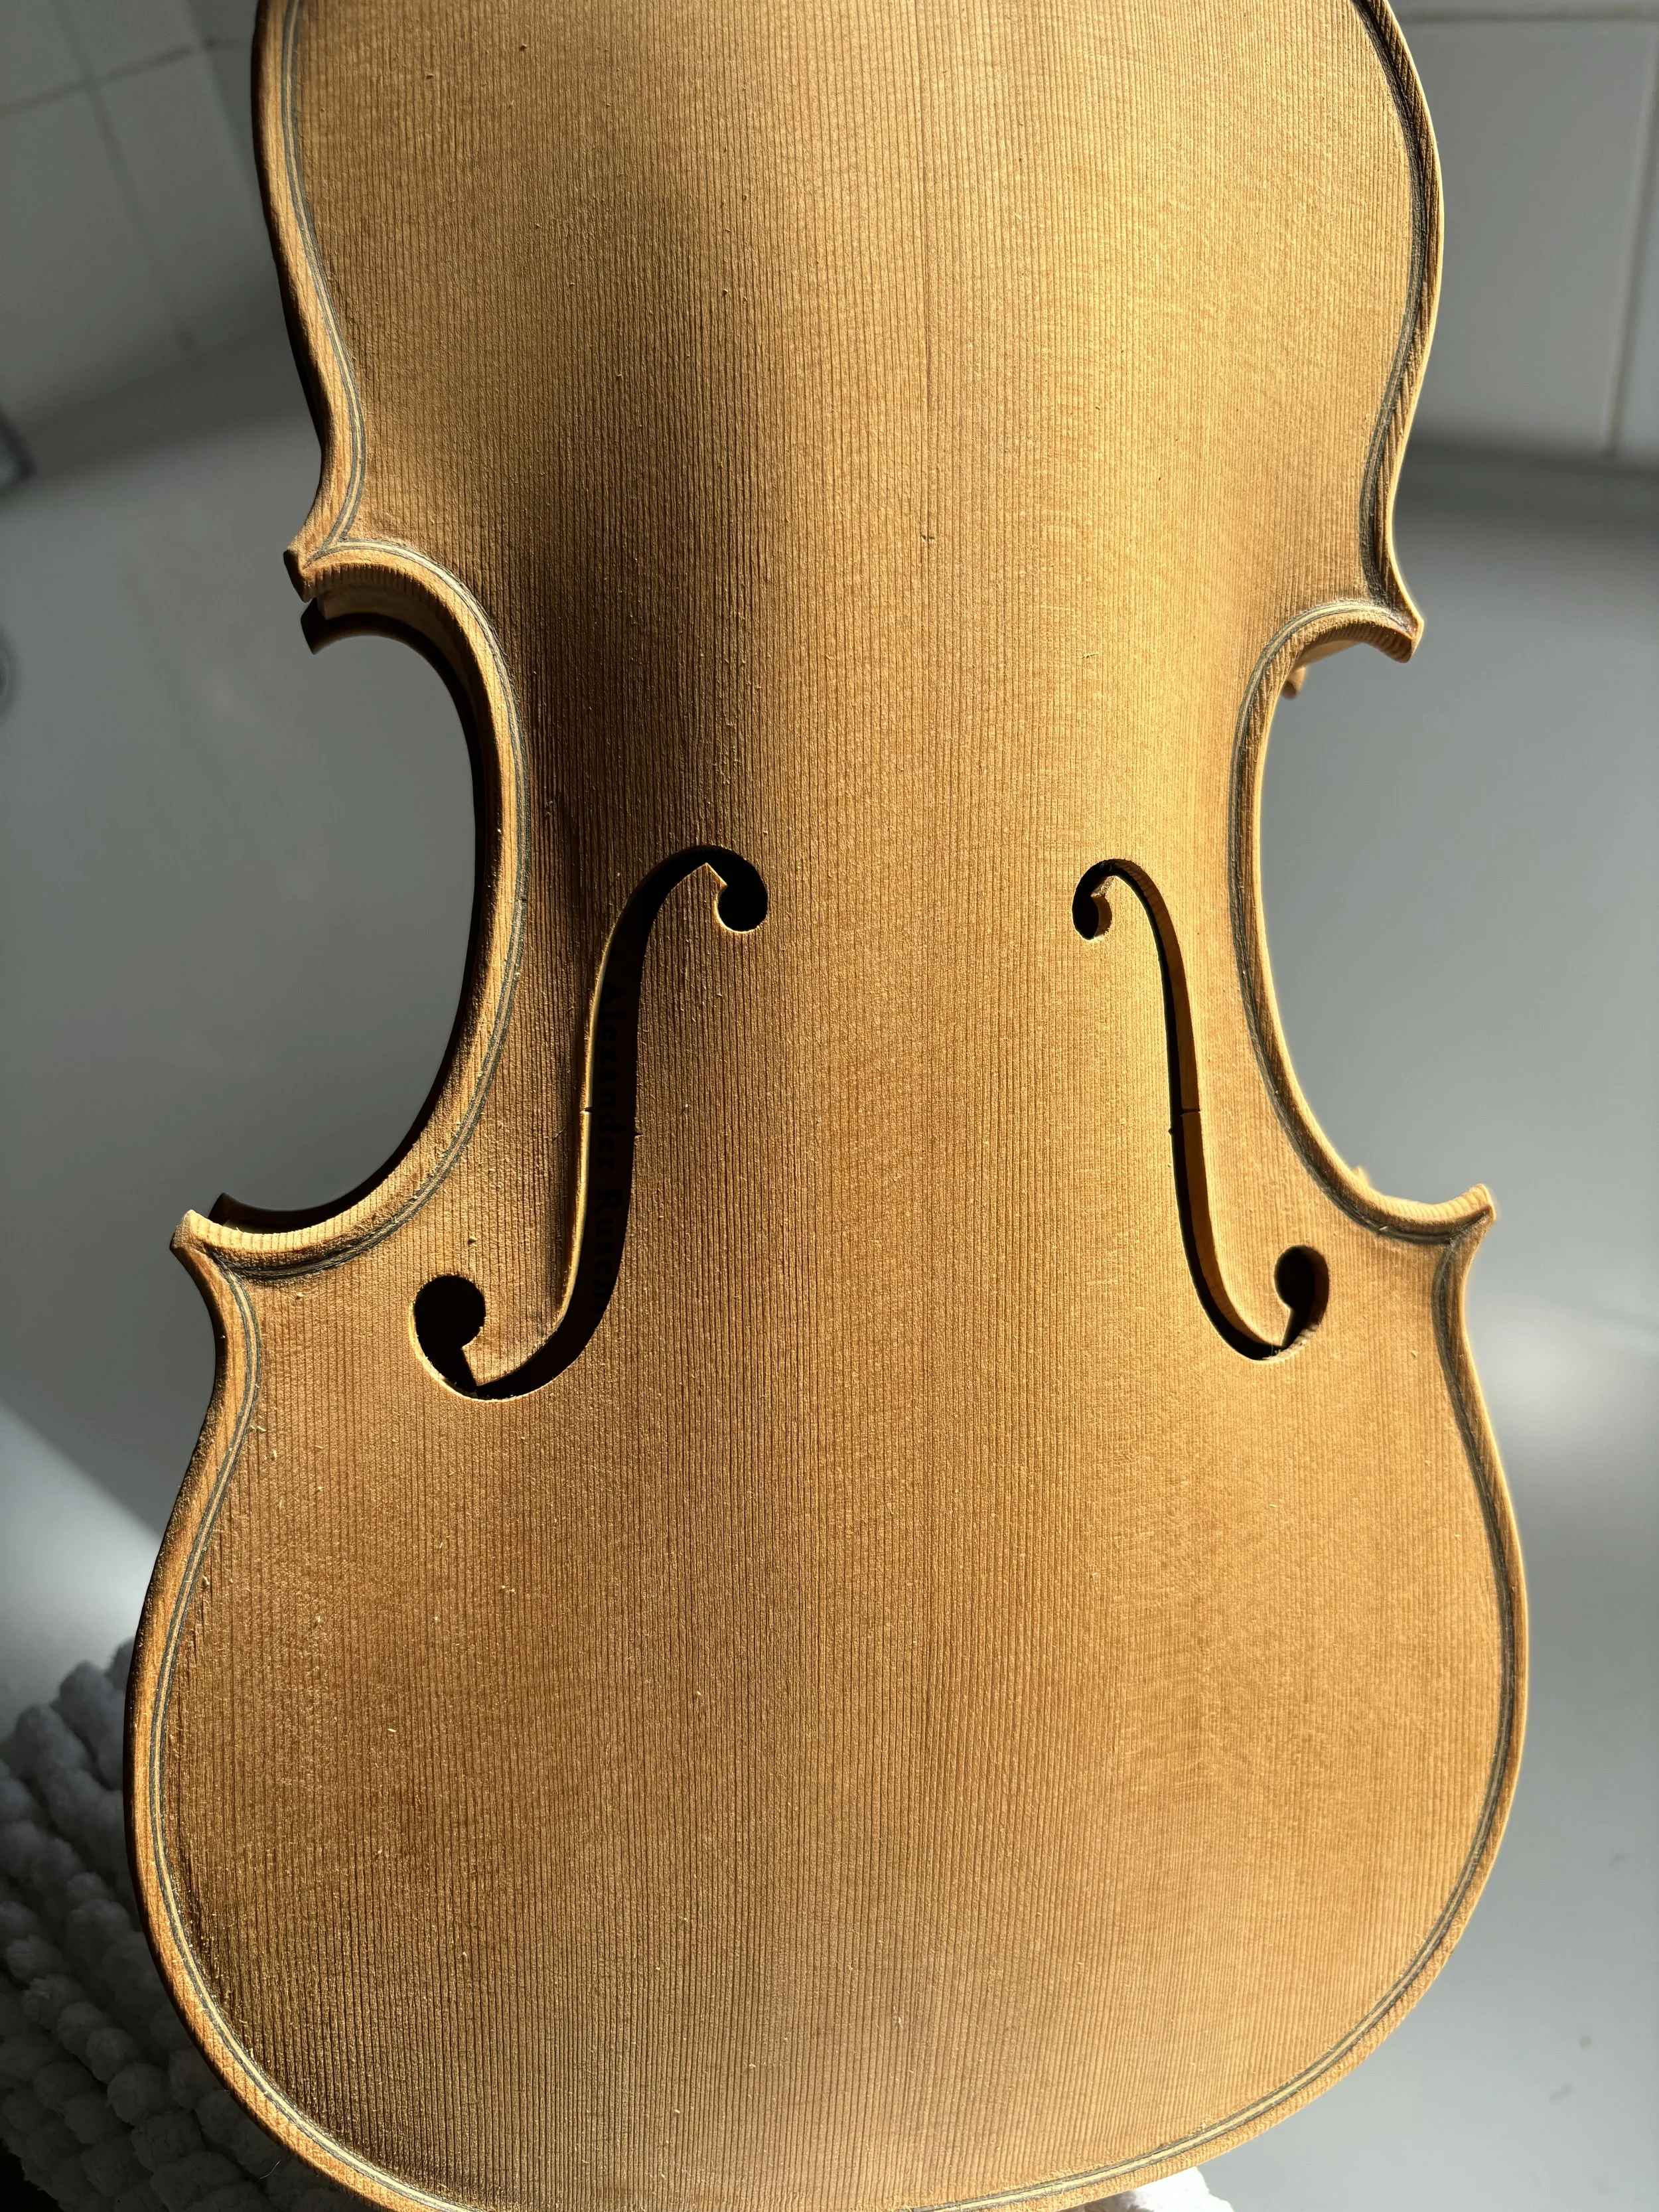
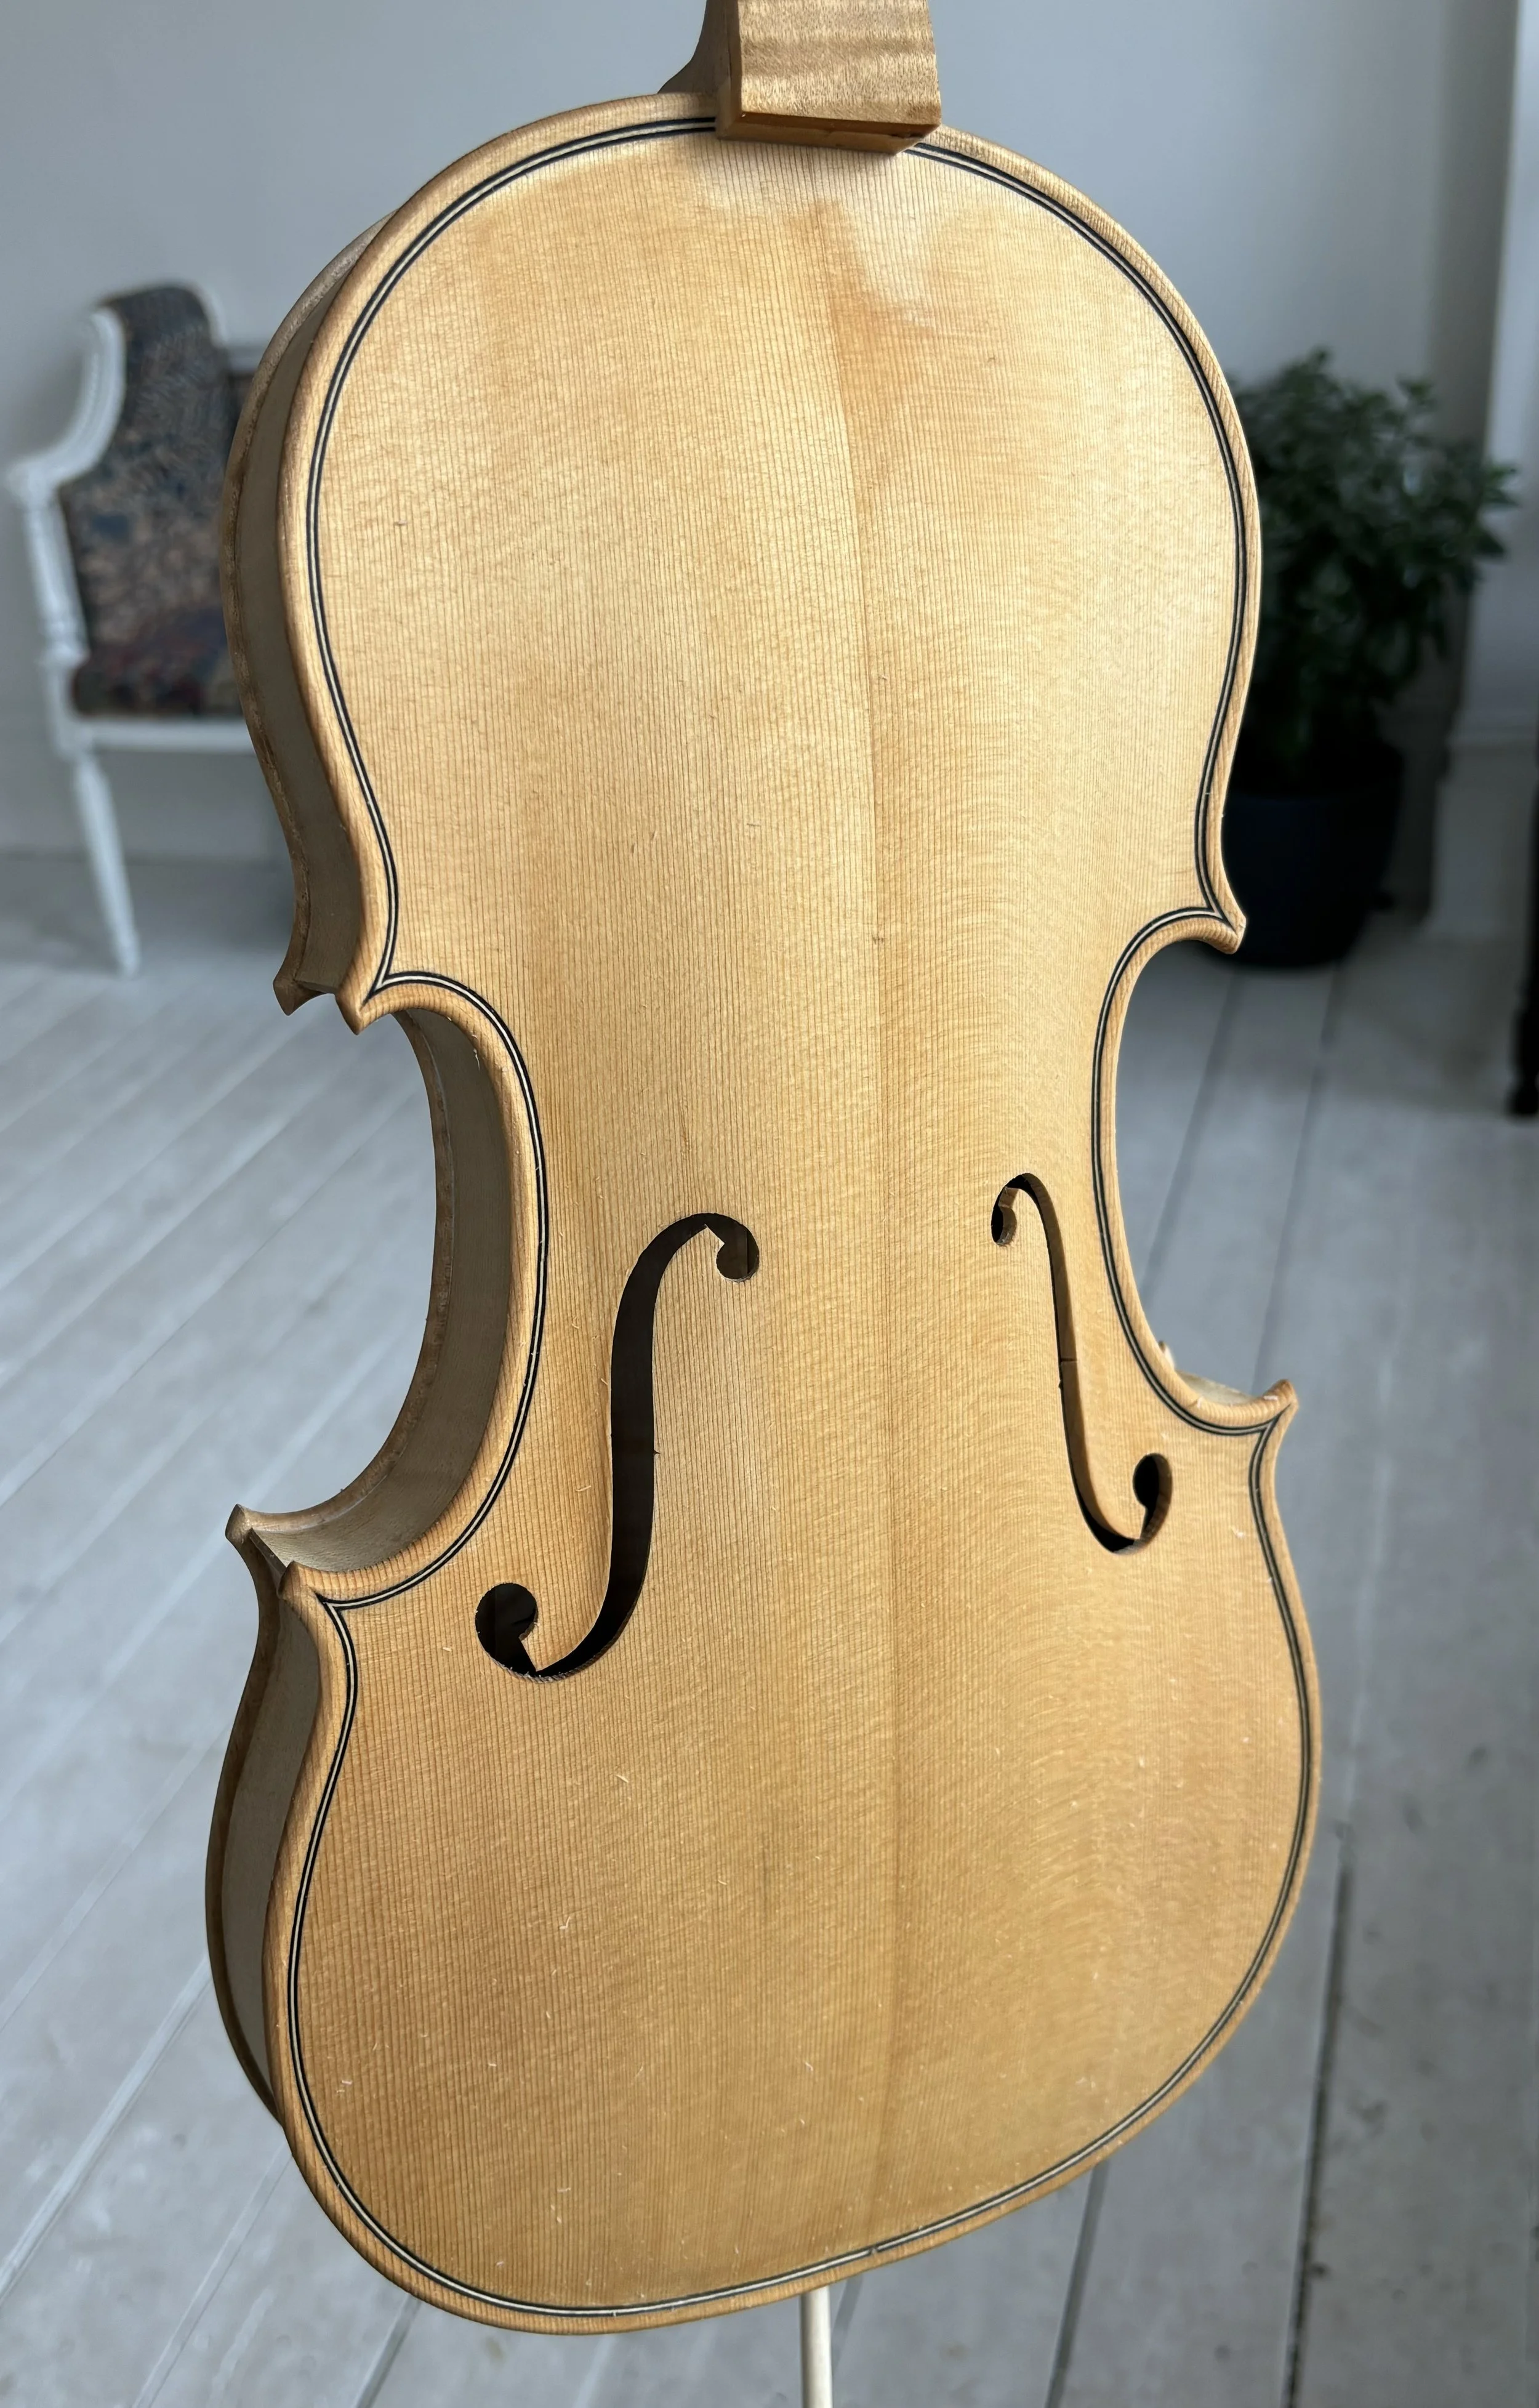
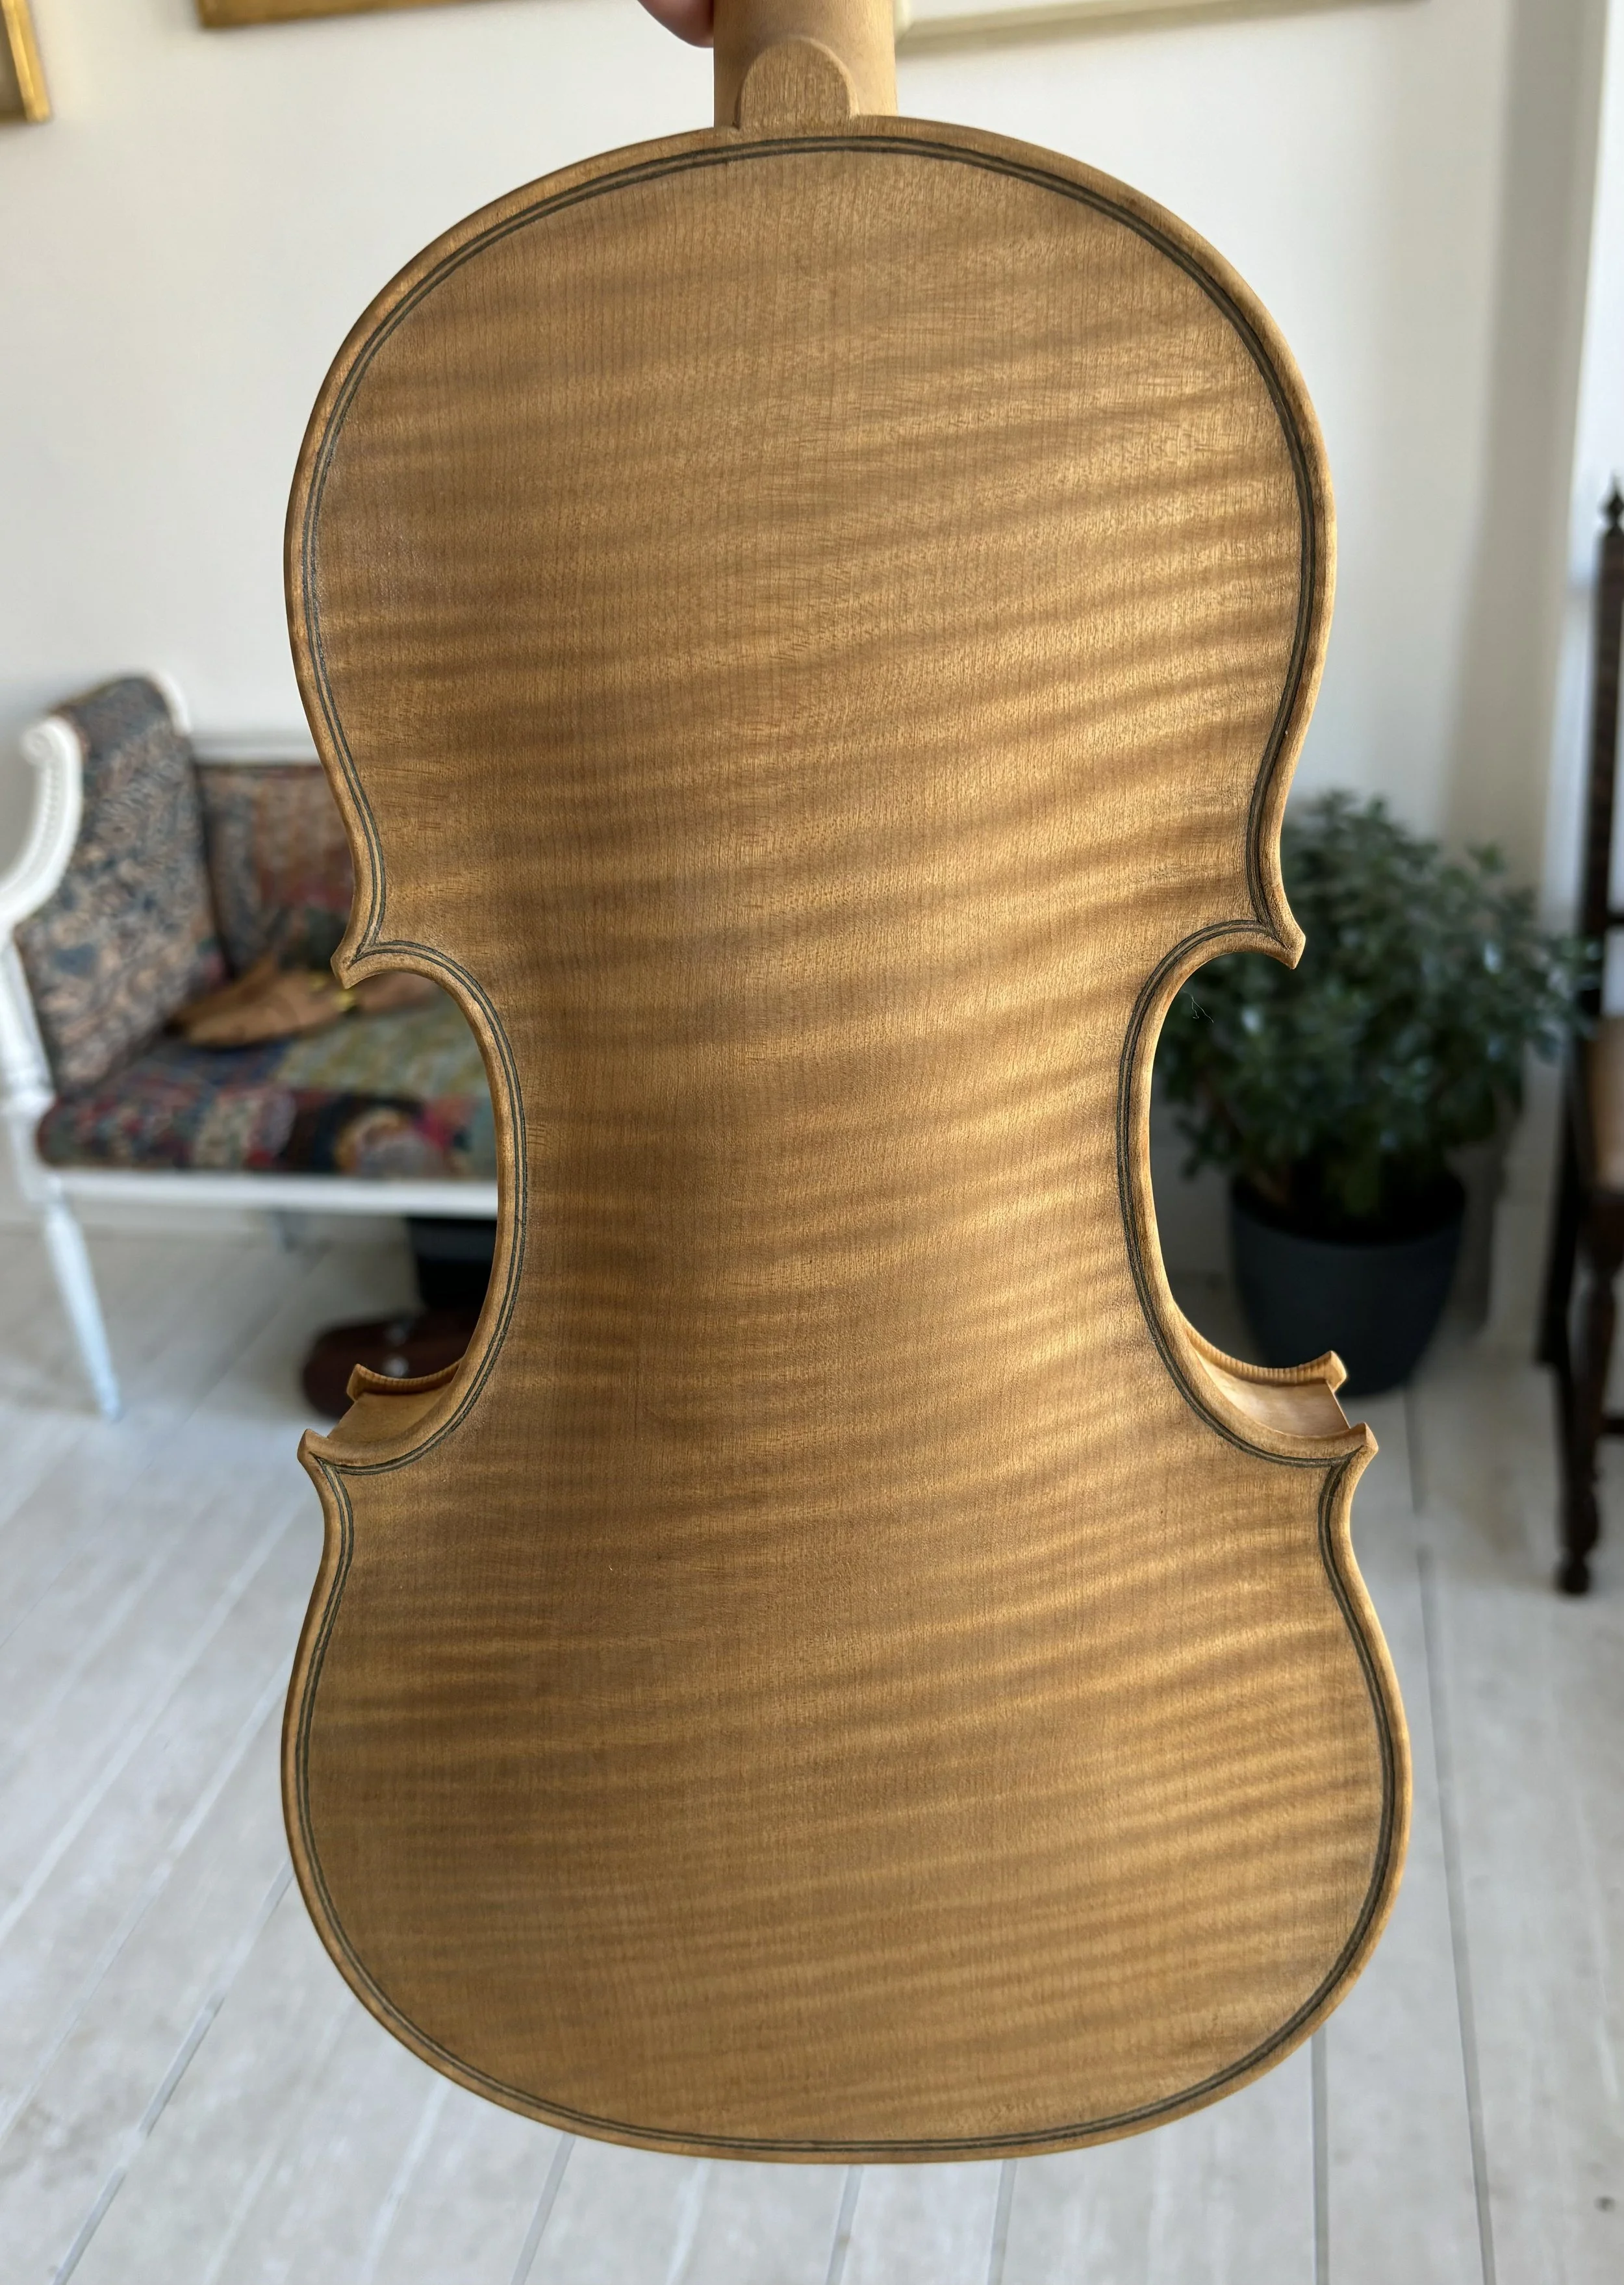
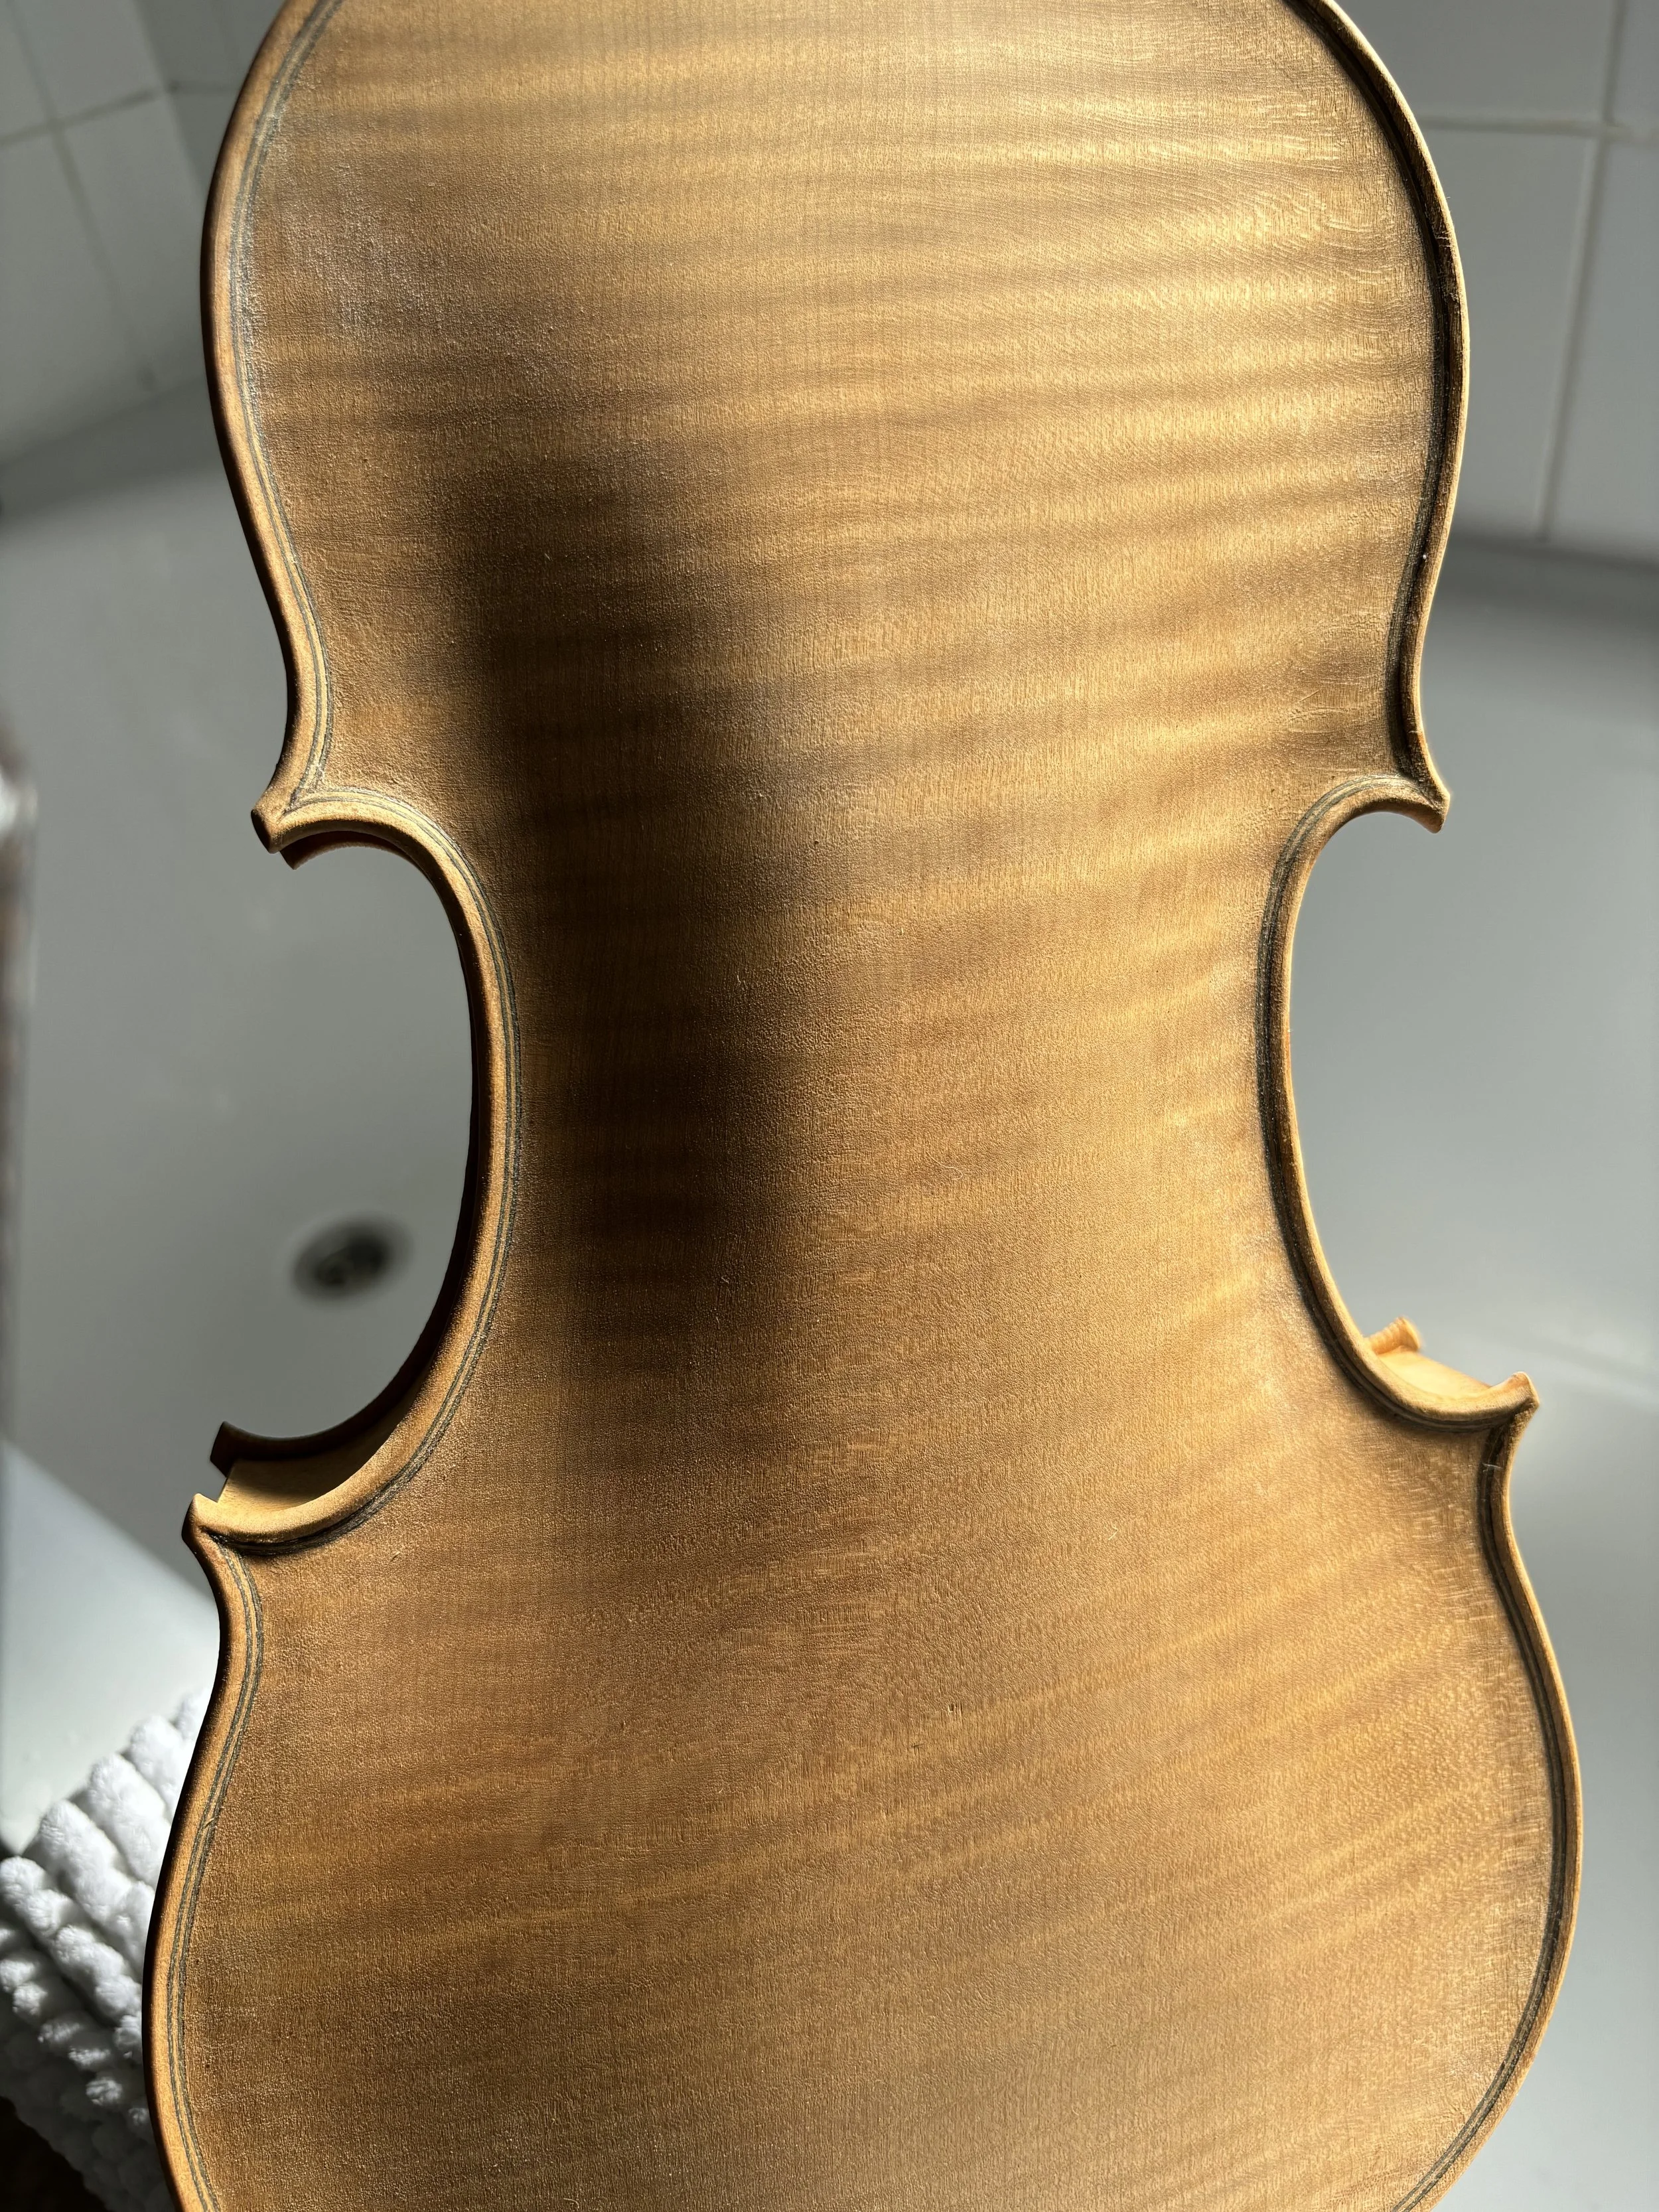
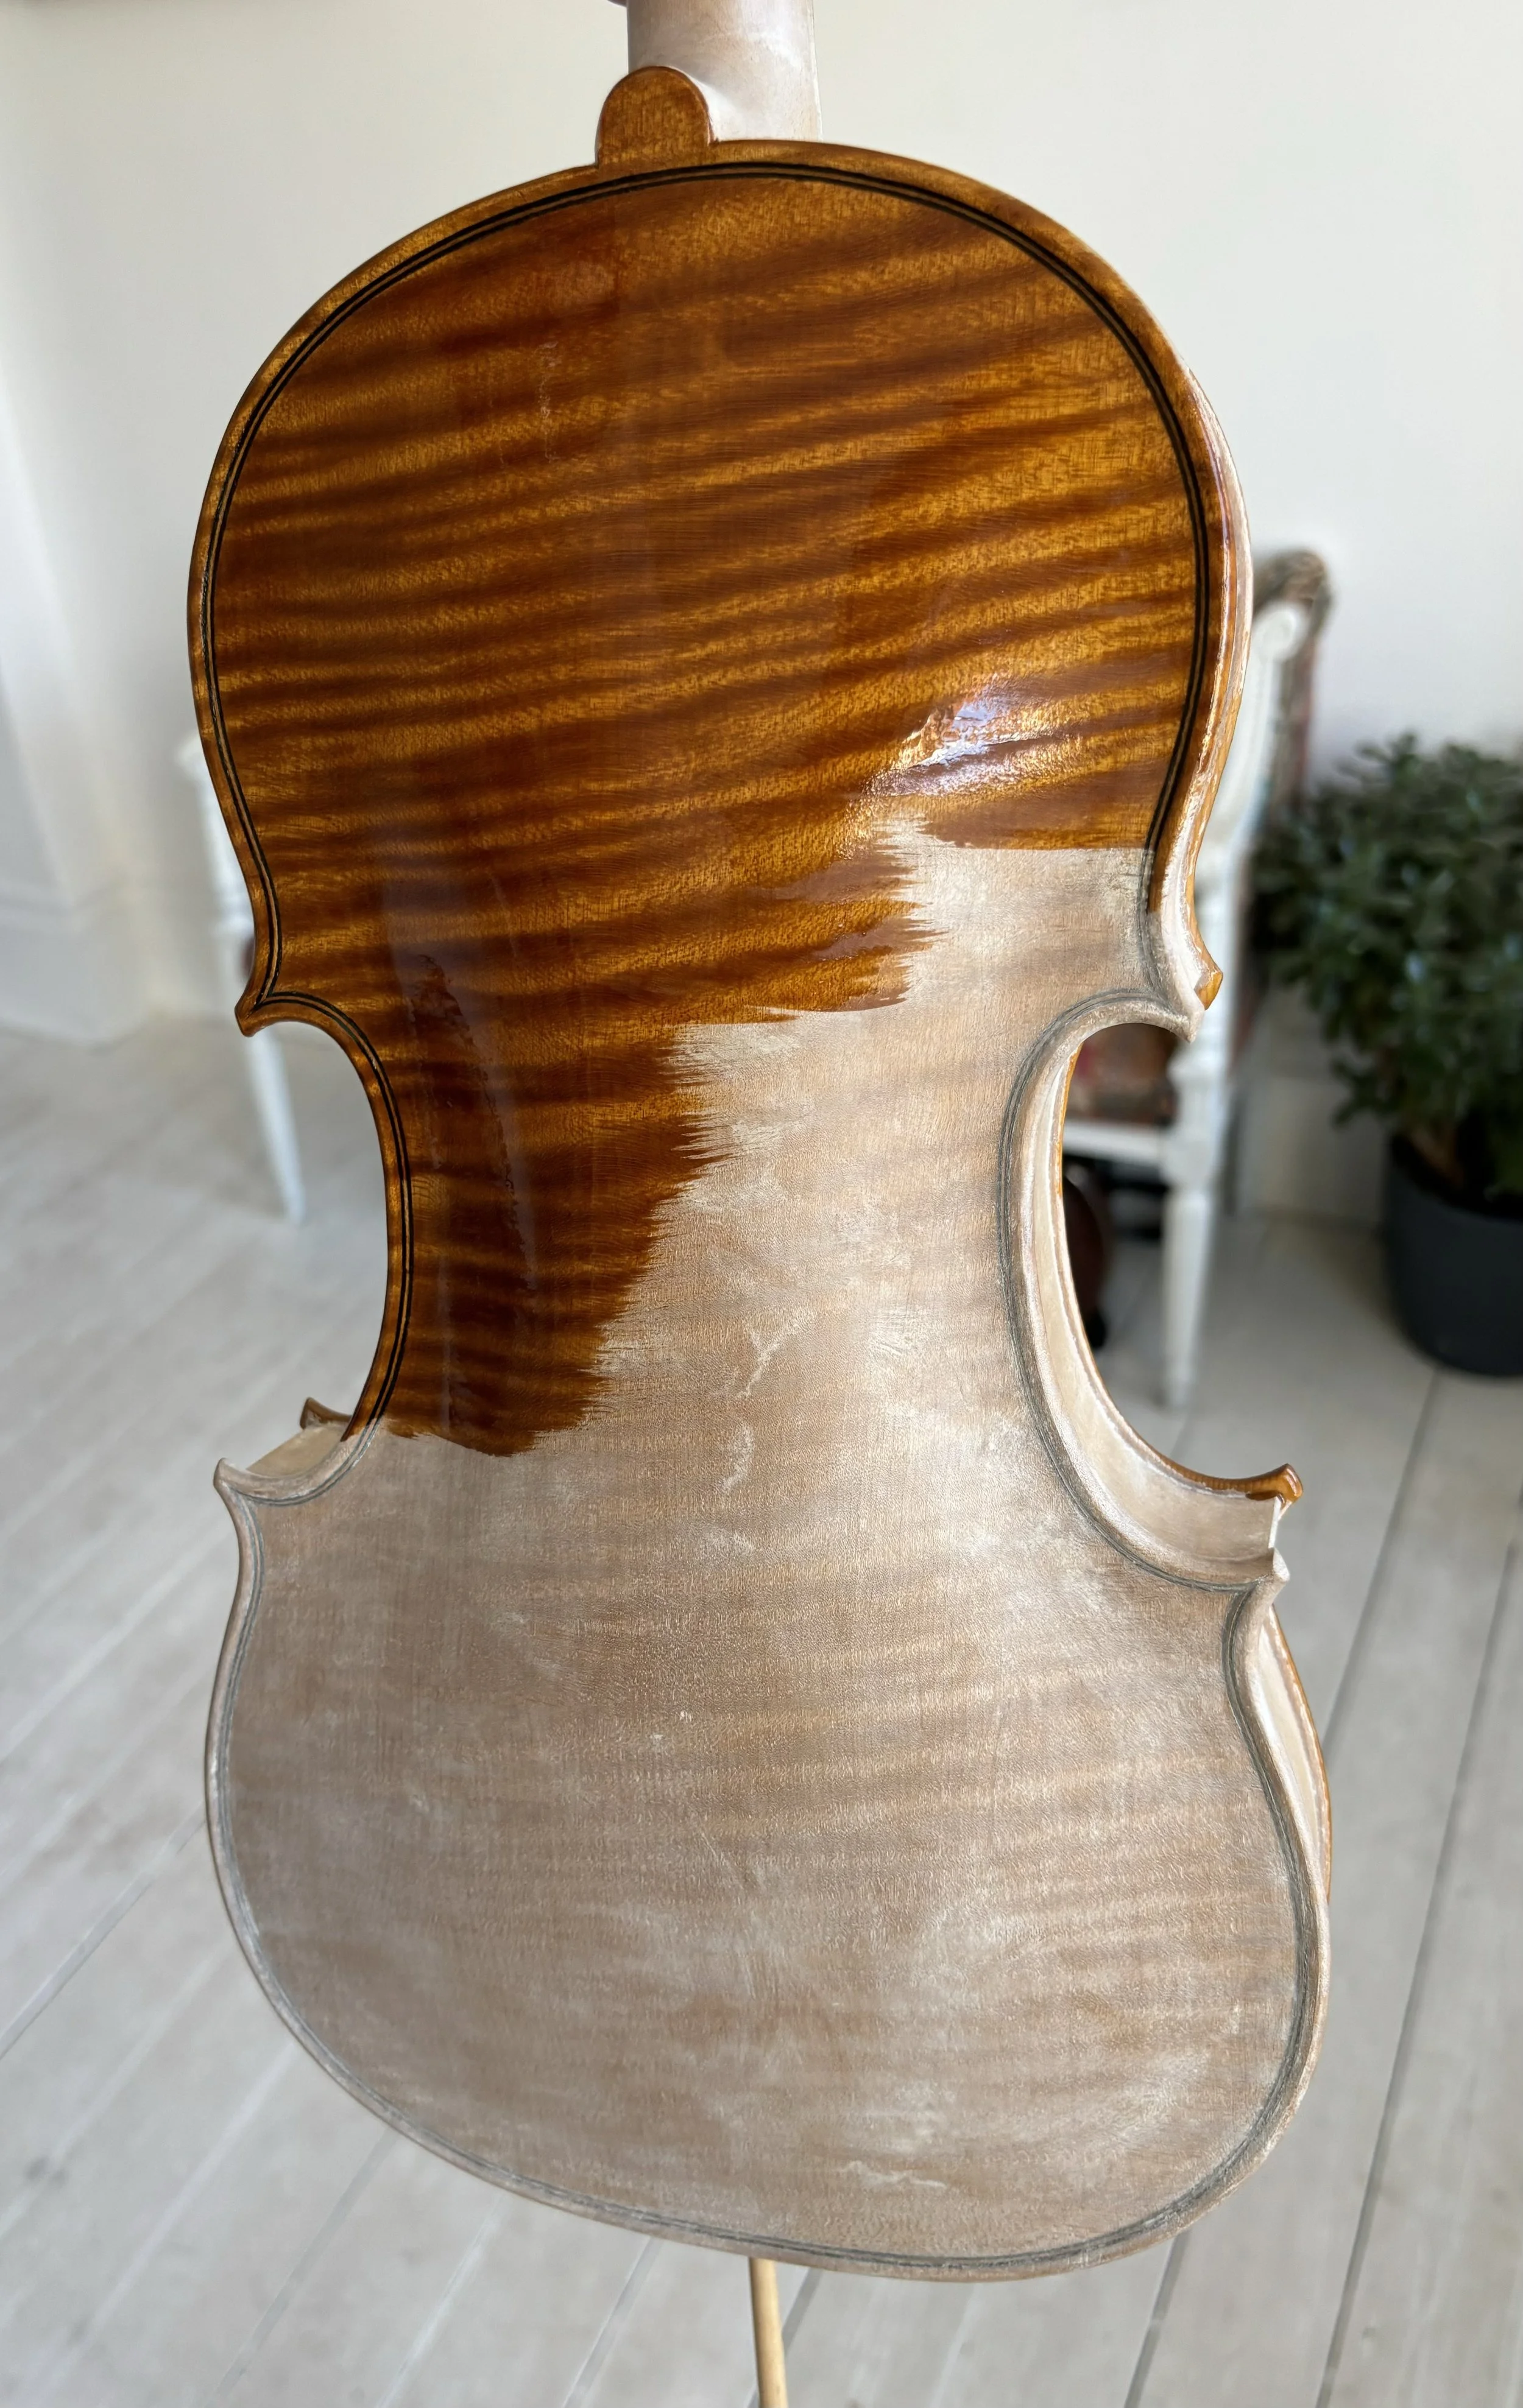
Above: The spruce front of a new handmade violin developing its colour and character over the course of the tanning period.
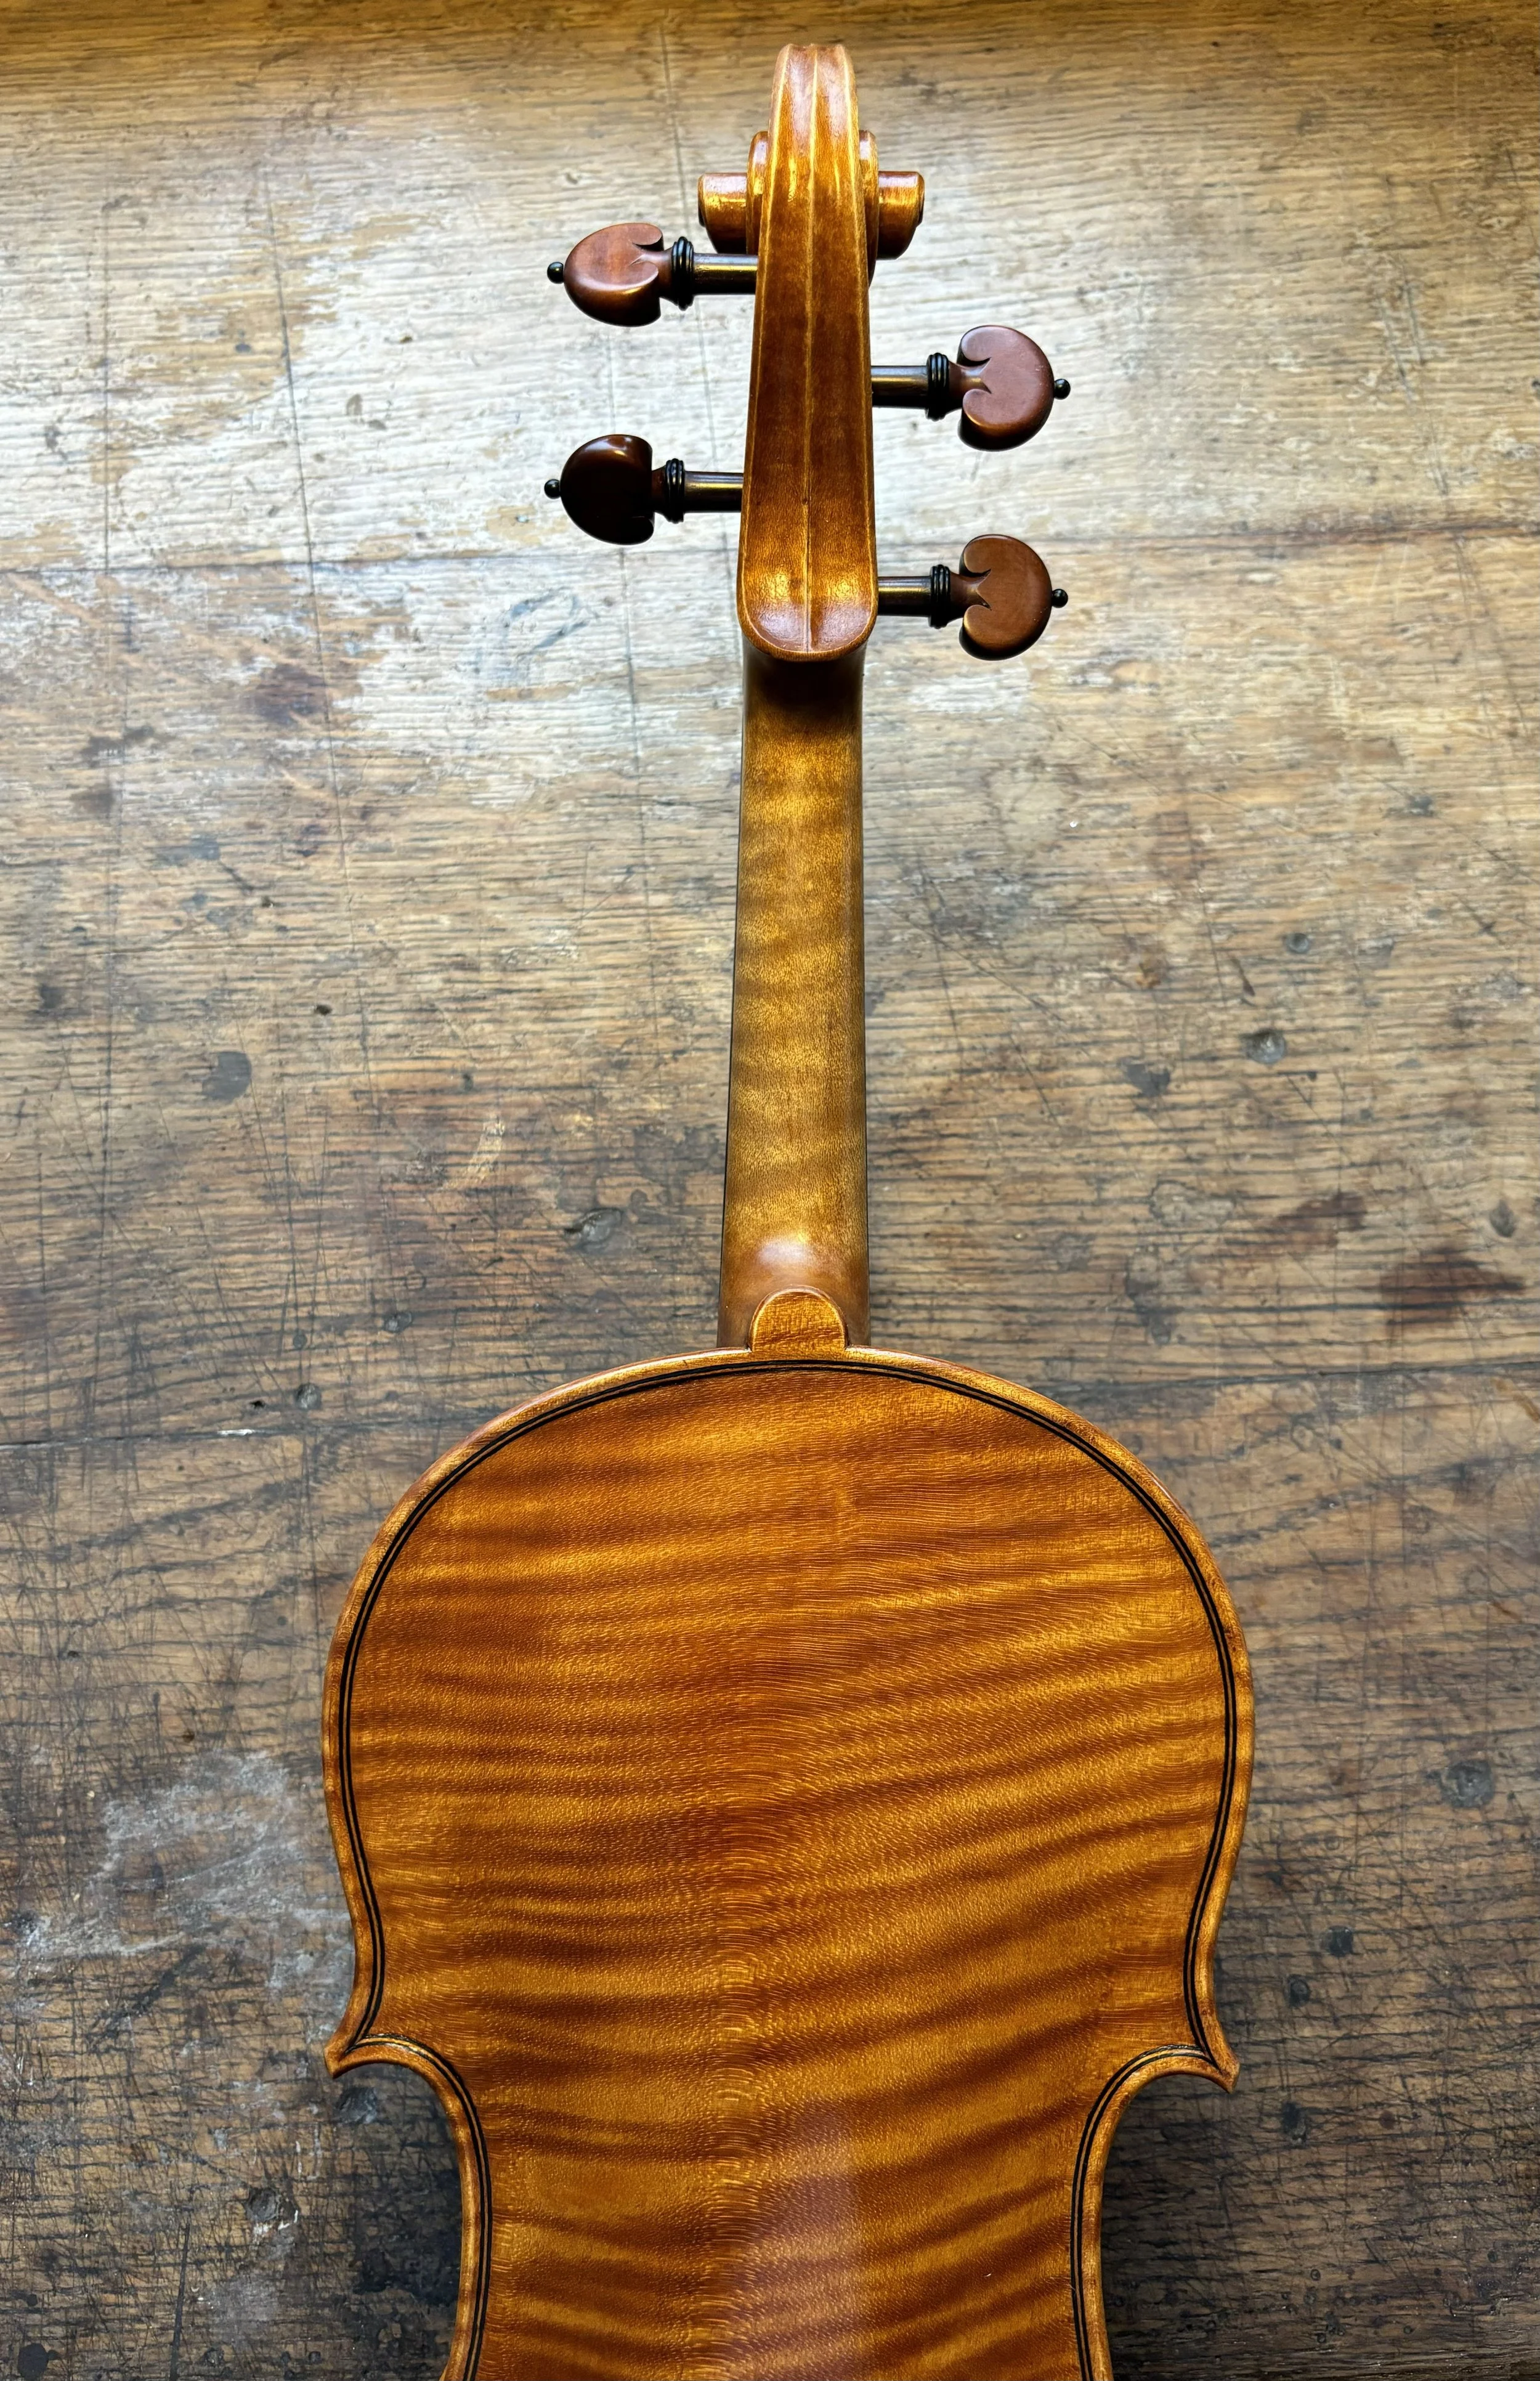
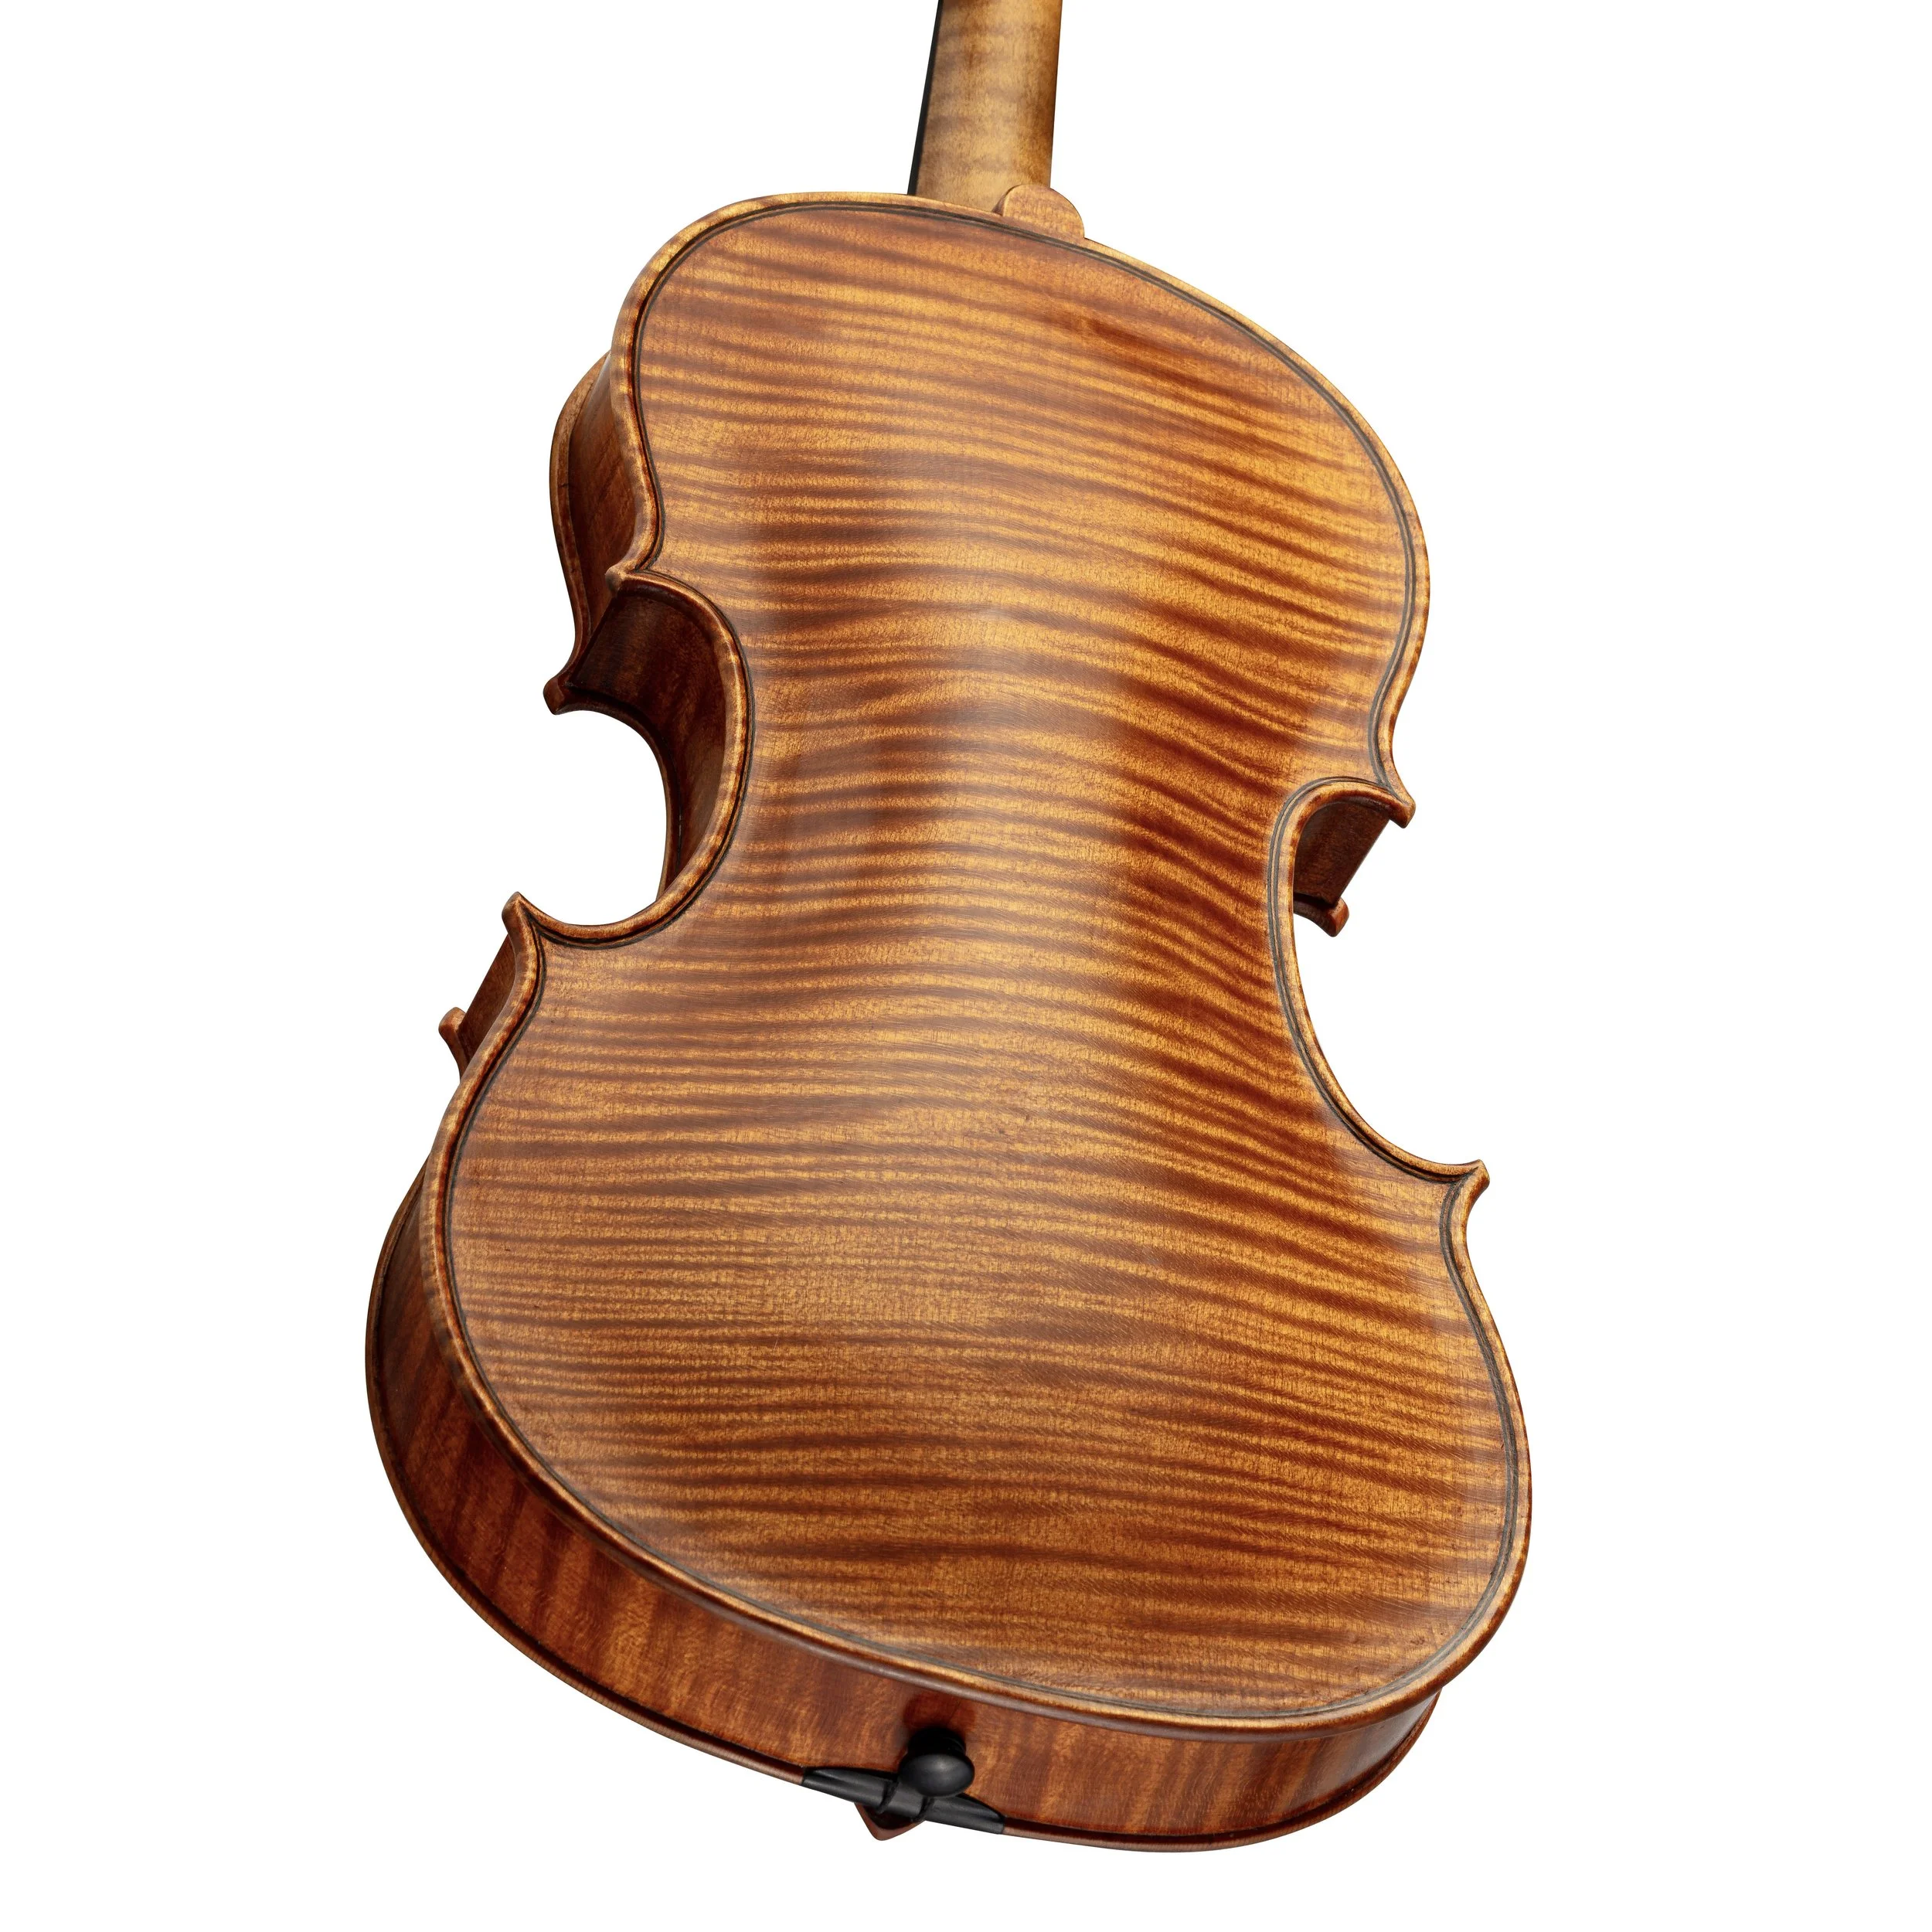
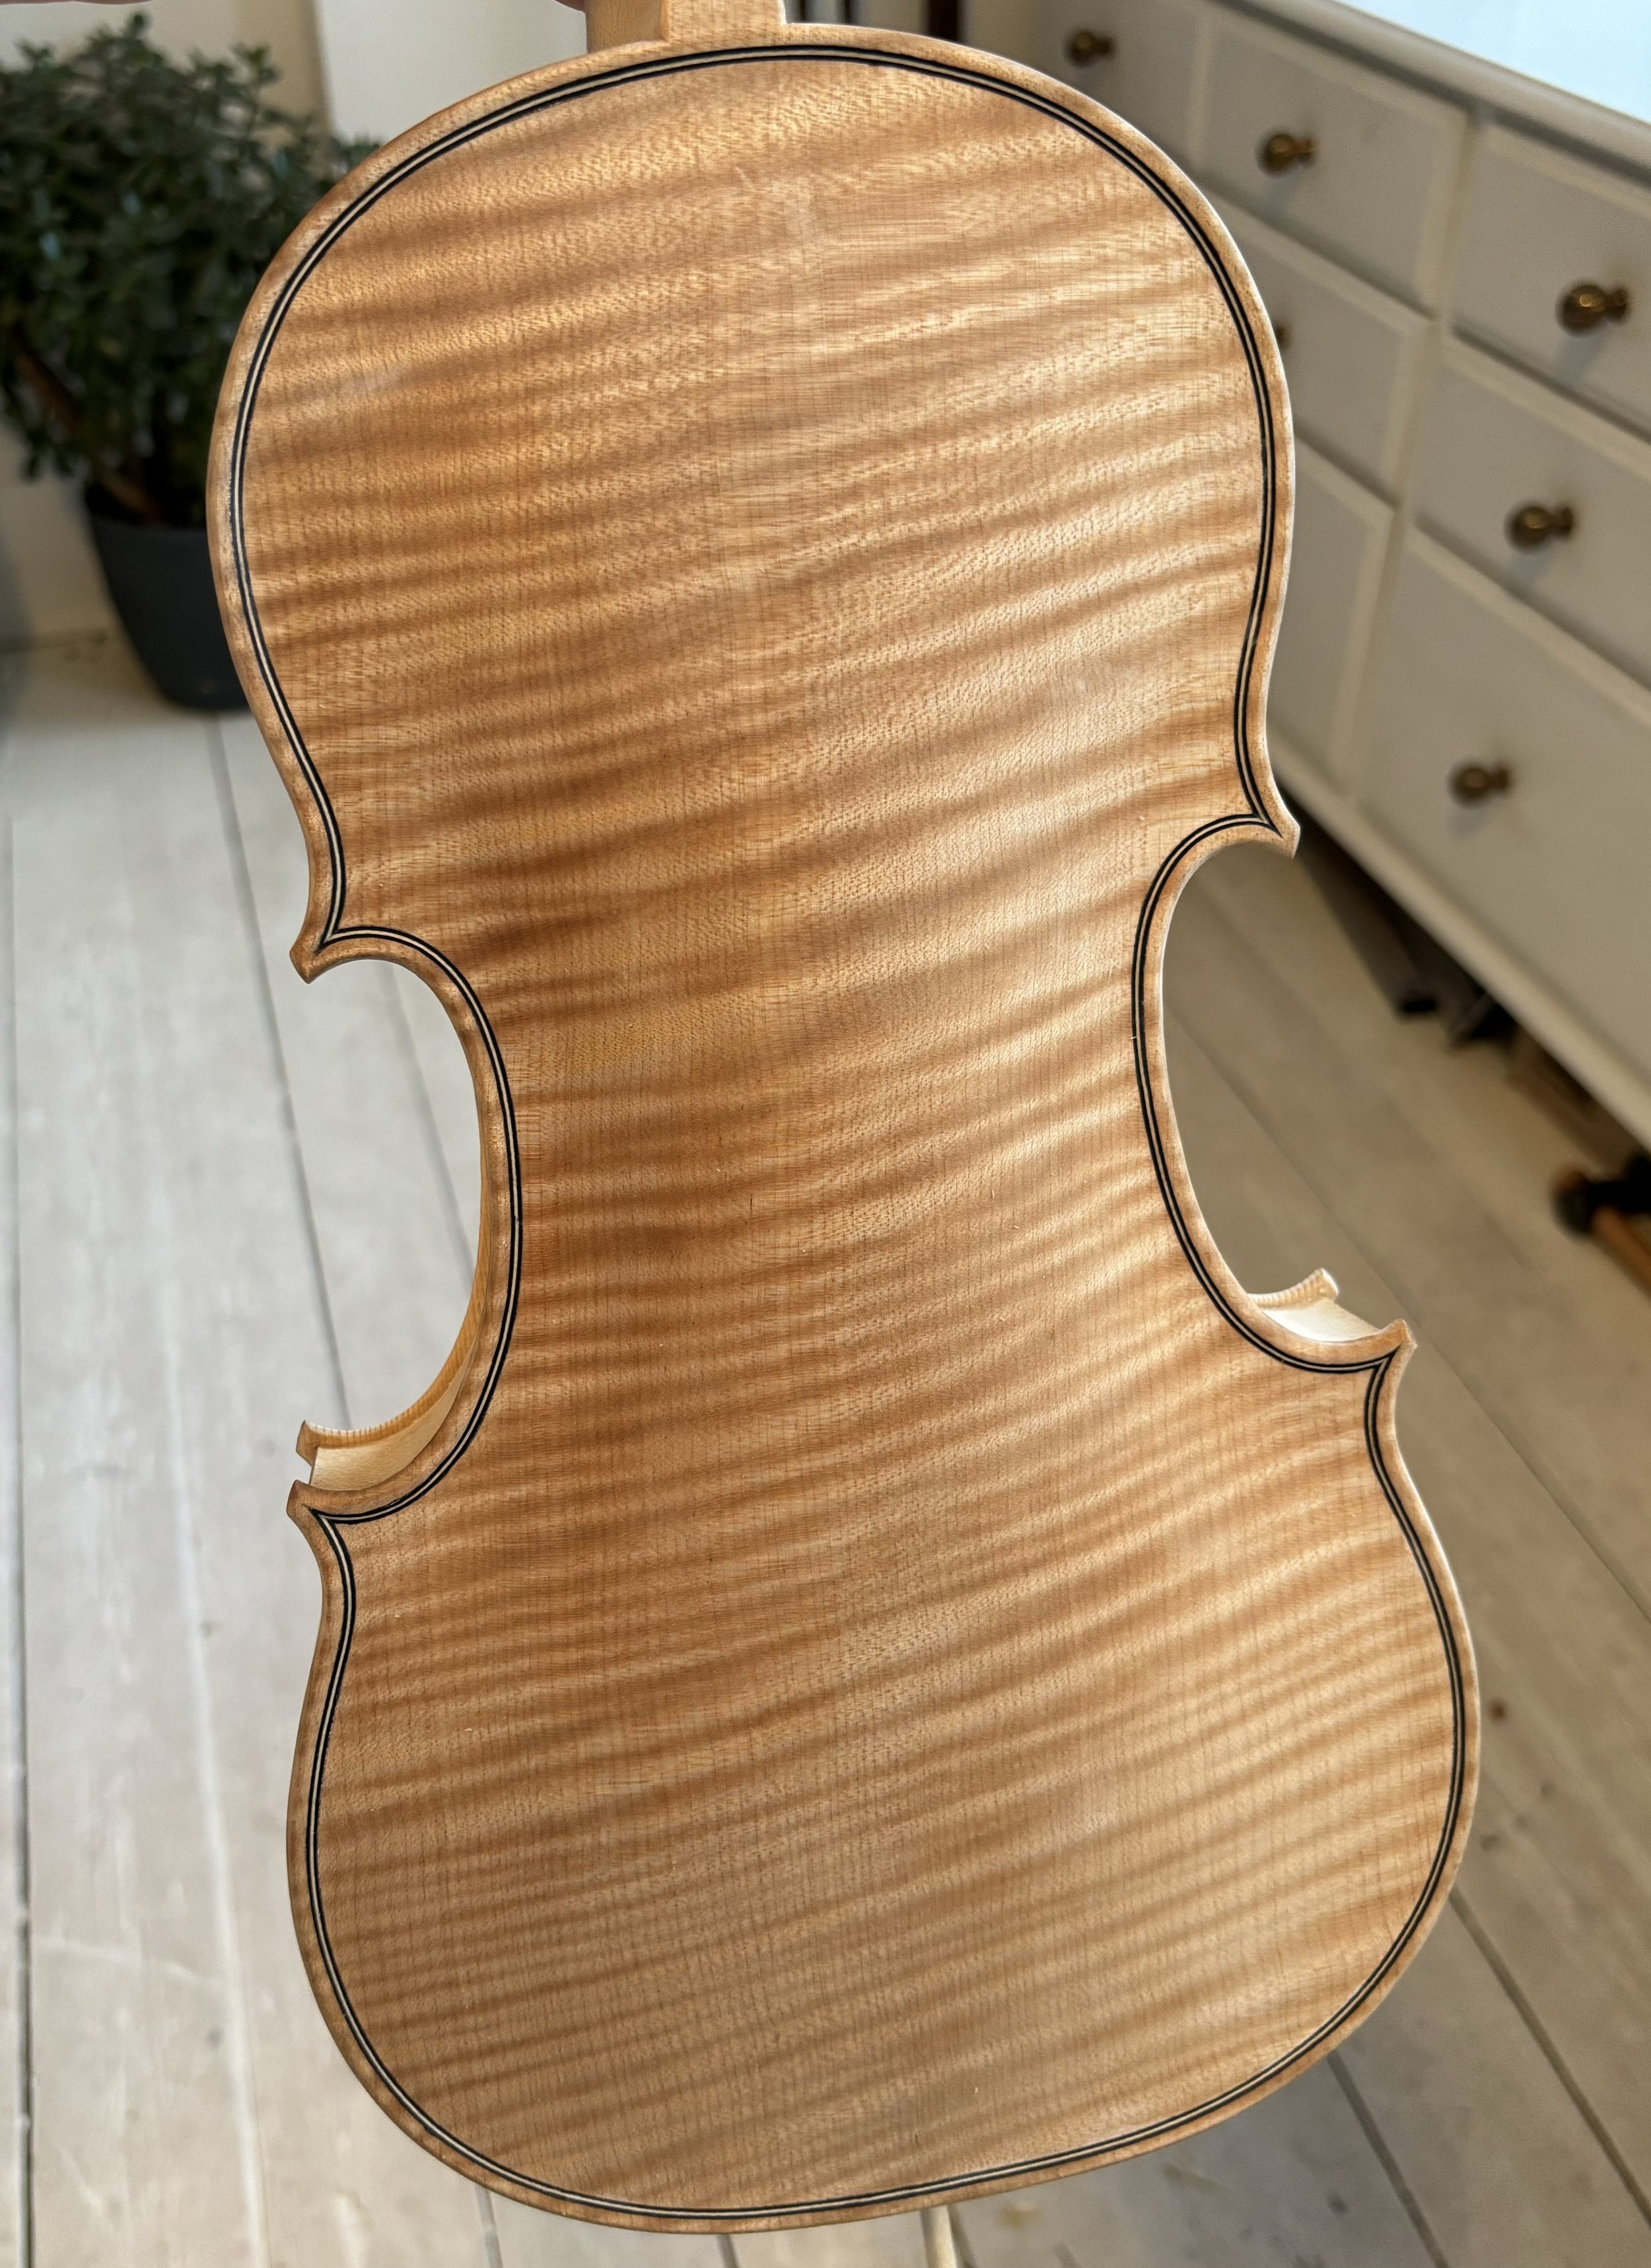
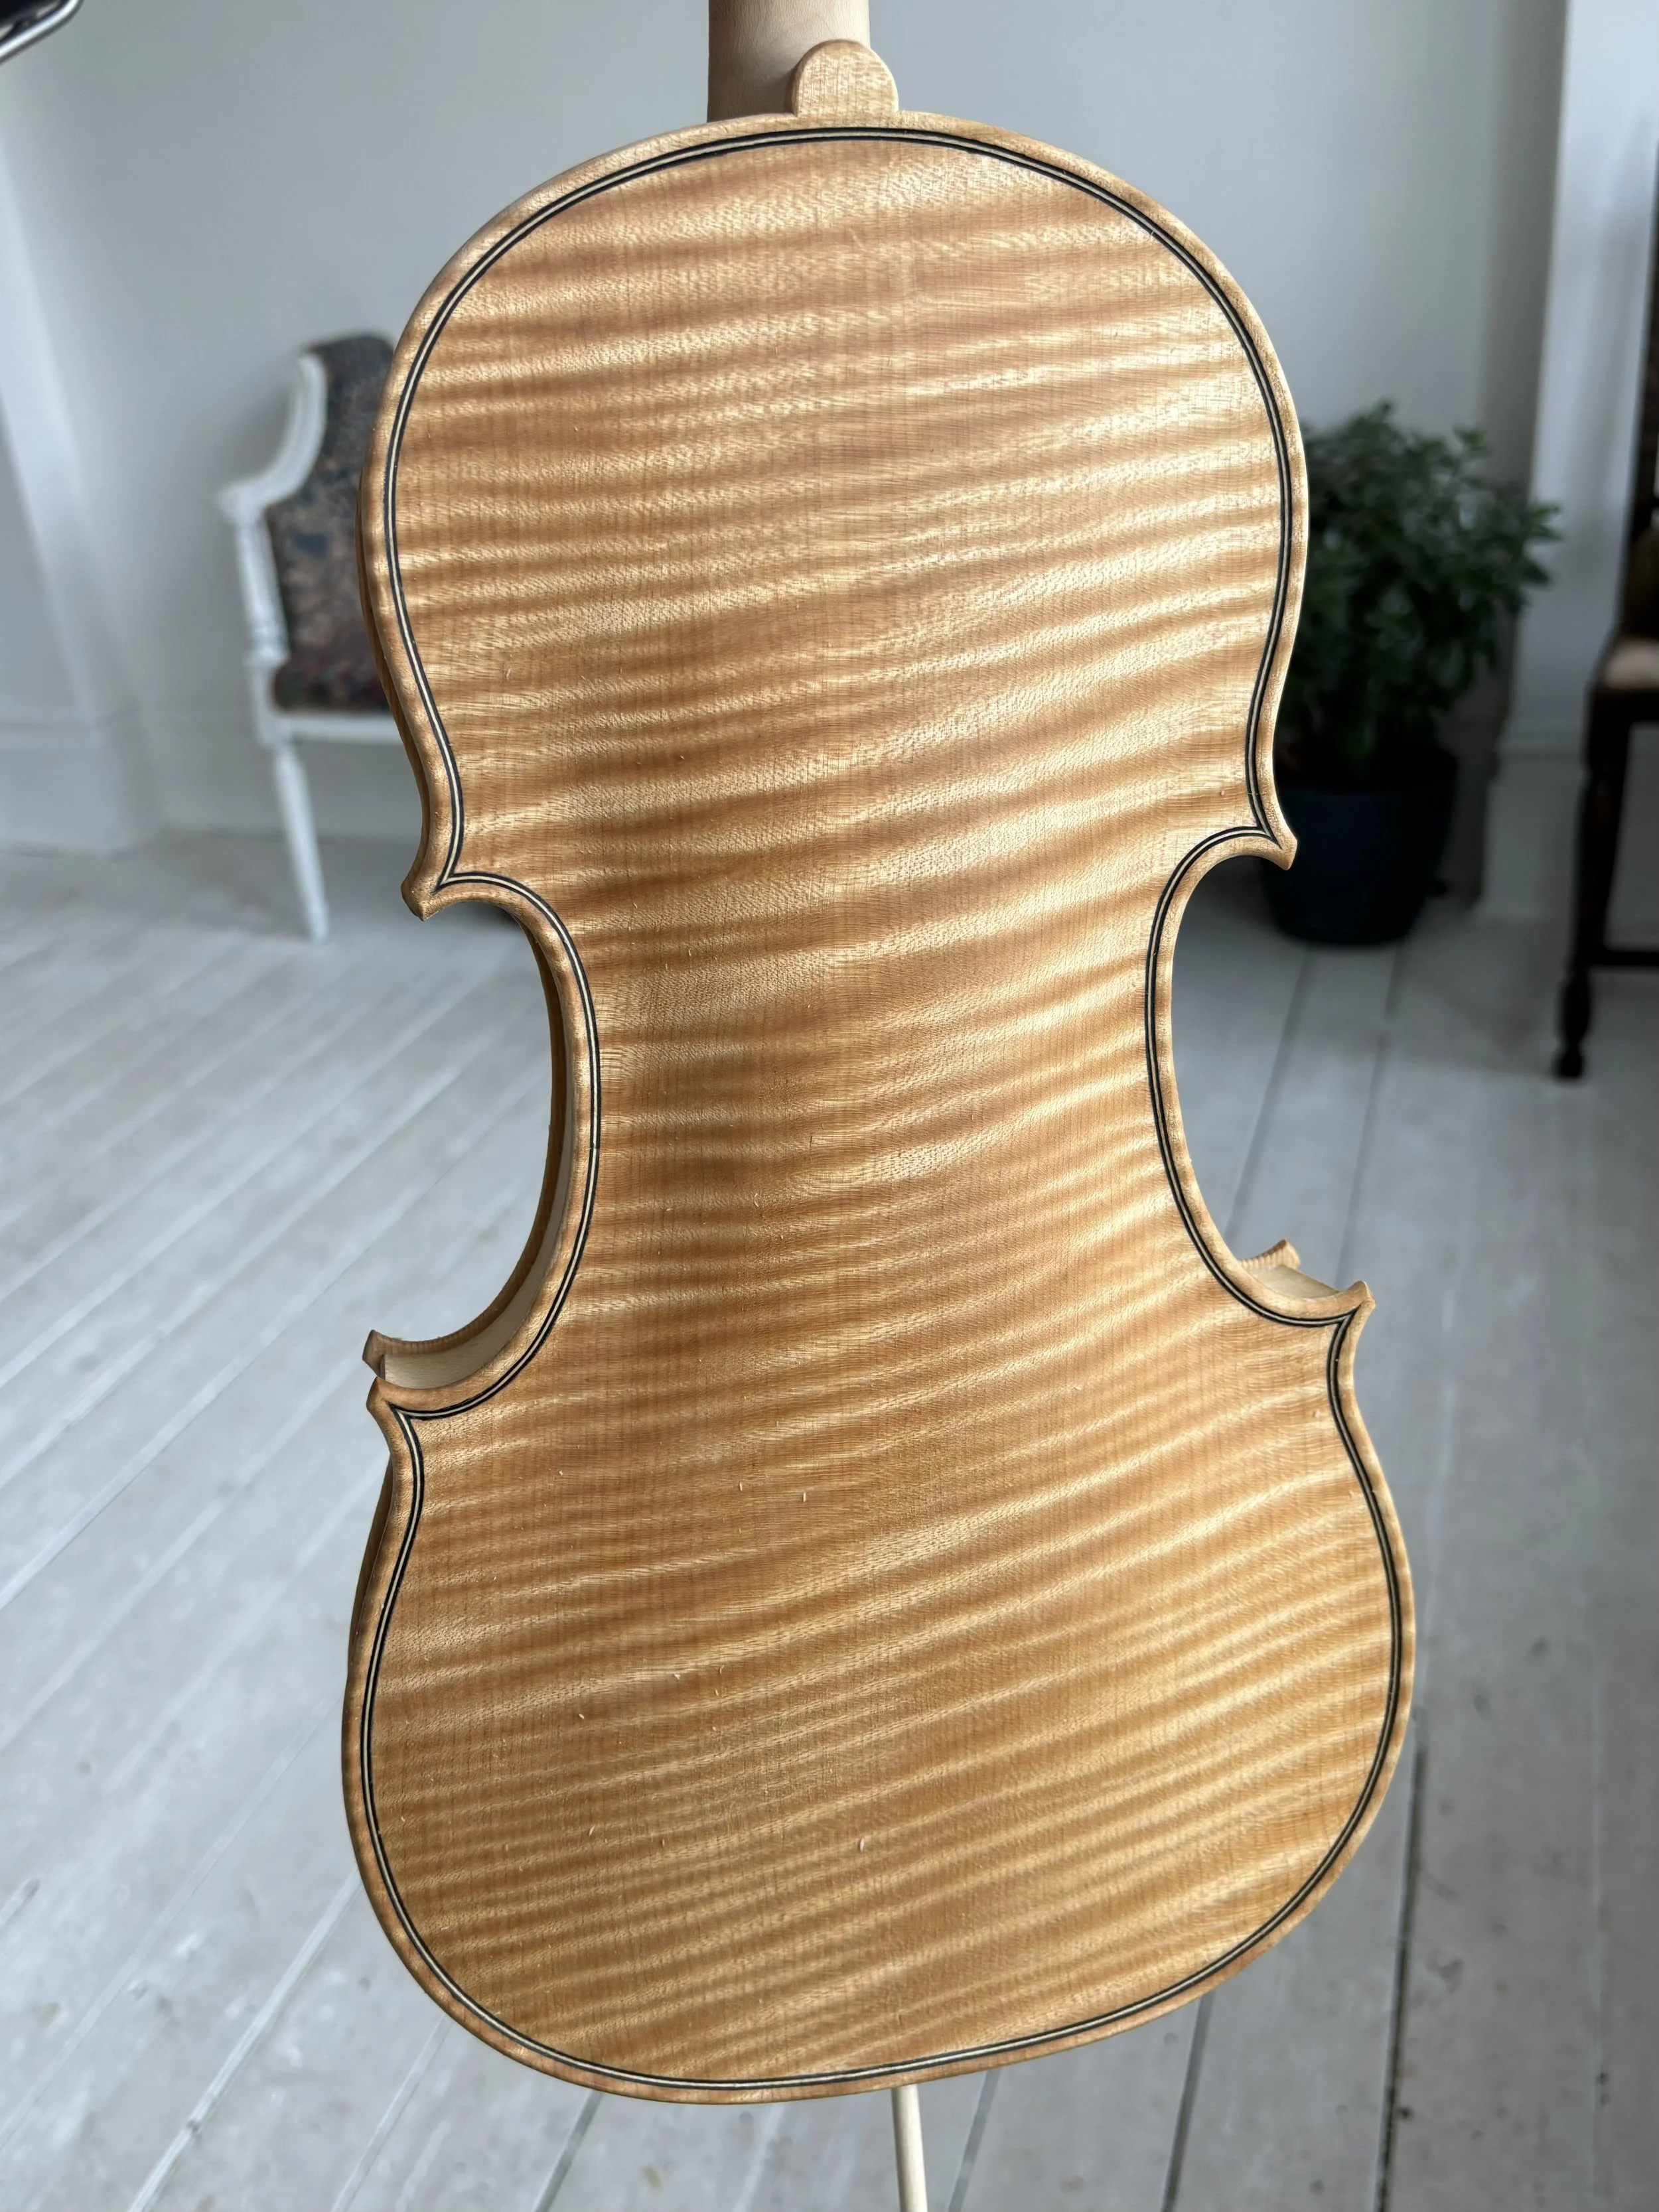
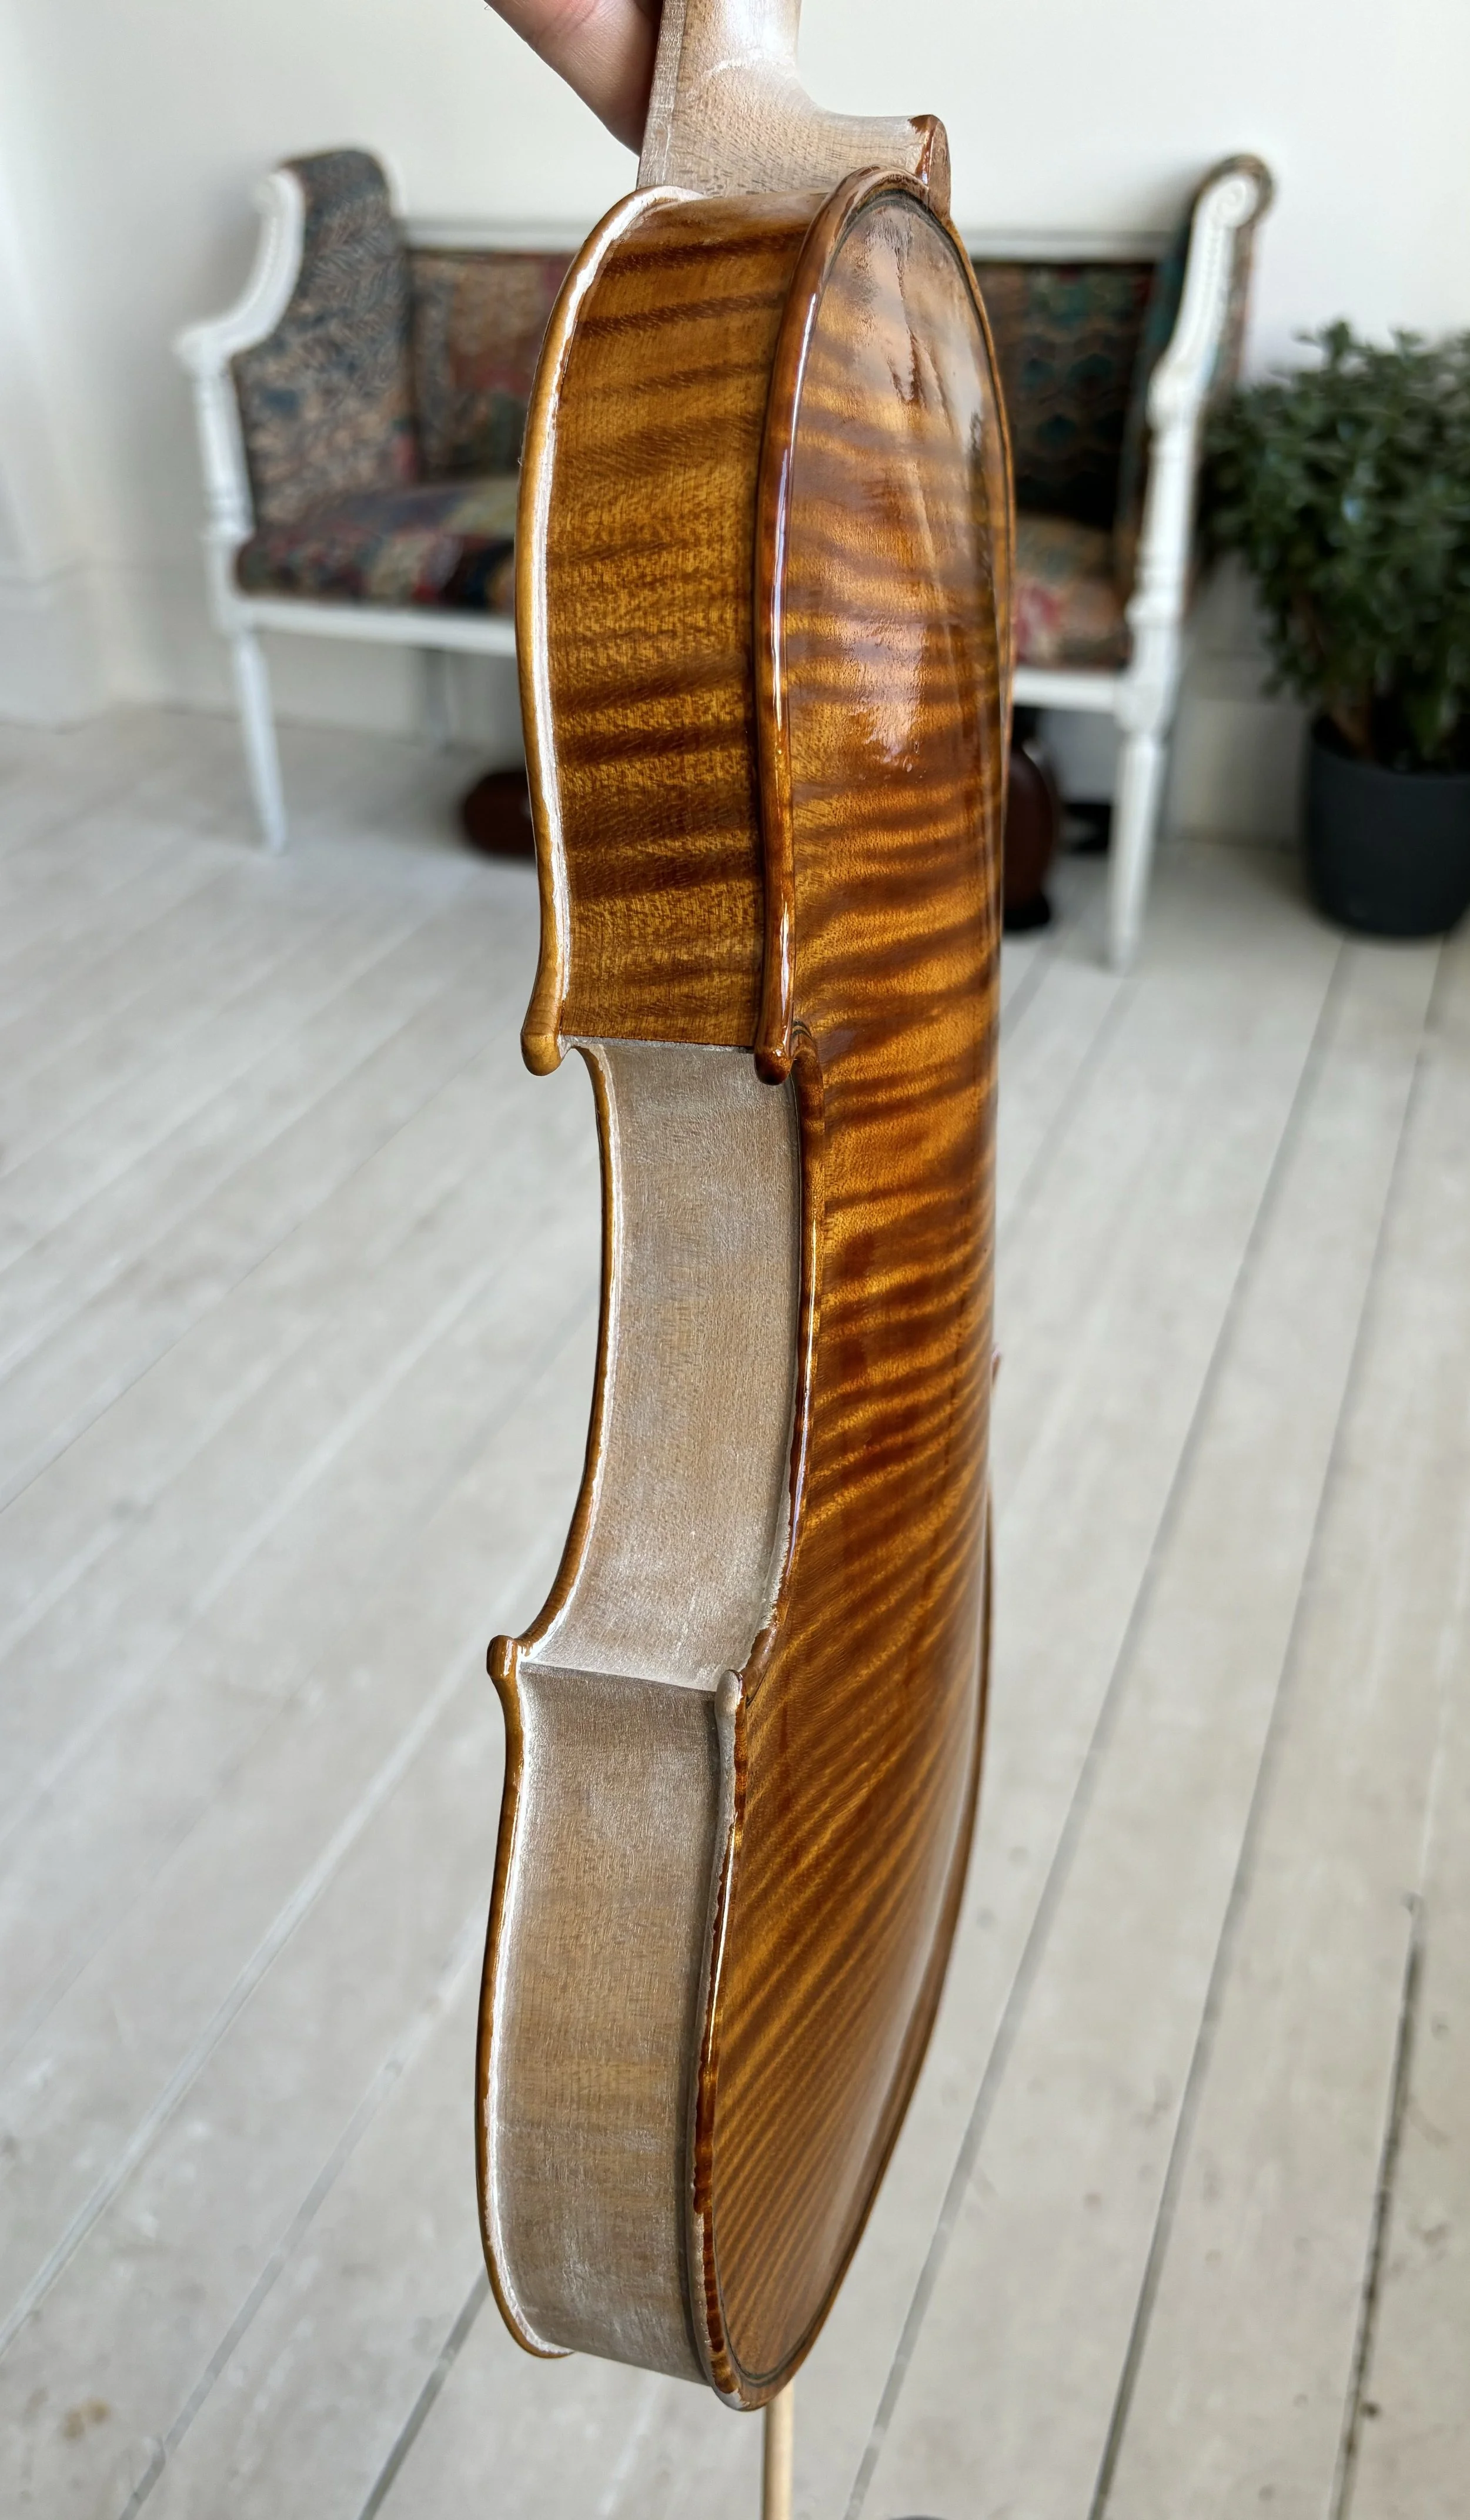
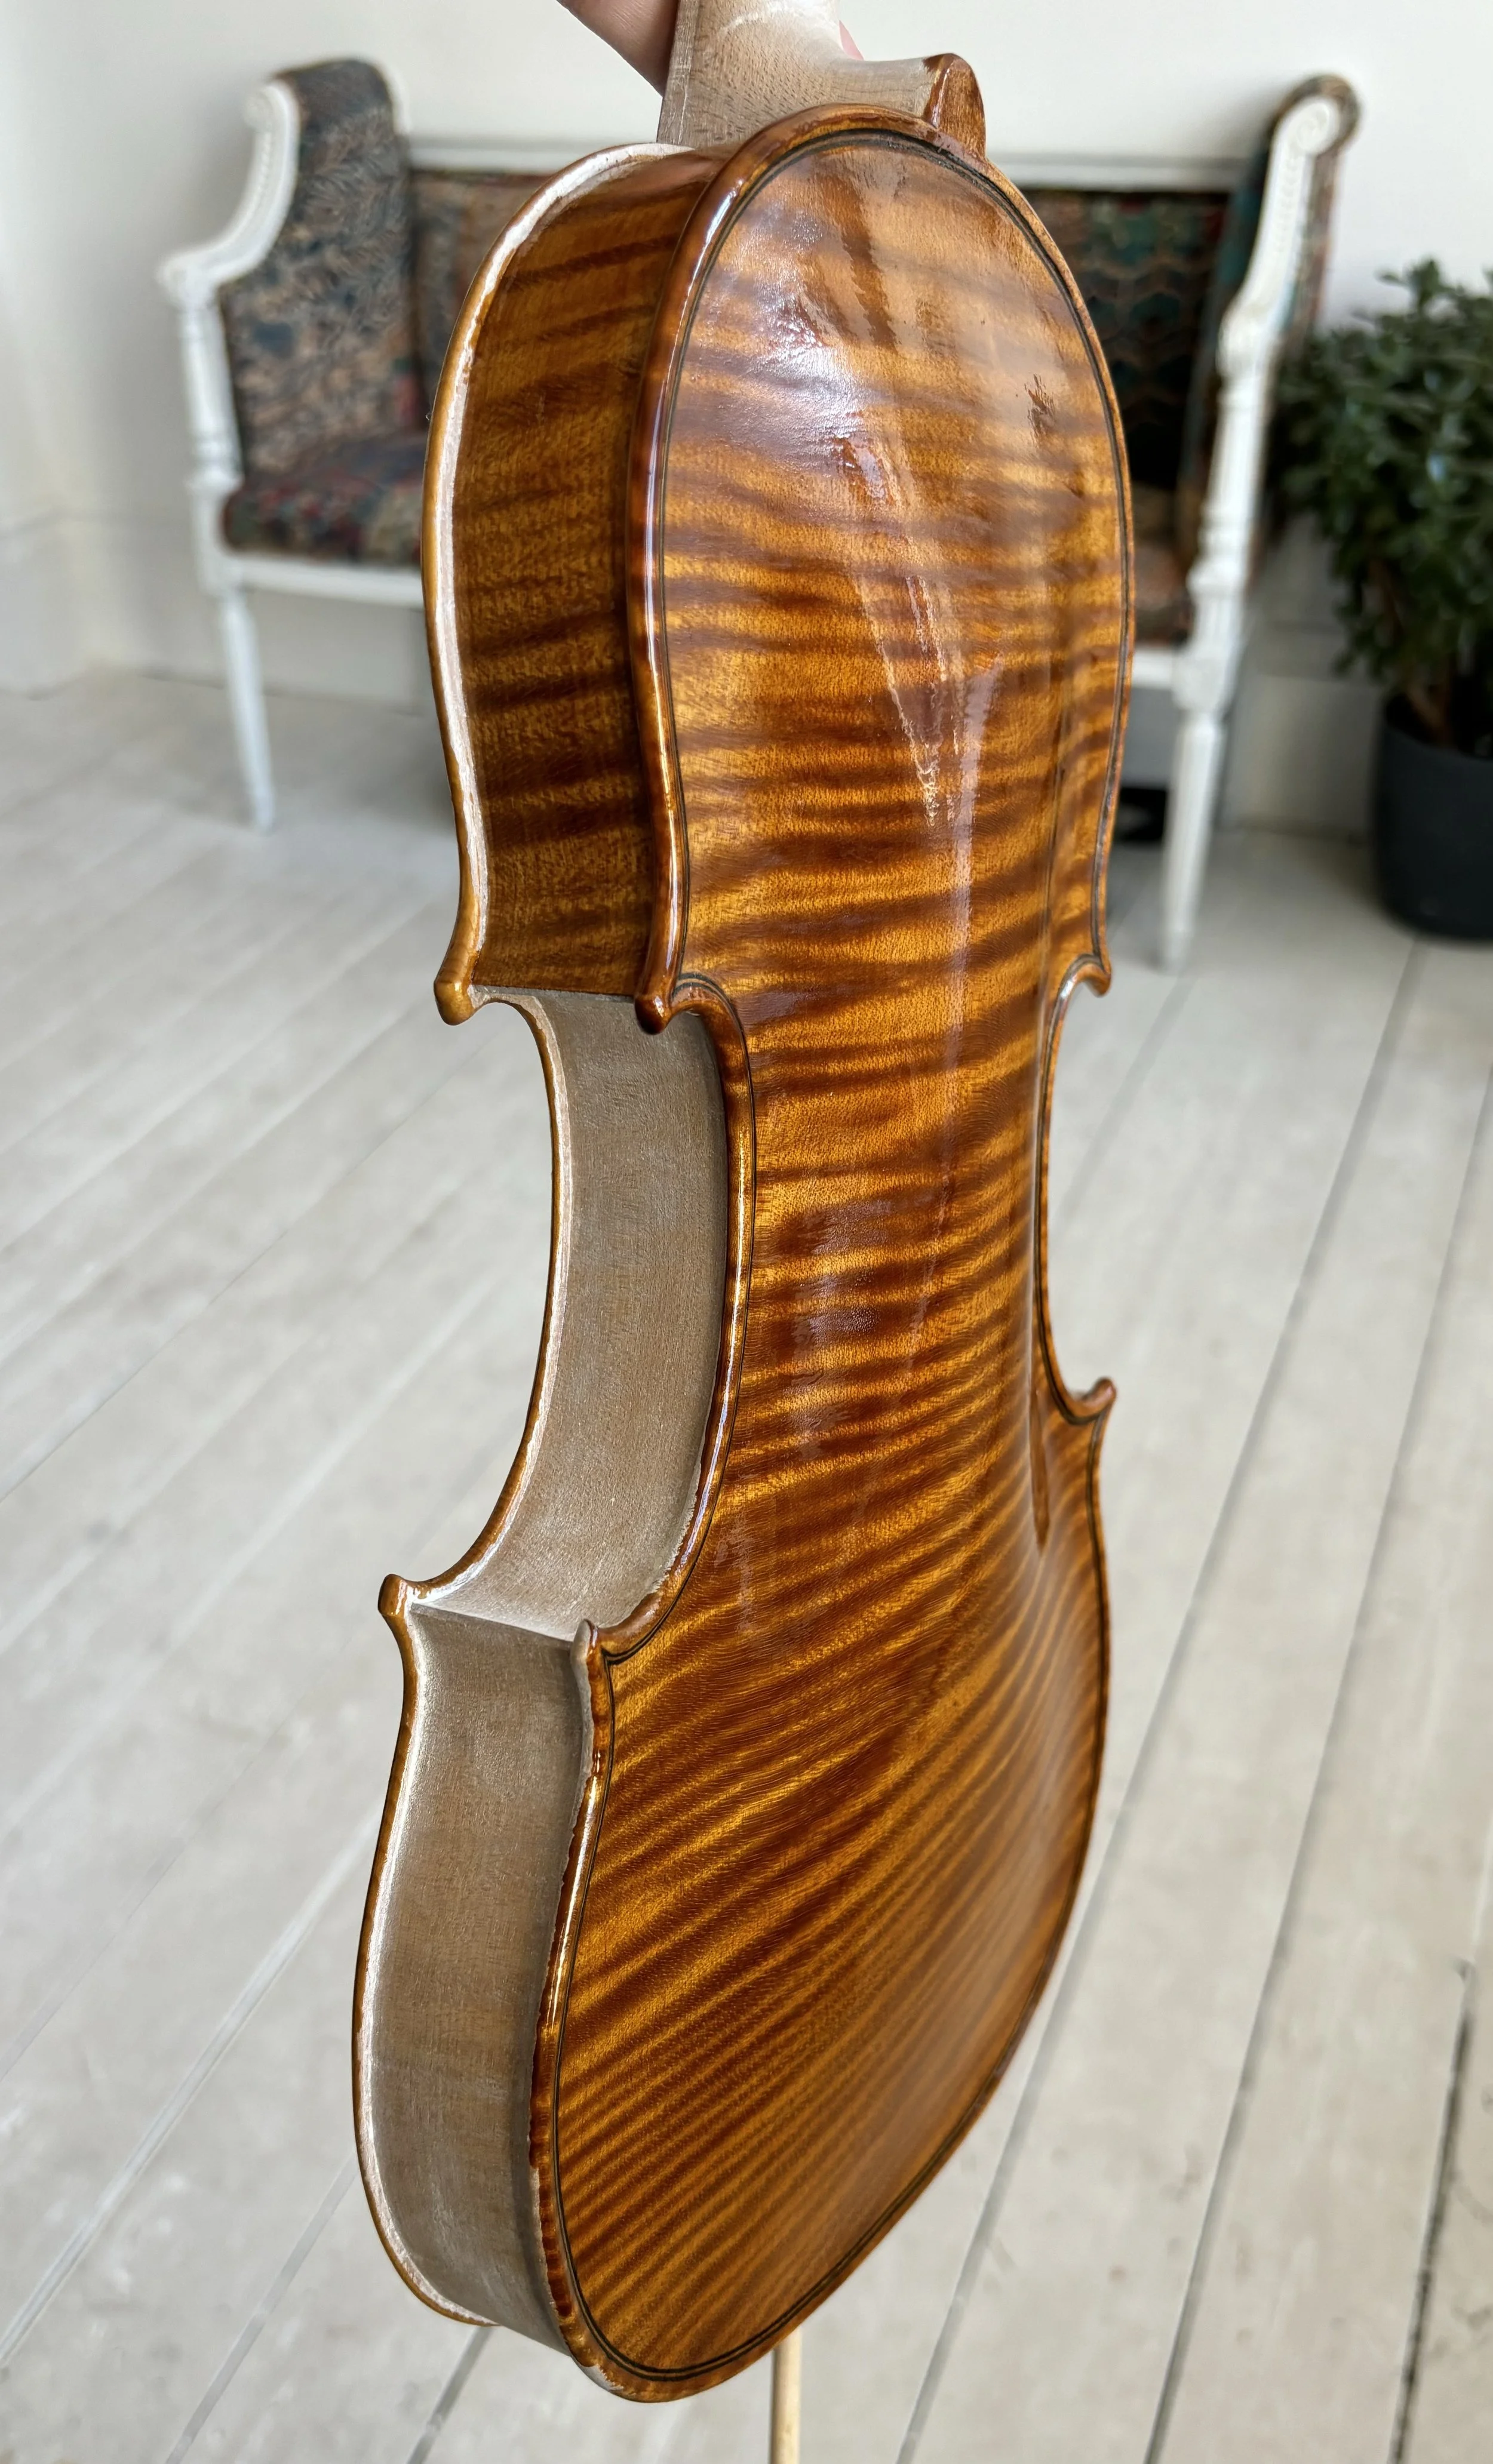
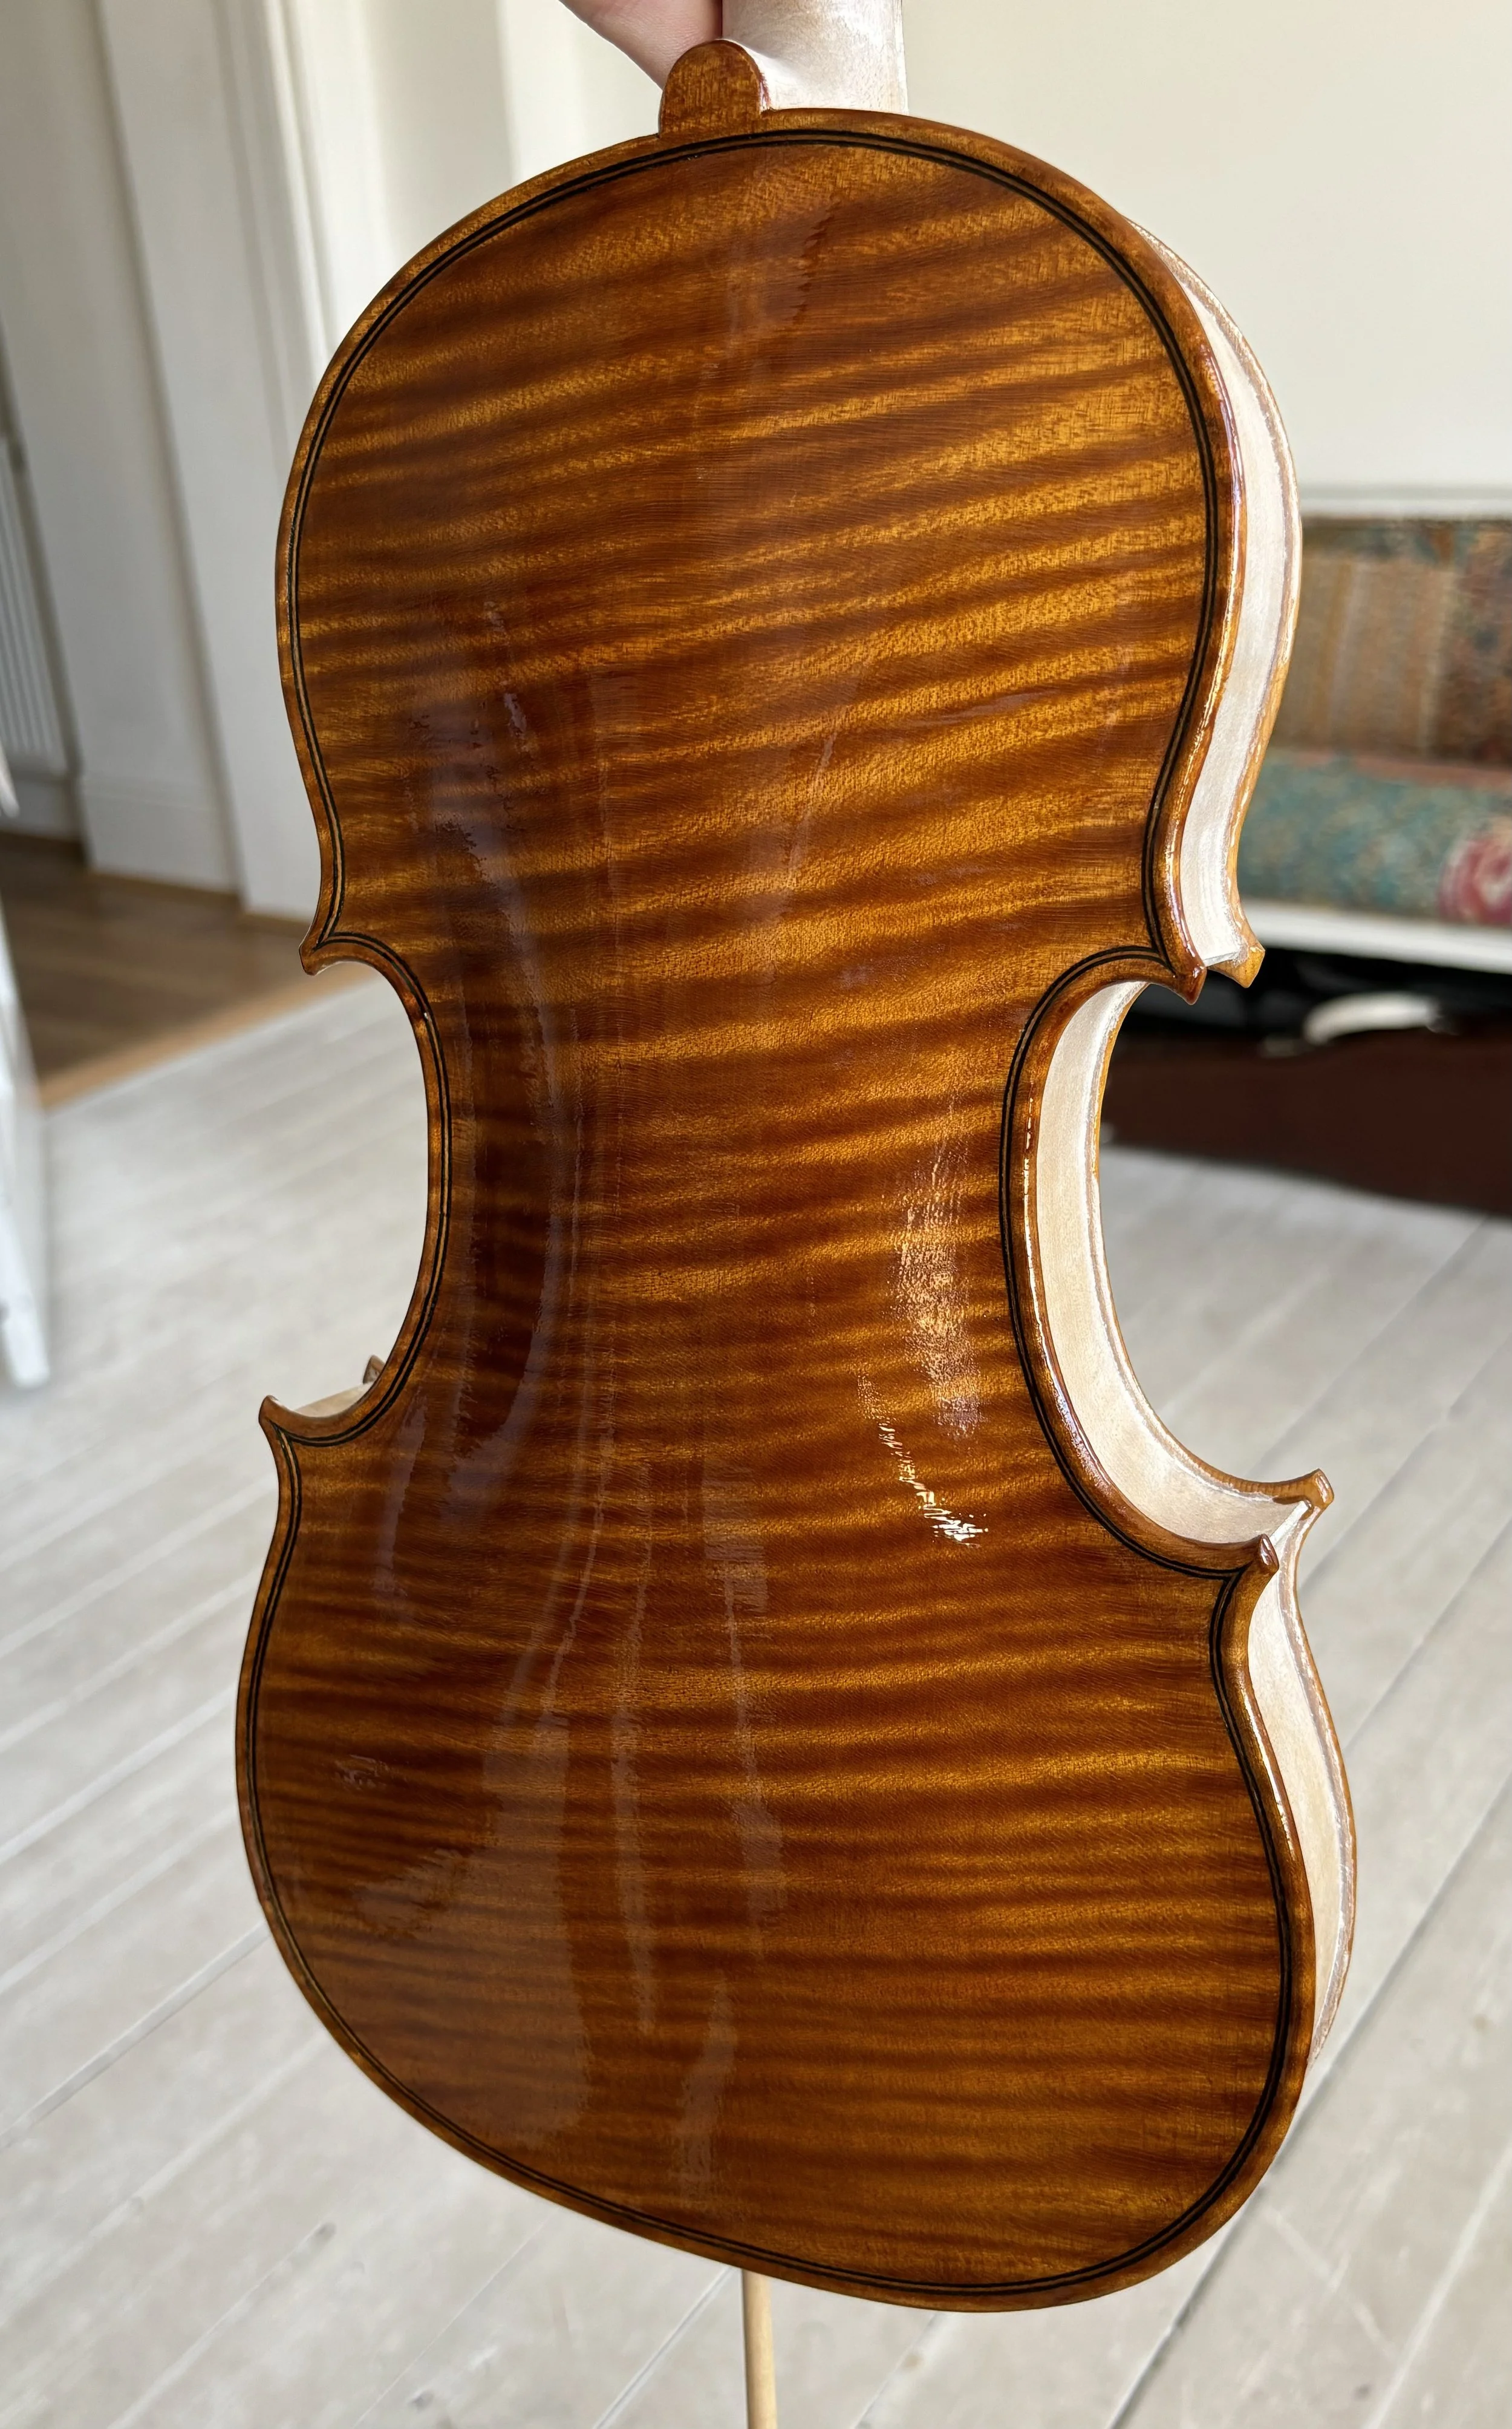
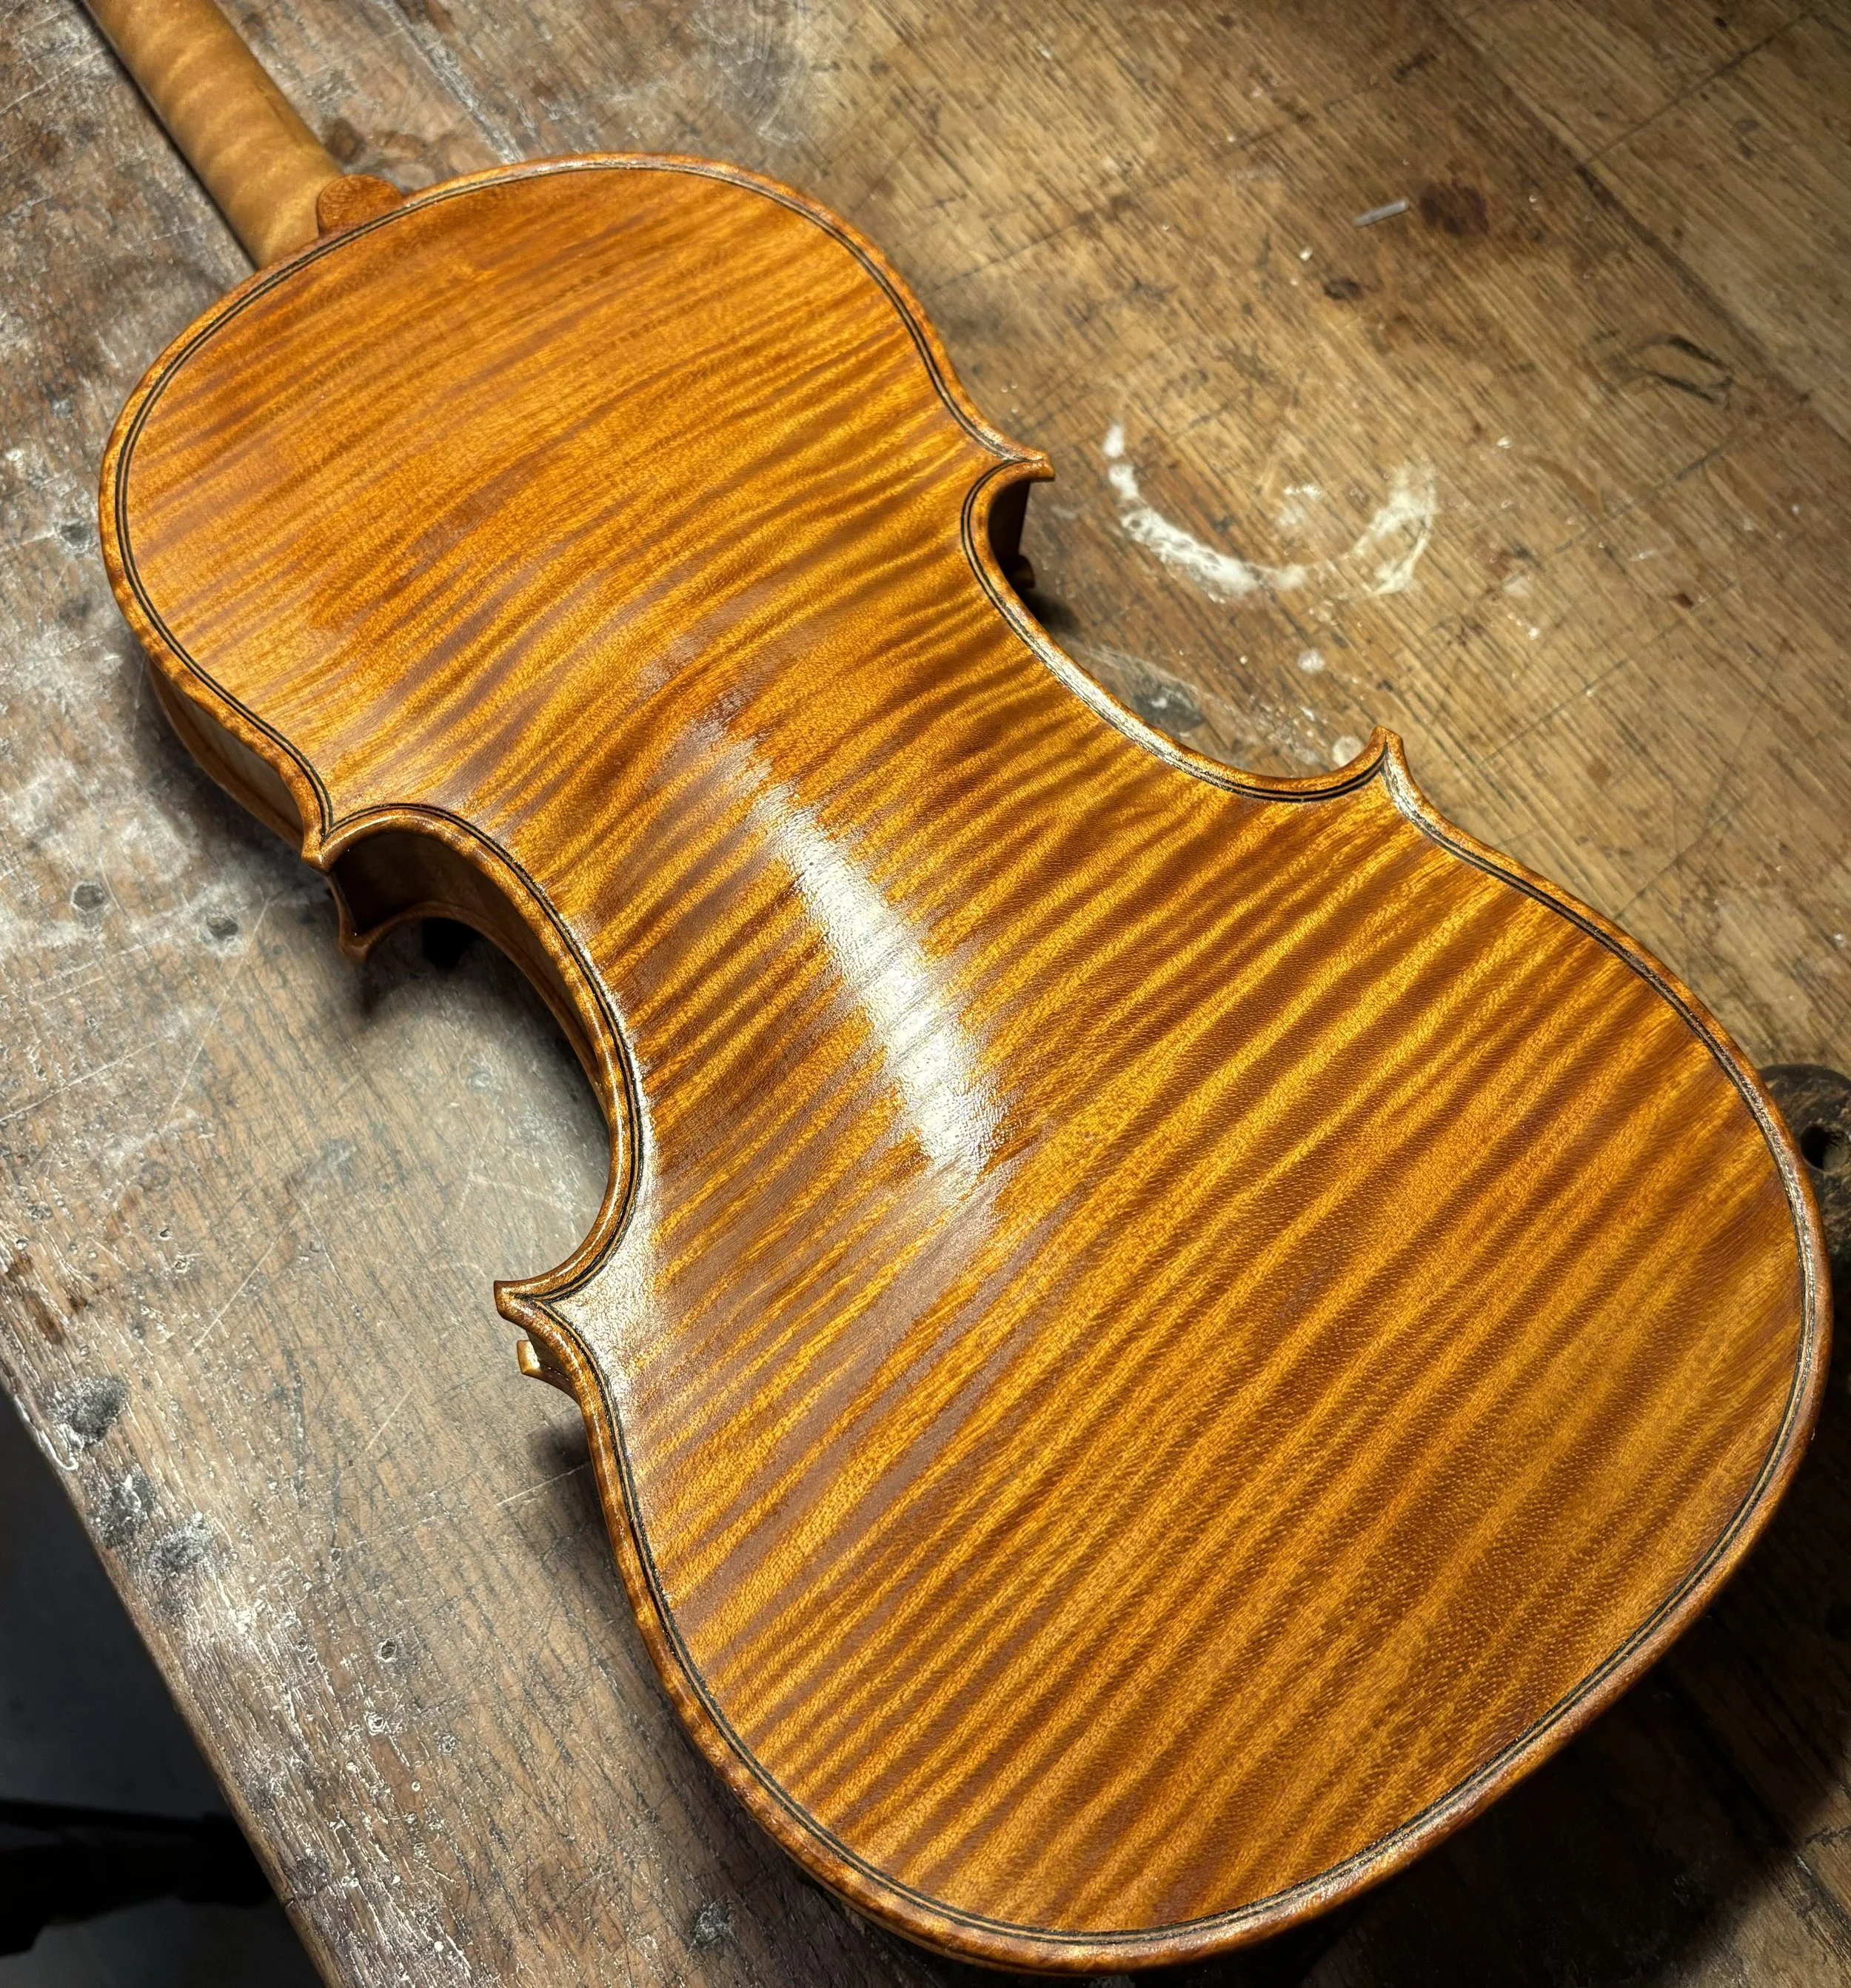
Below: The flamed maple back during the same tanning process.
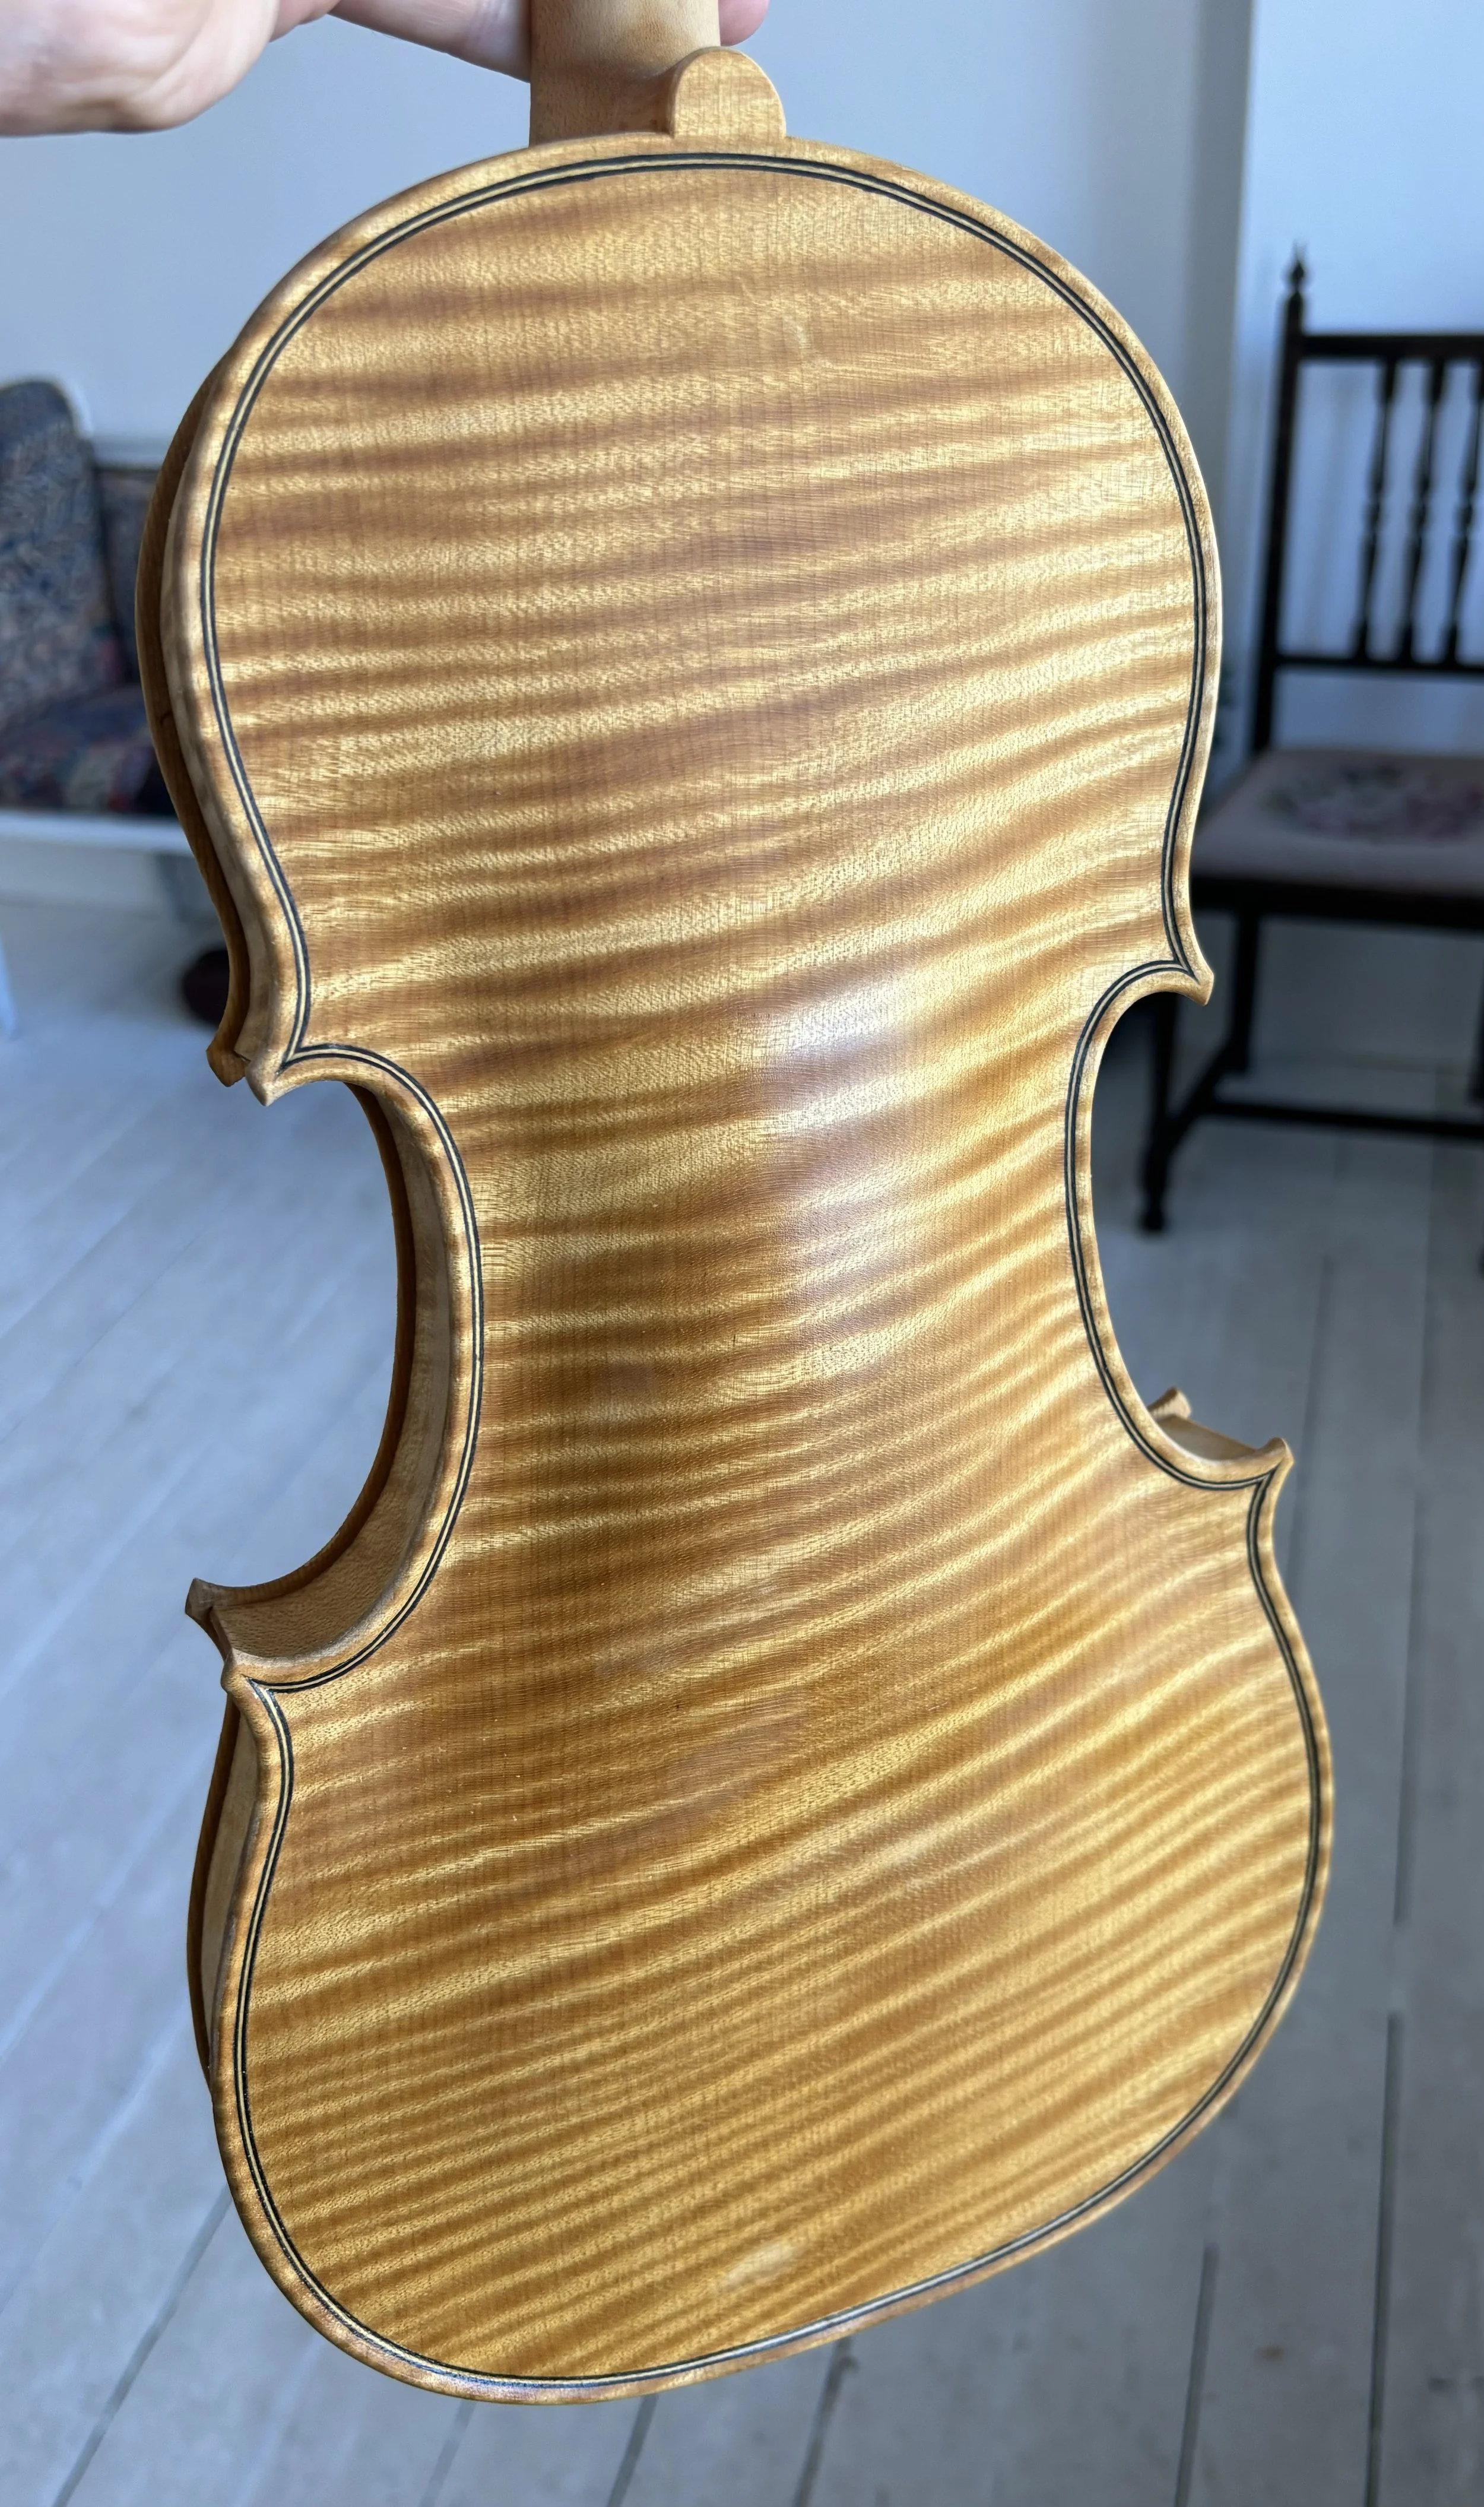
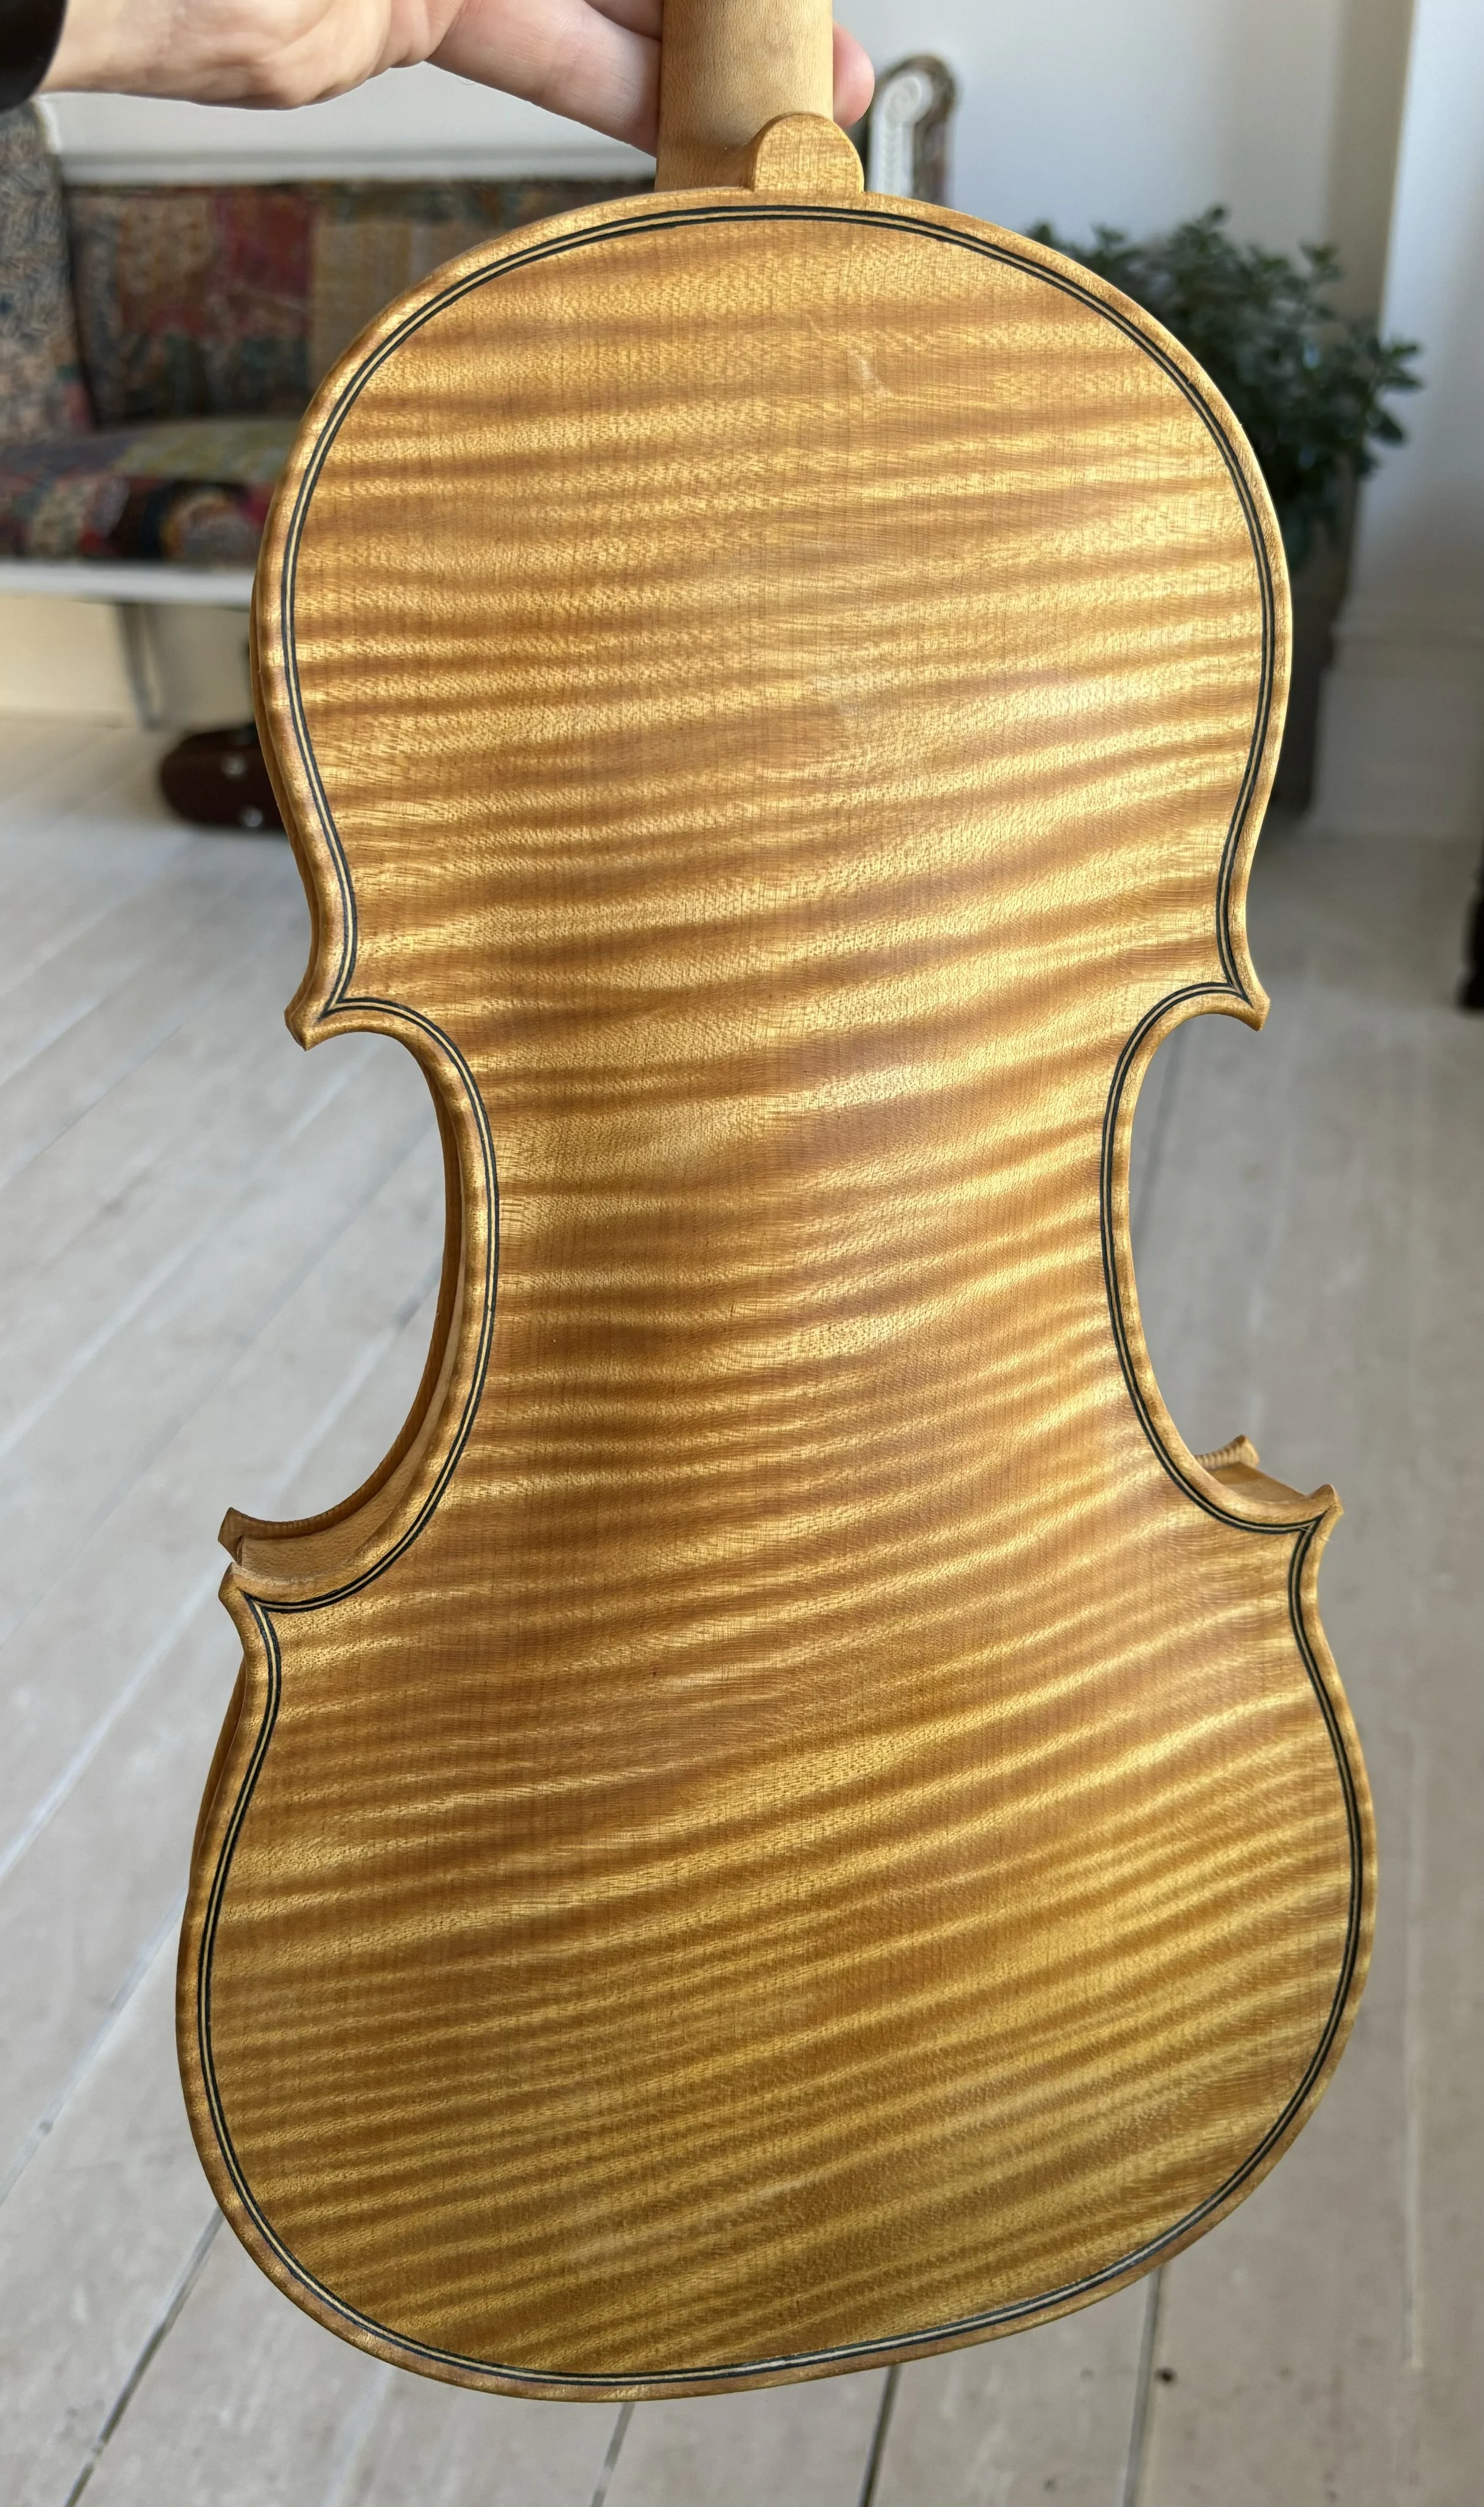
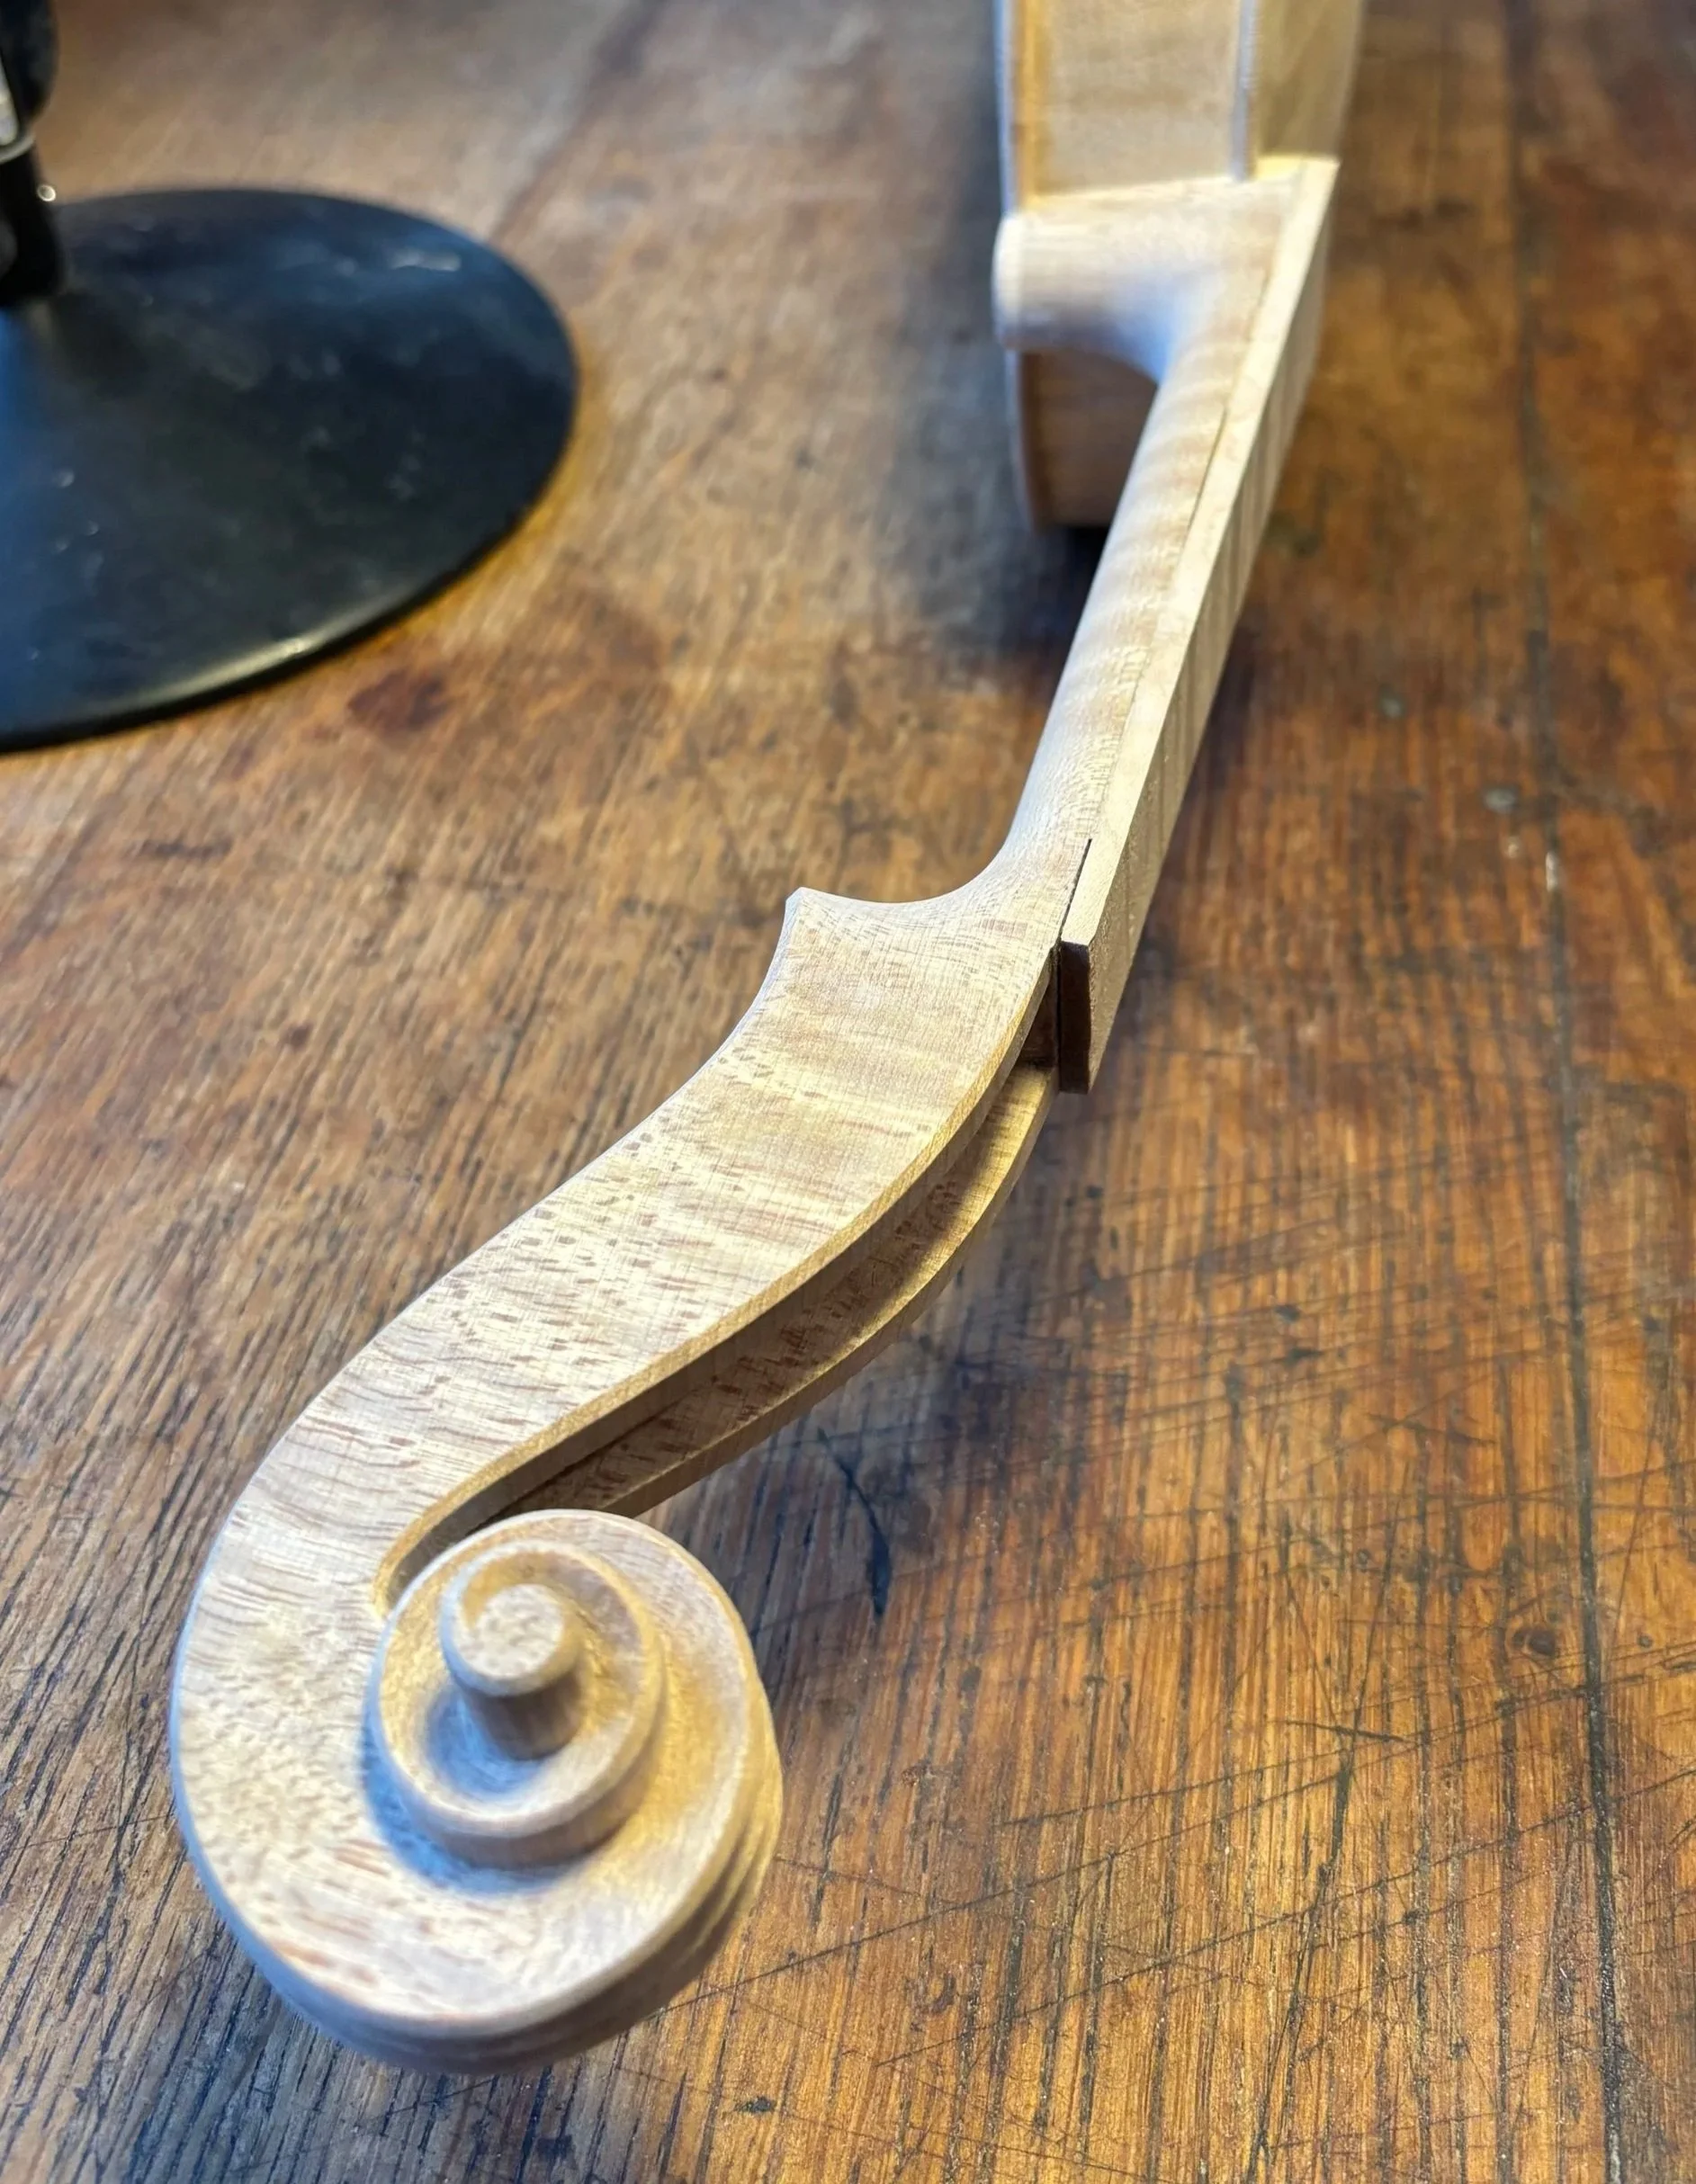
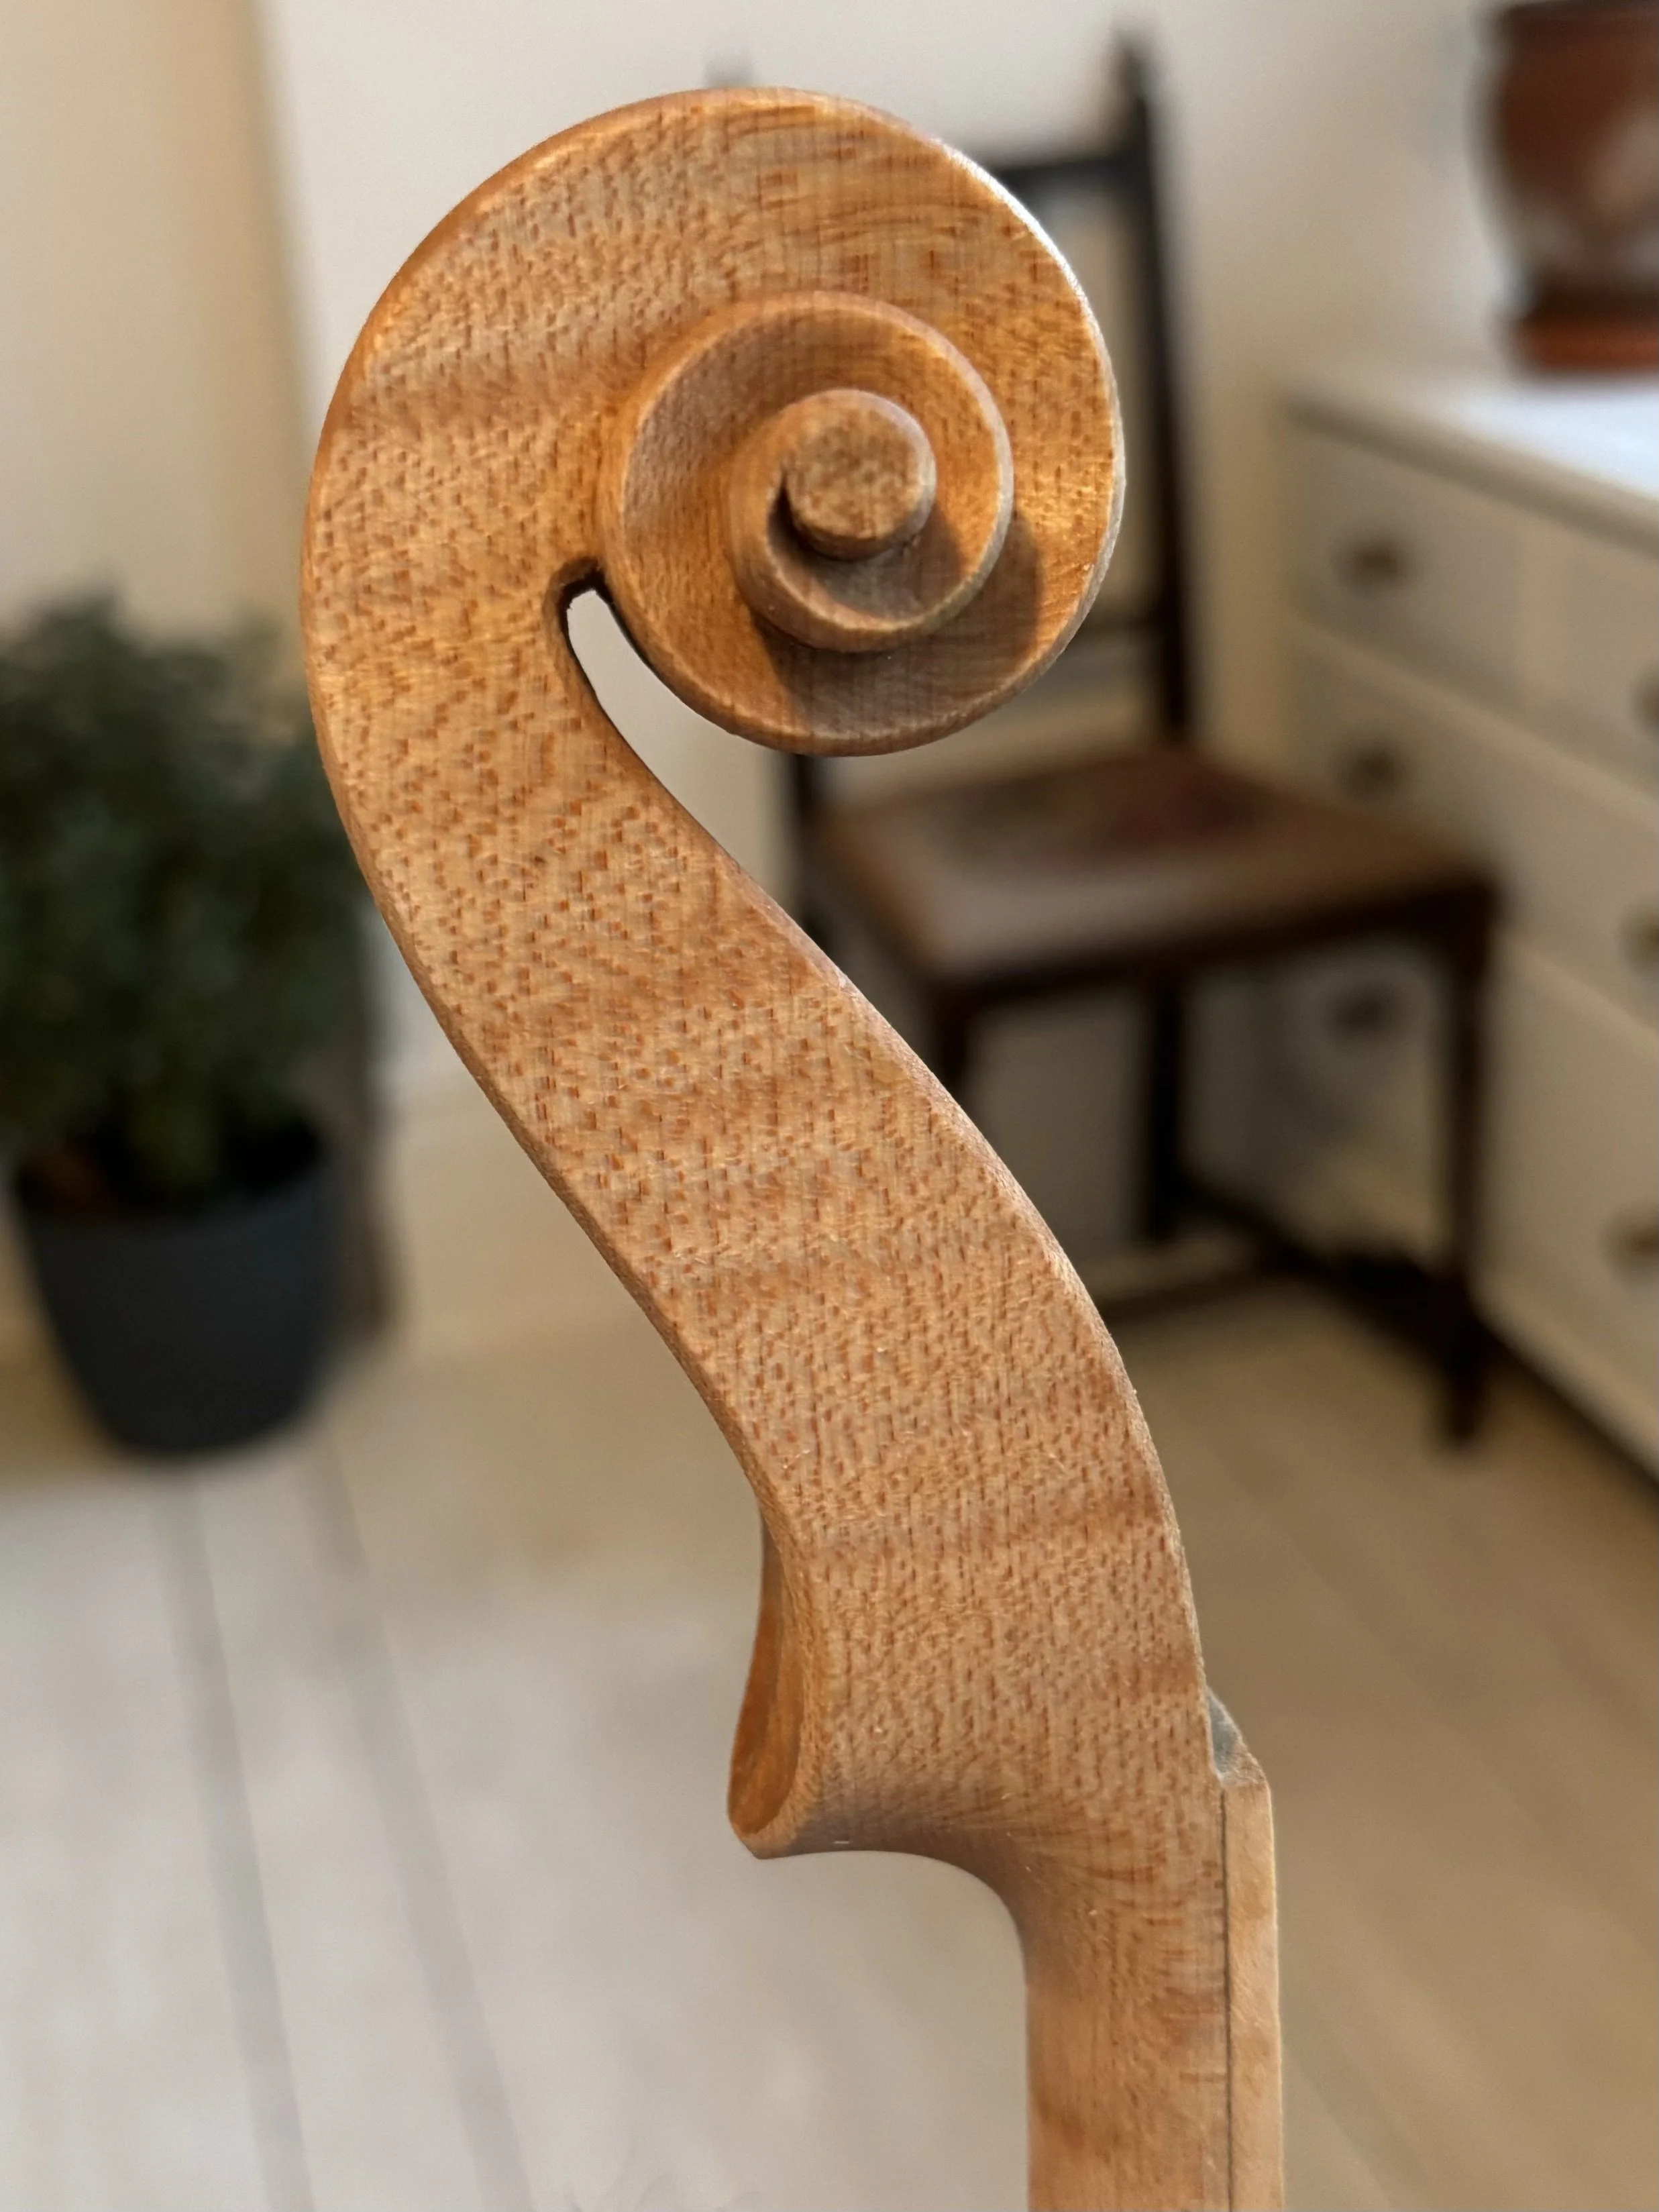
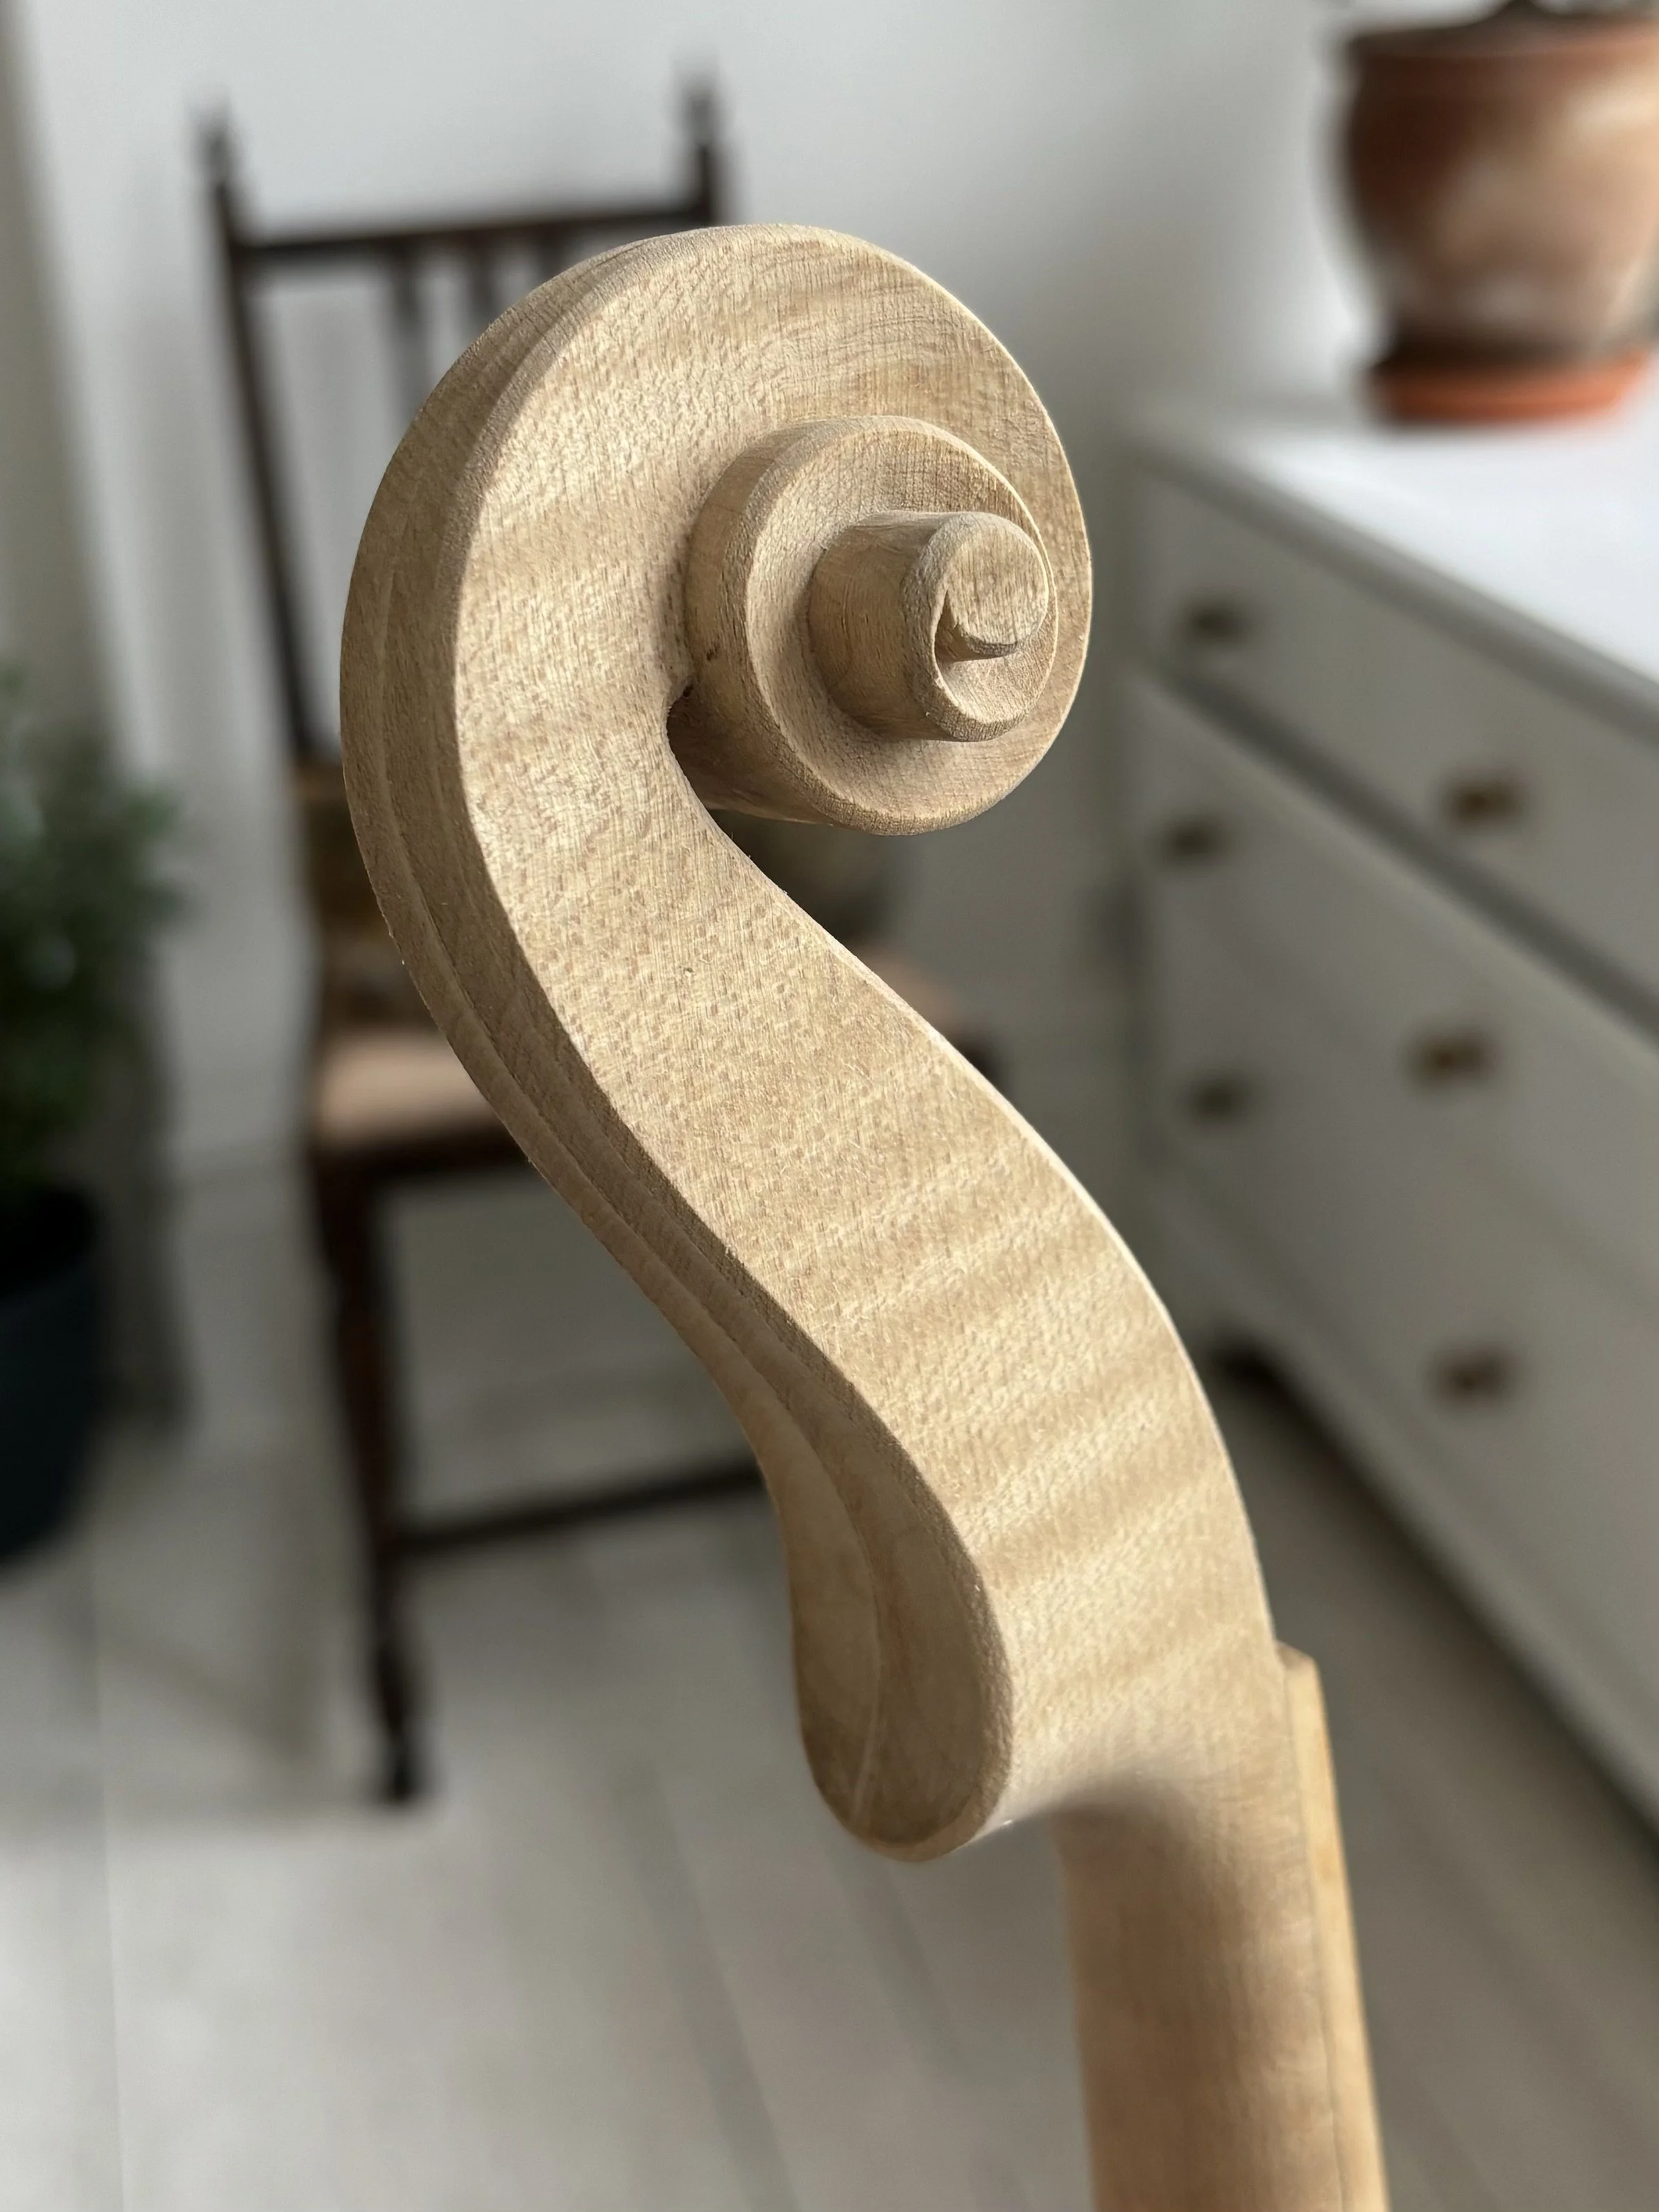
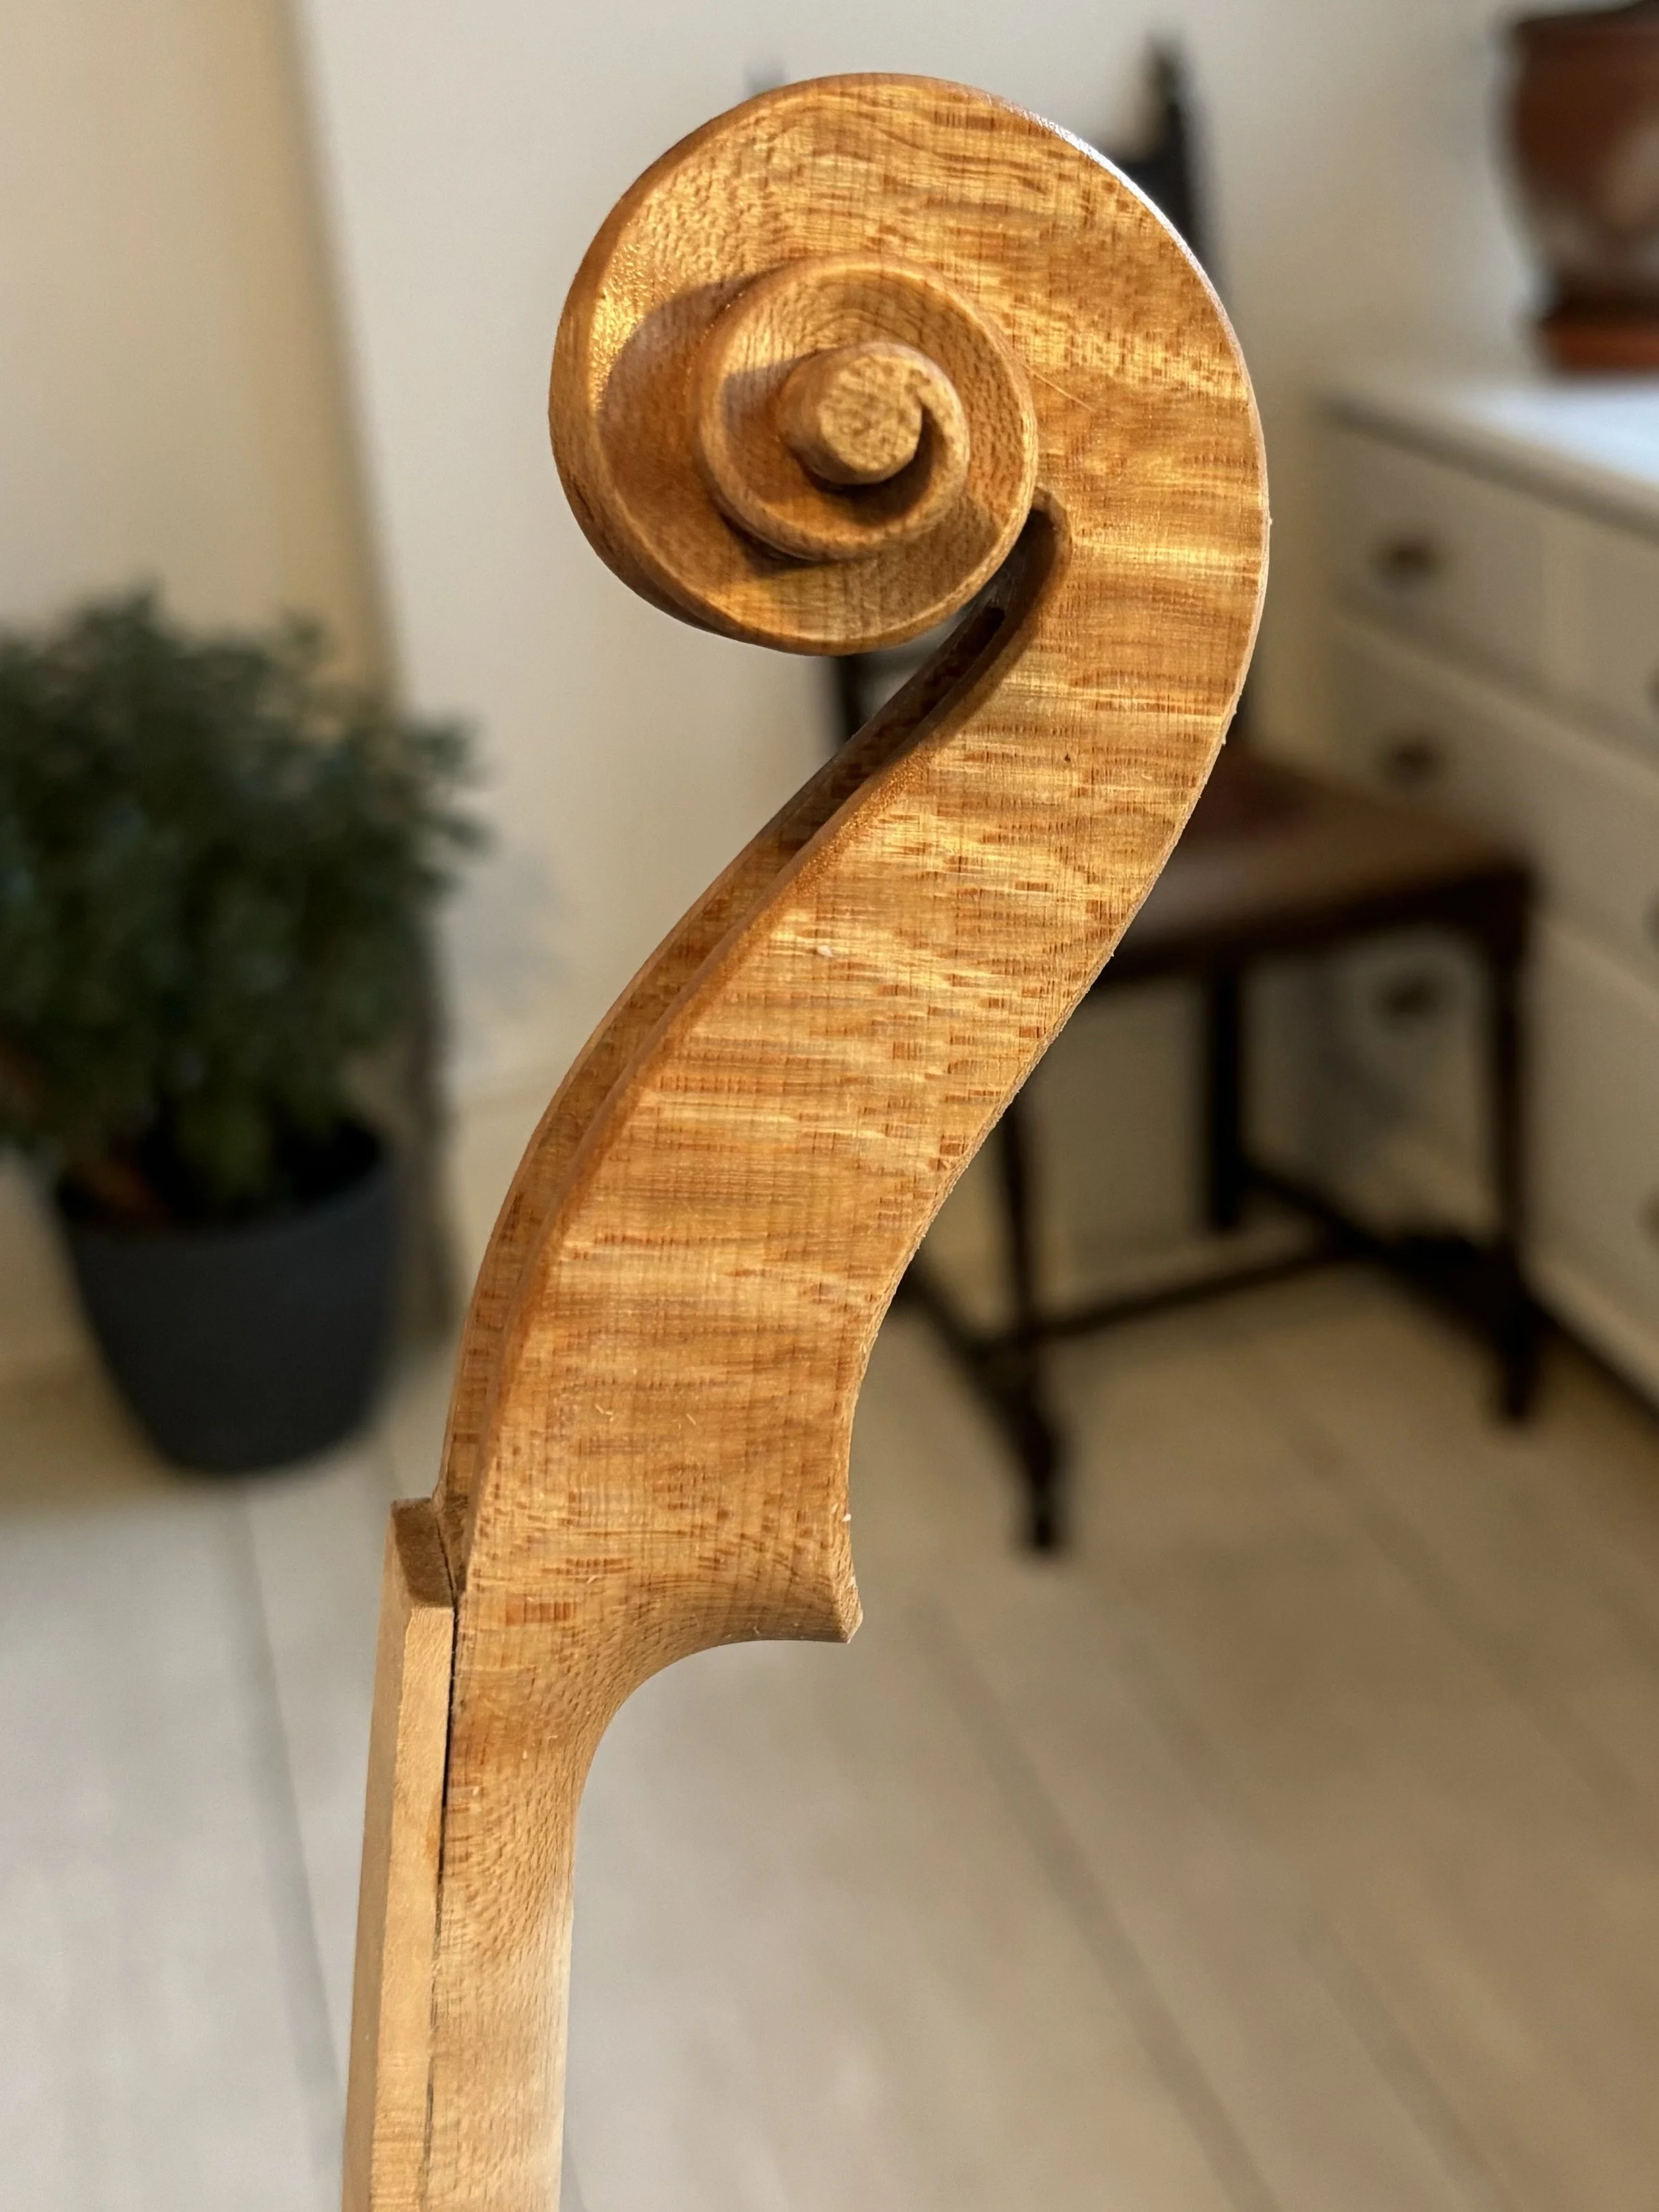
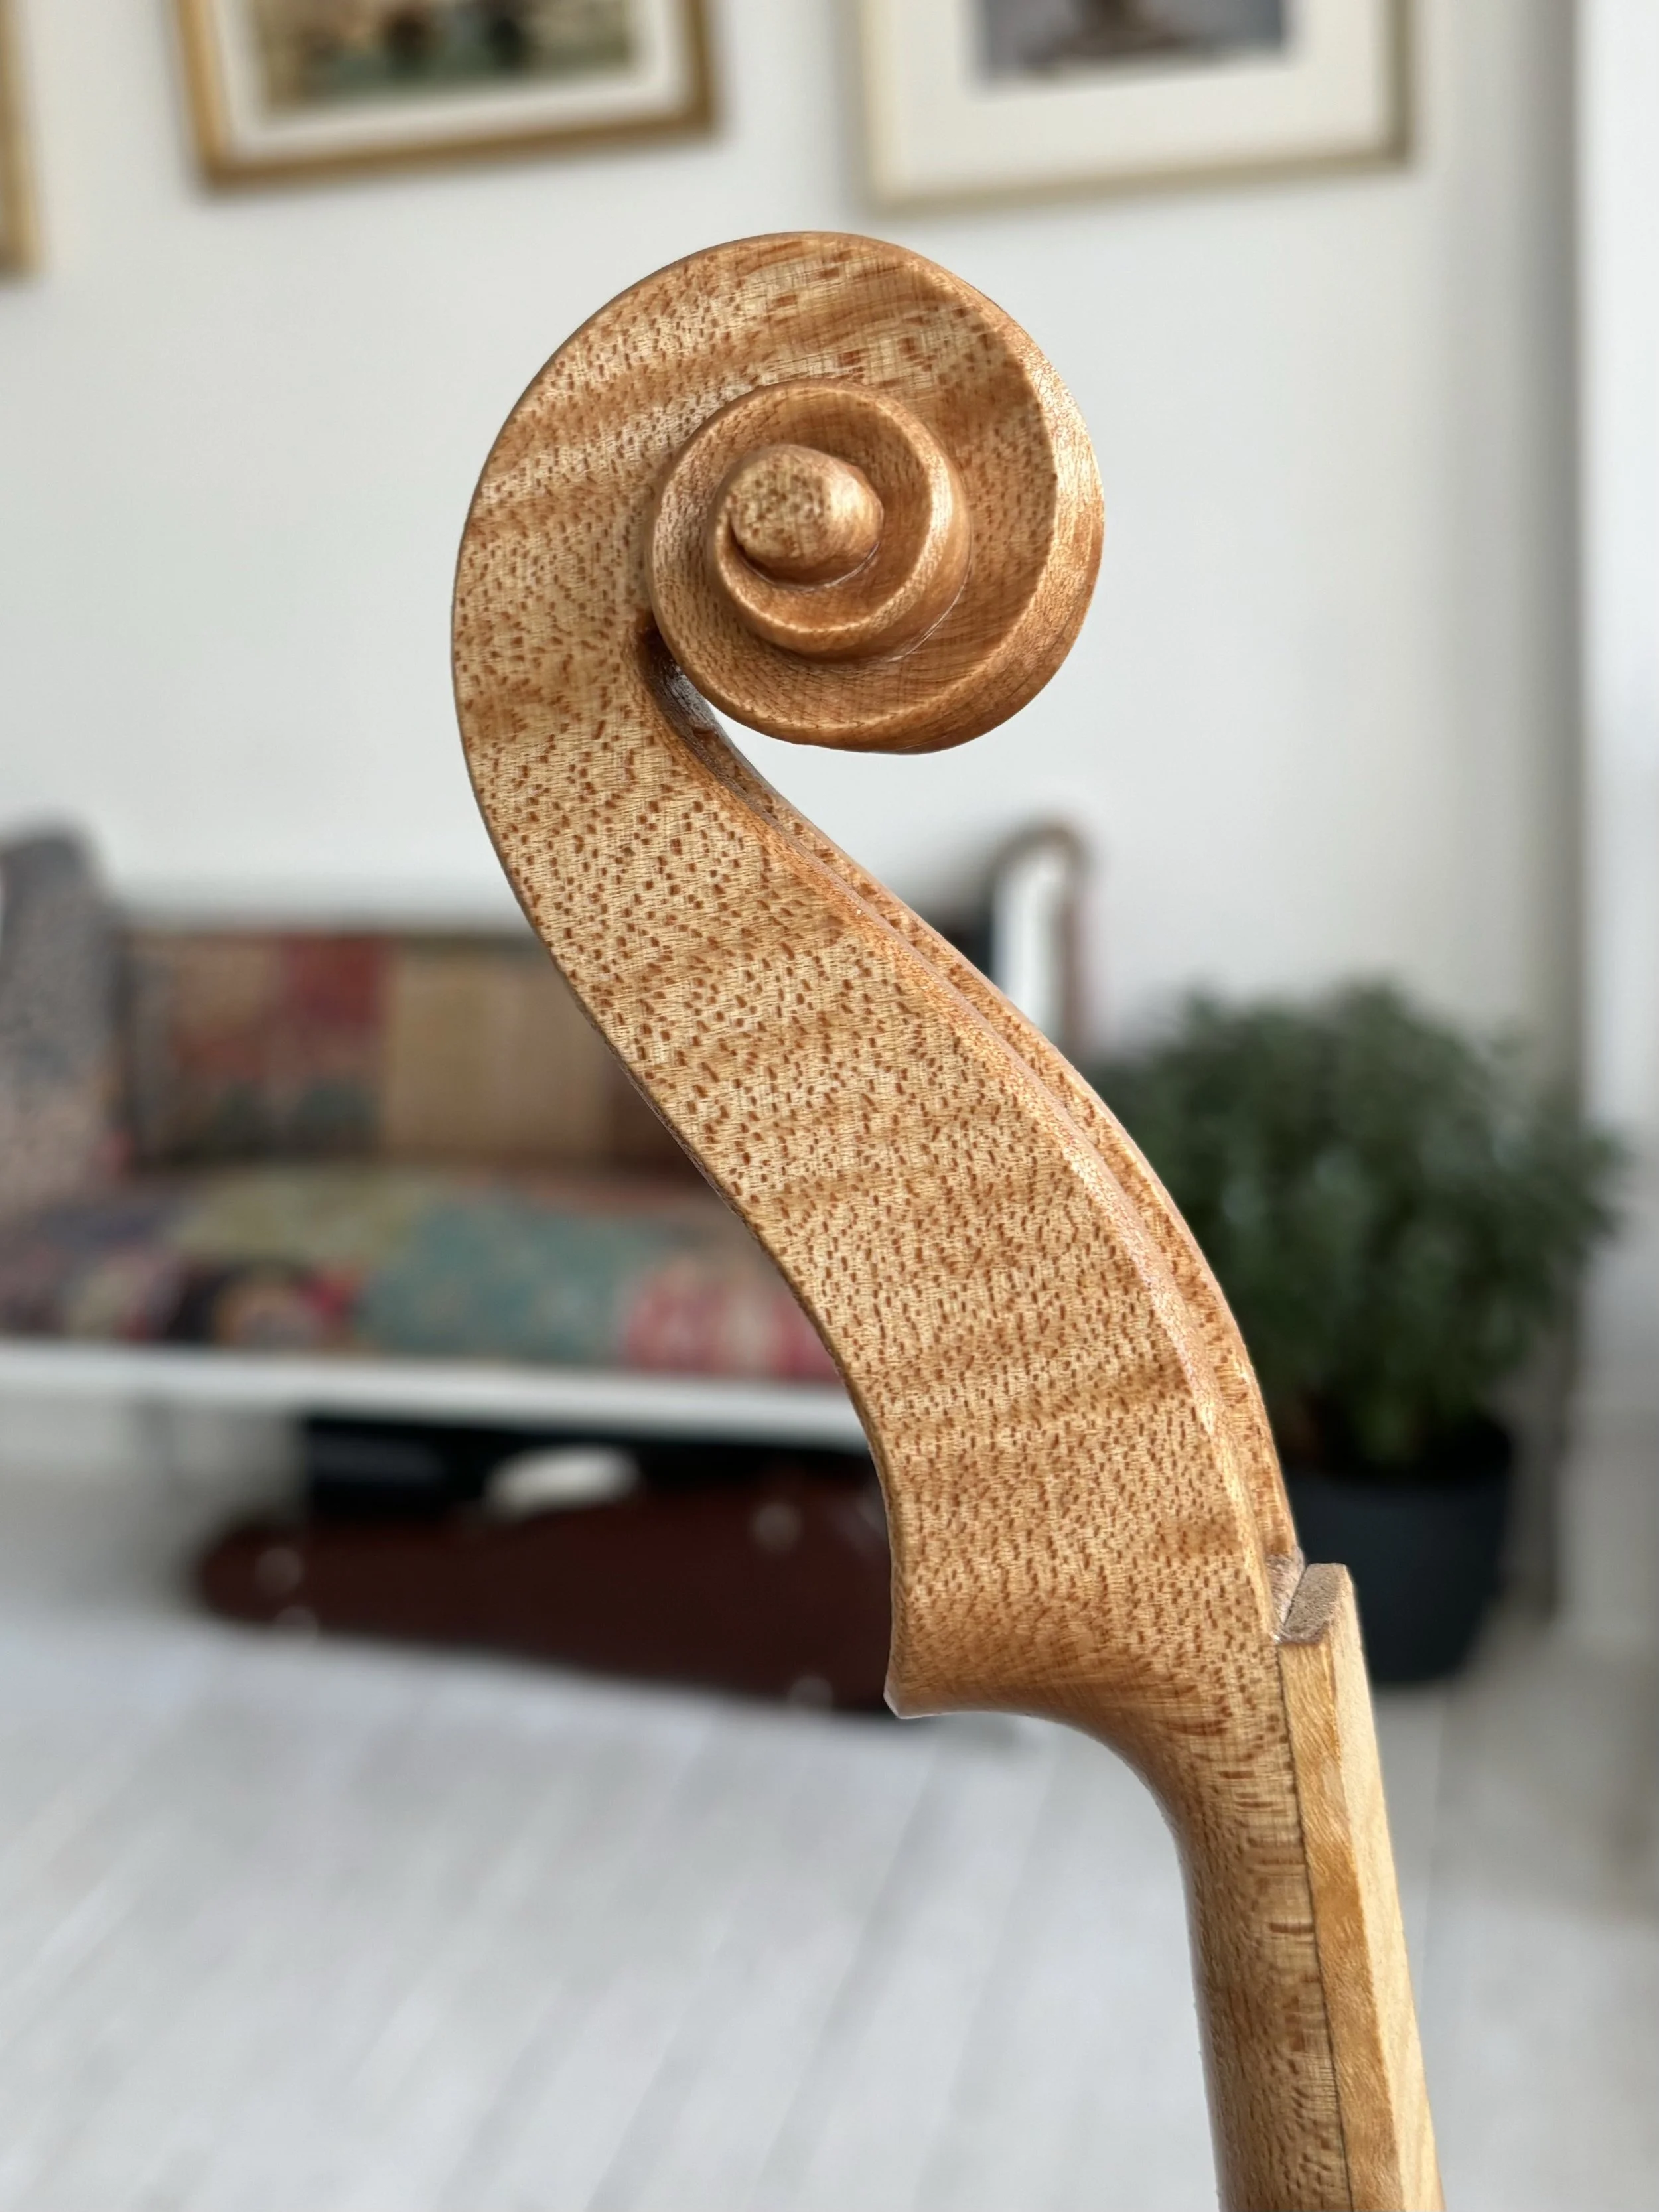
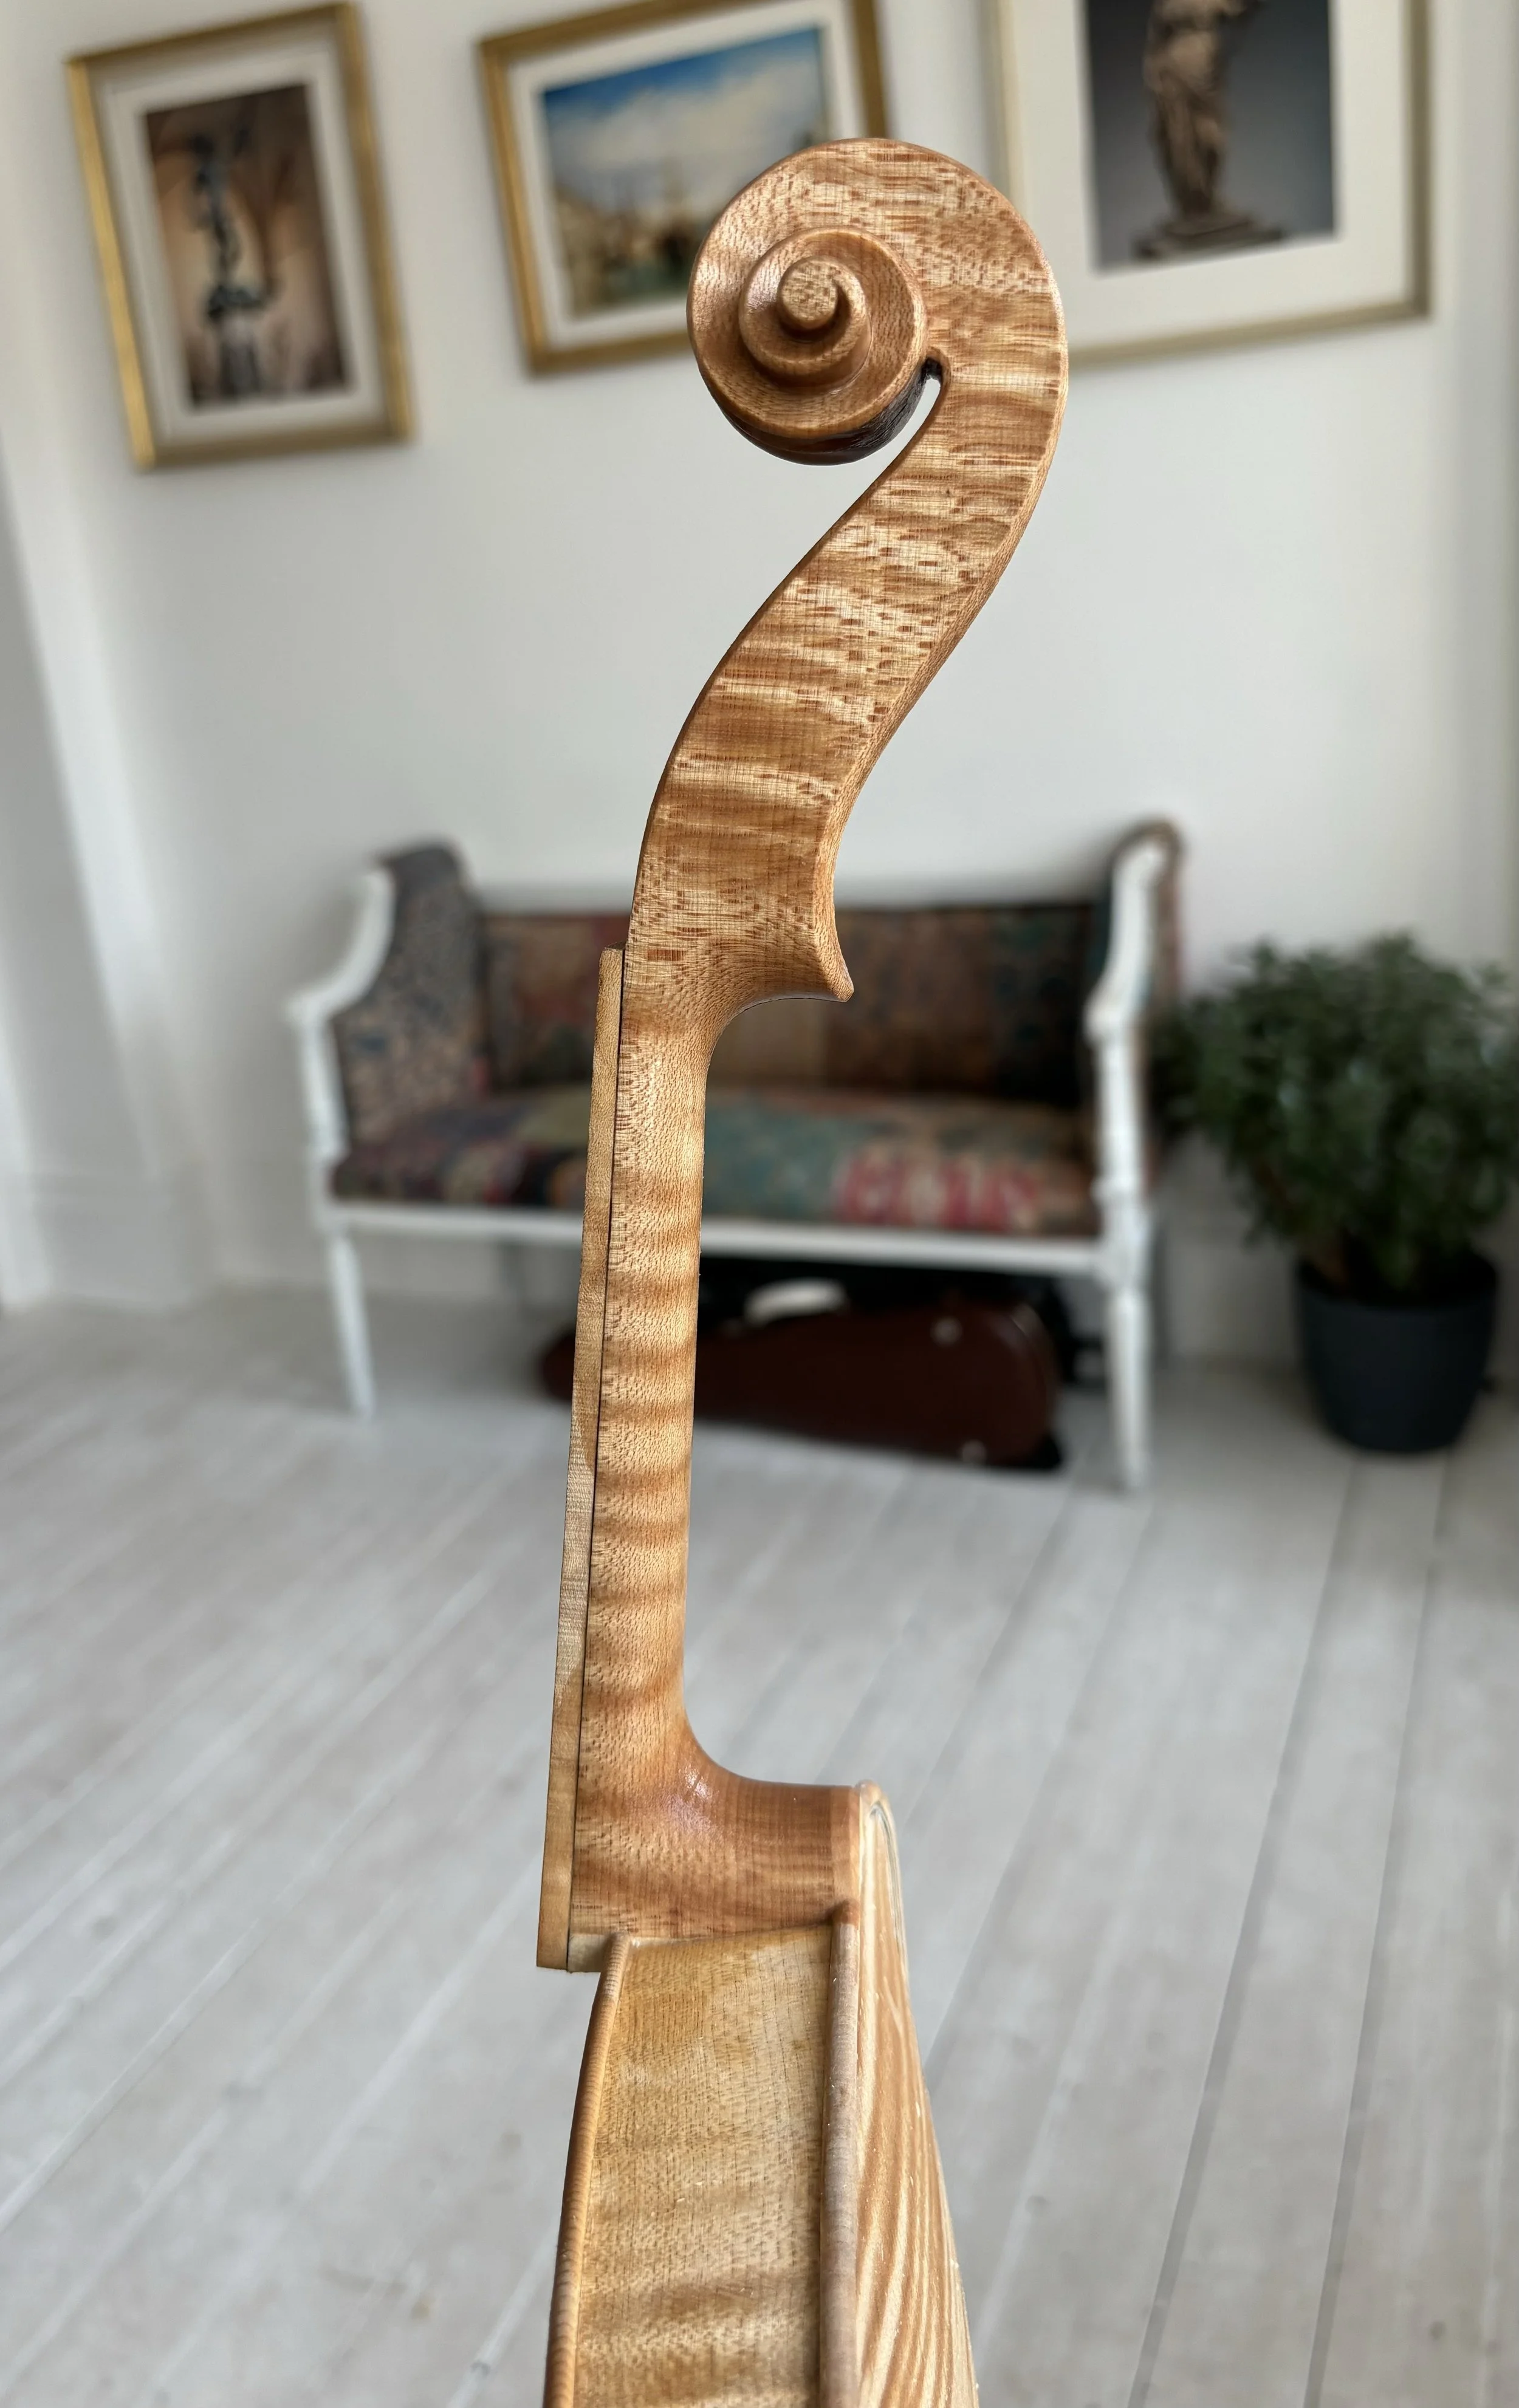
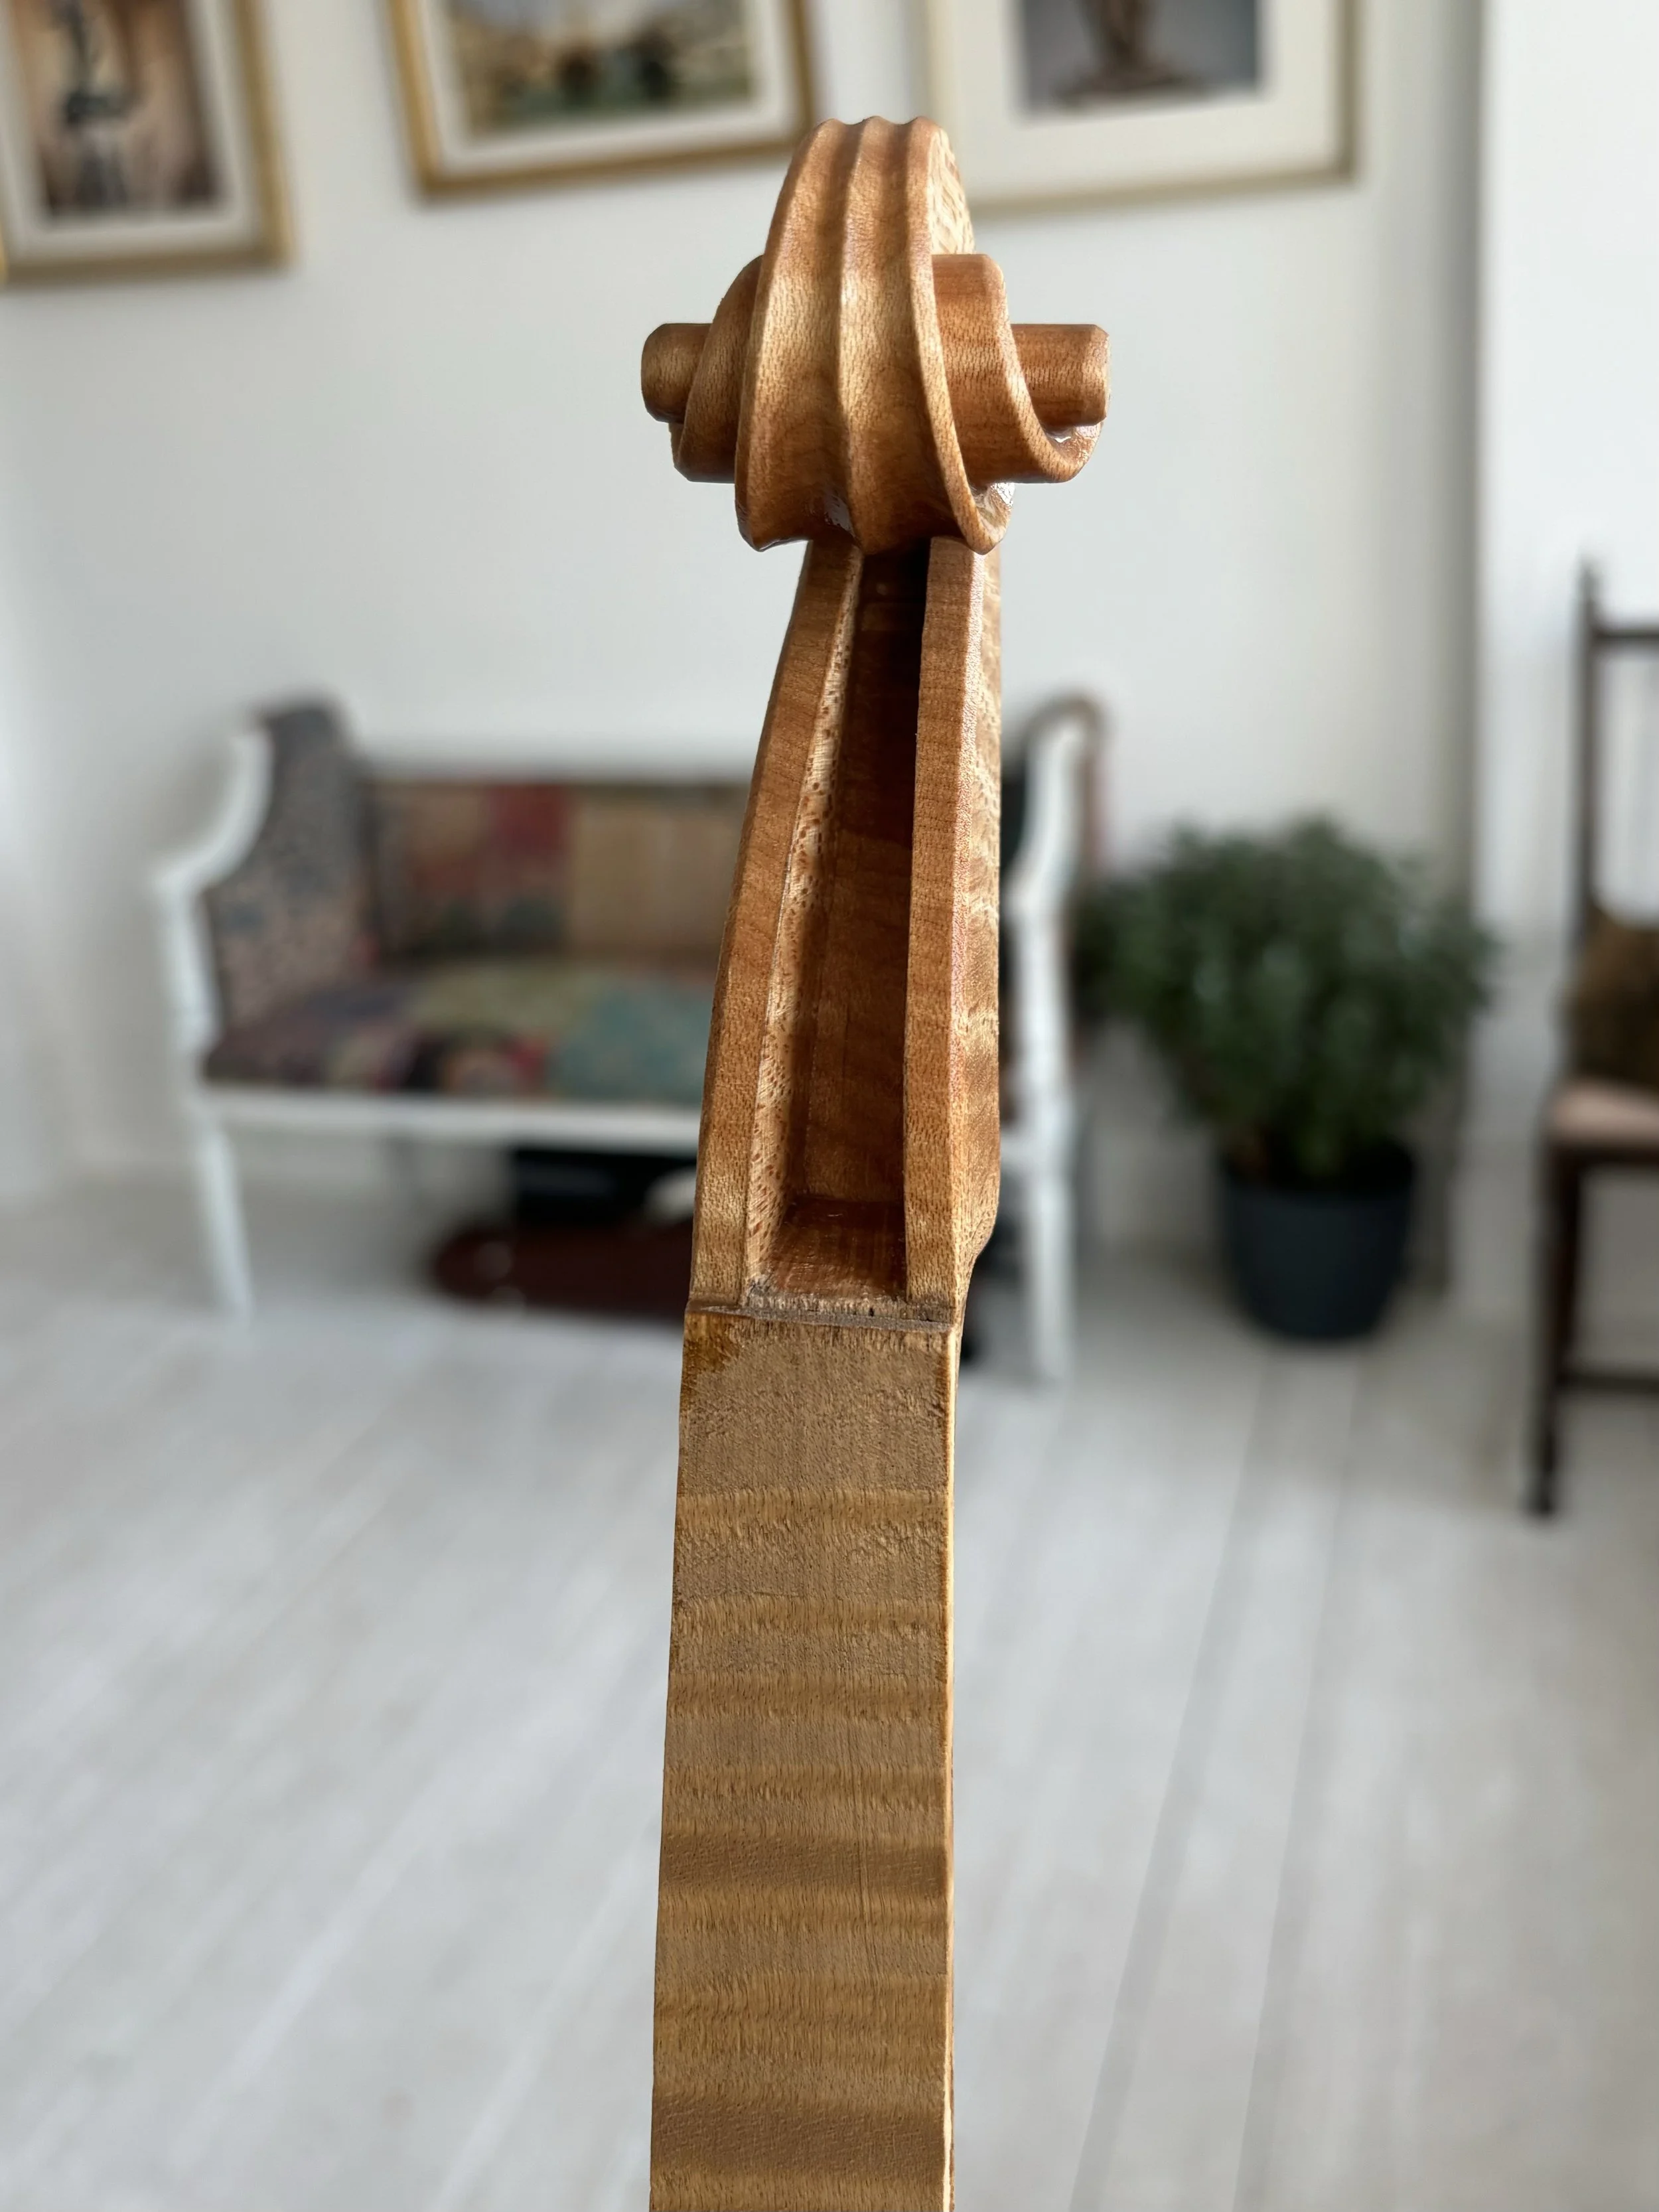
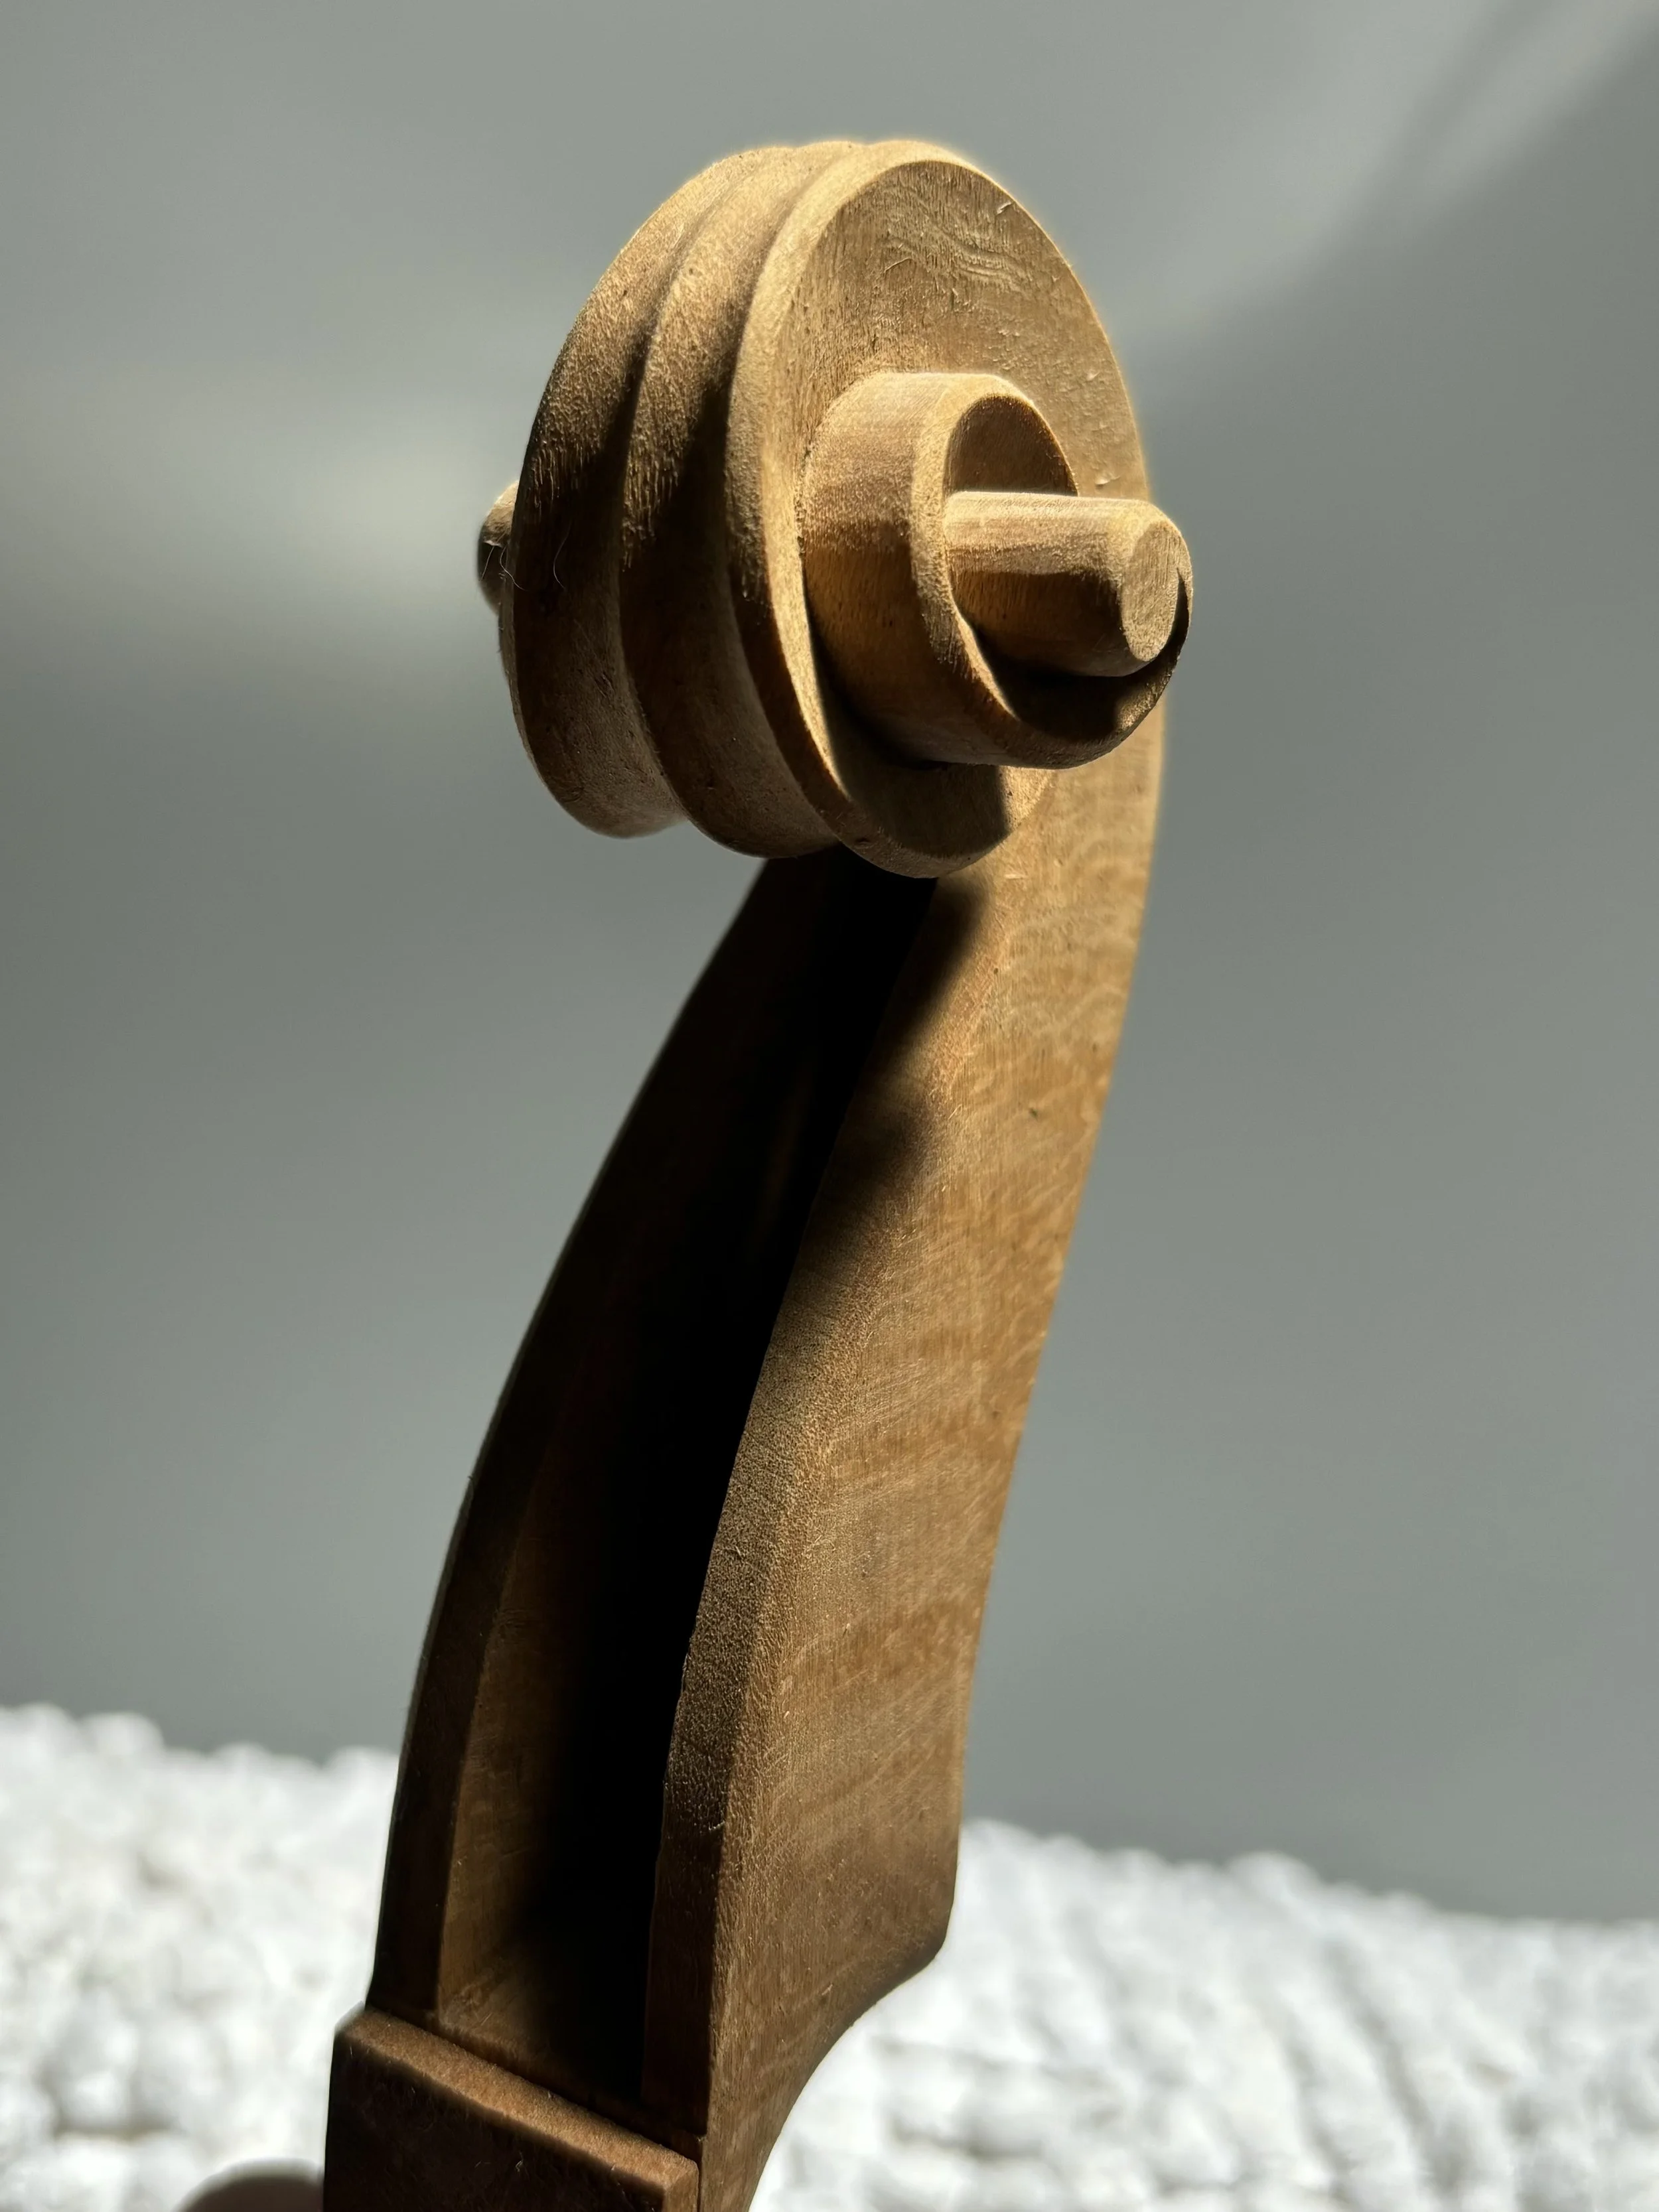
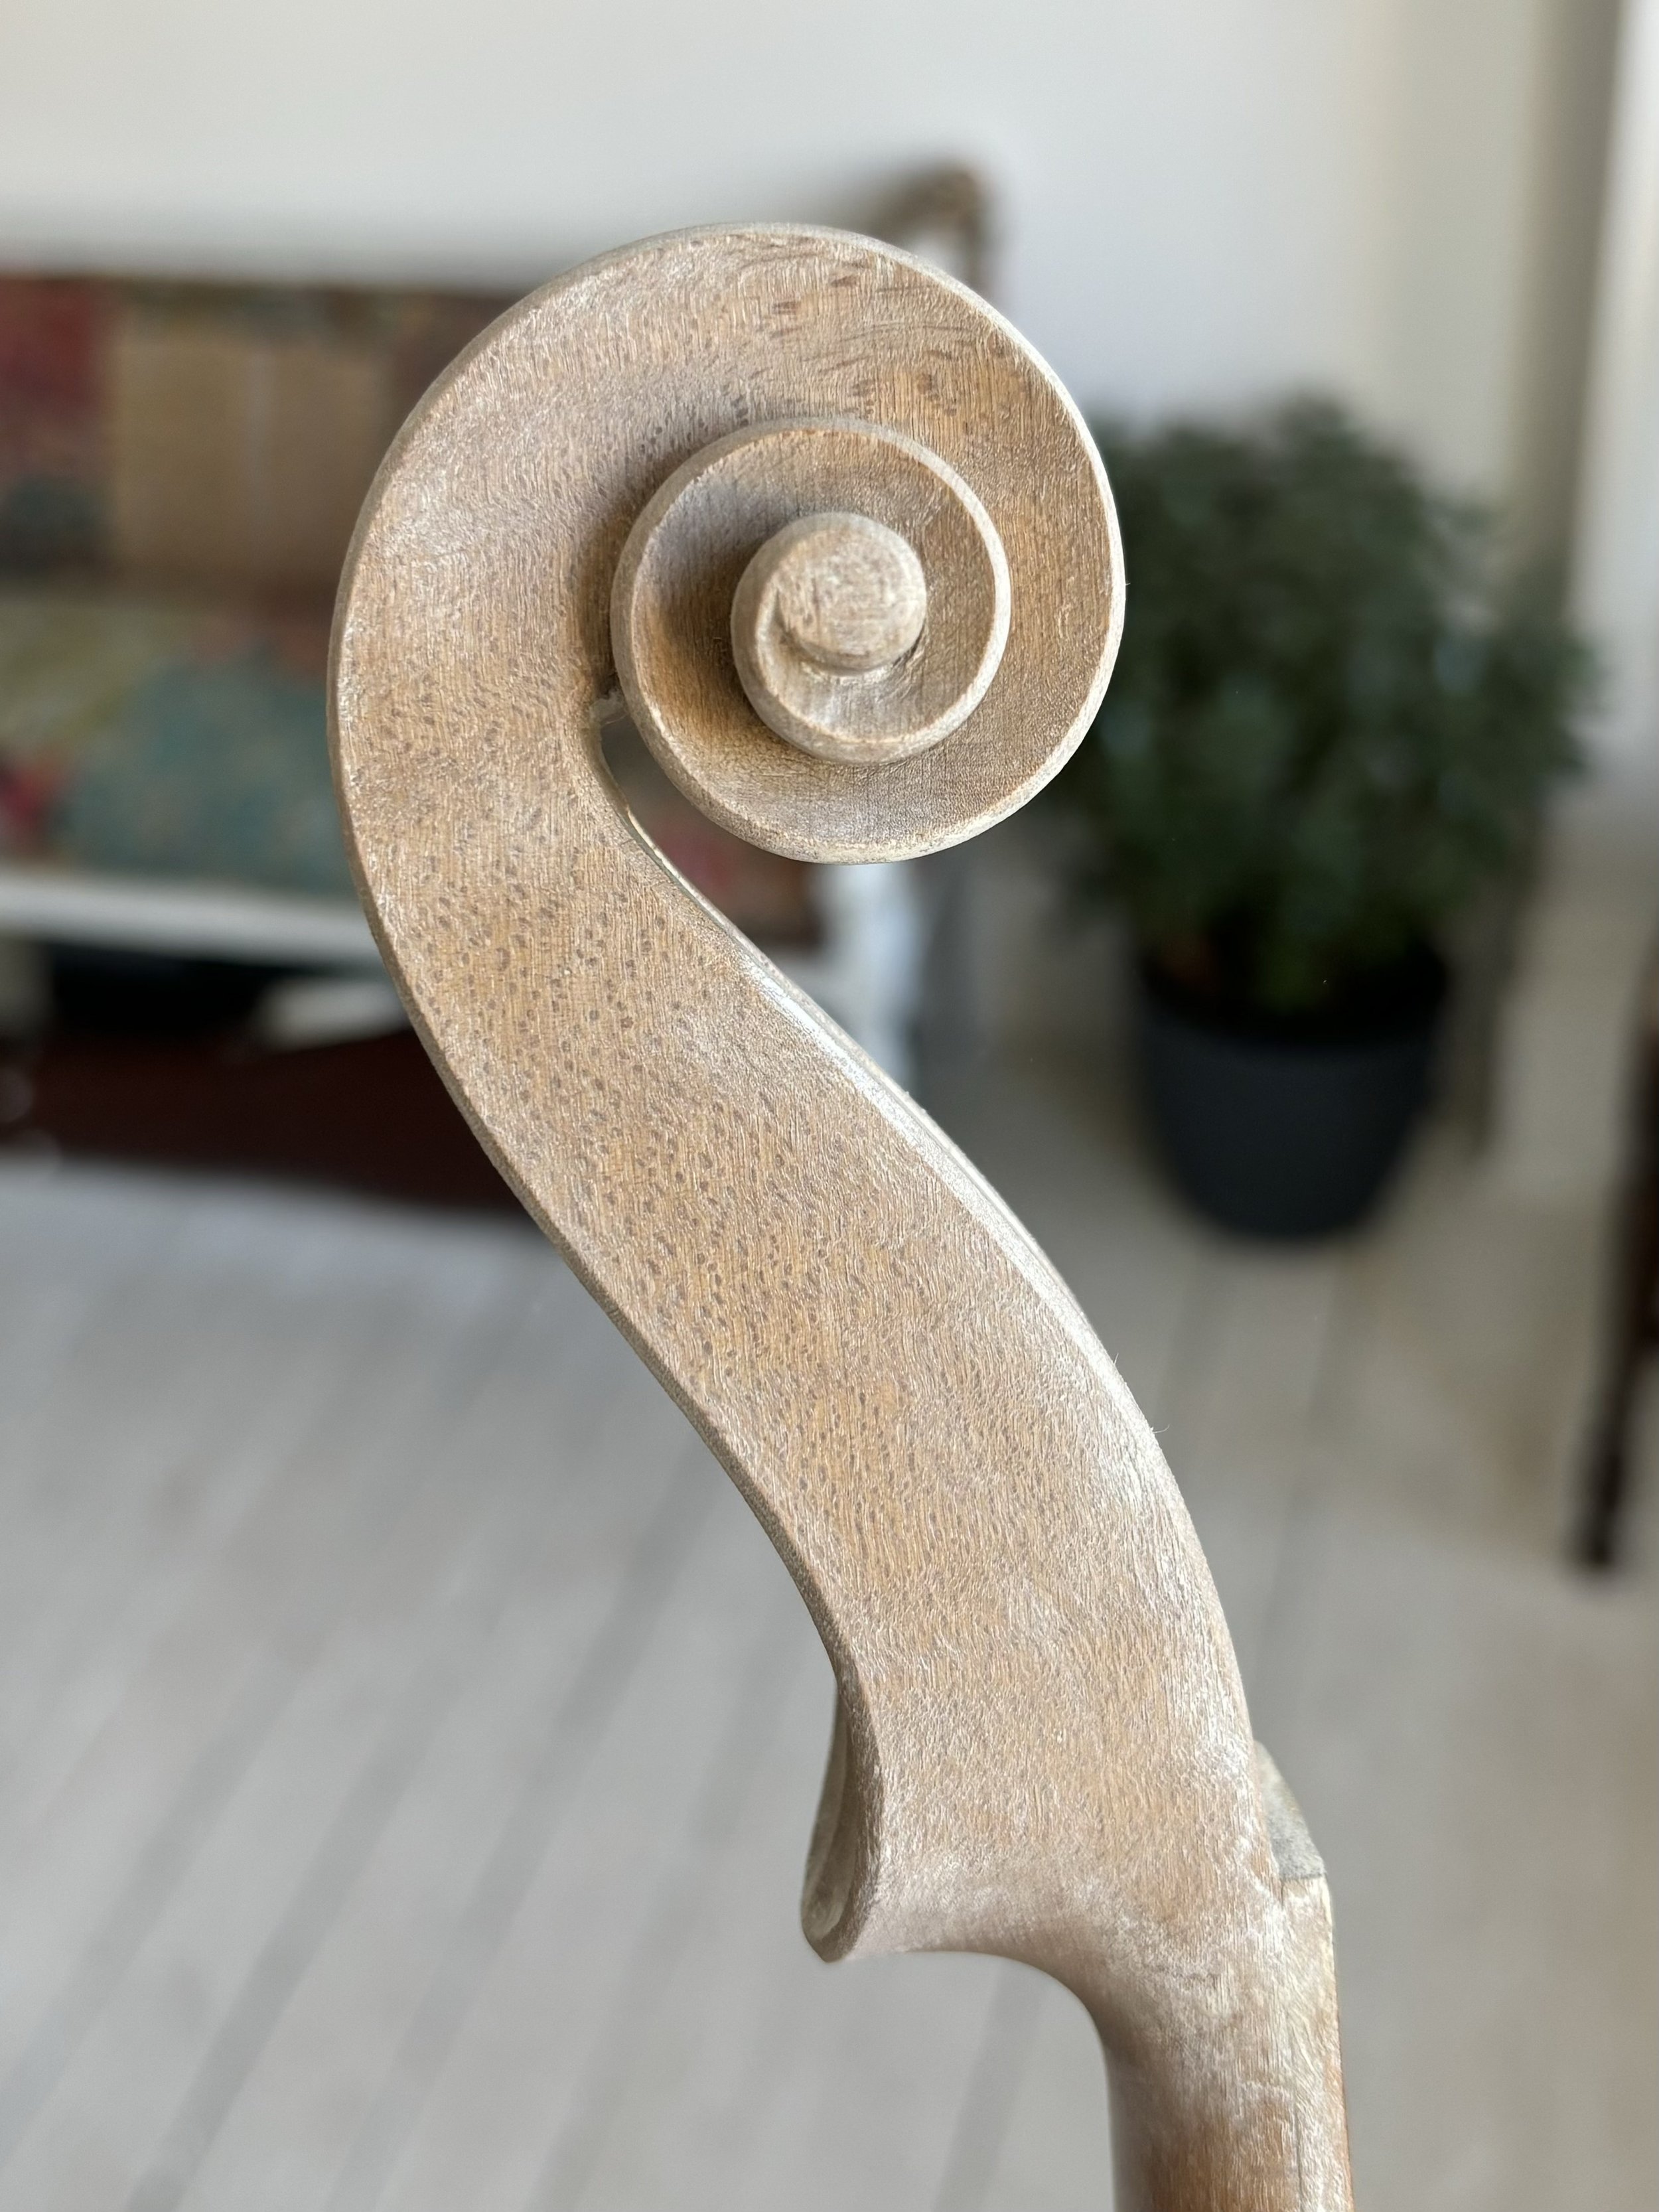
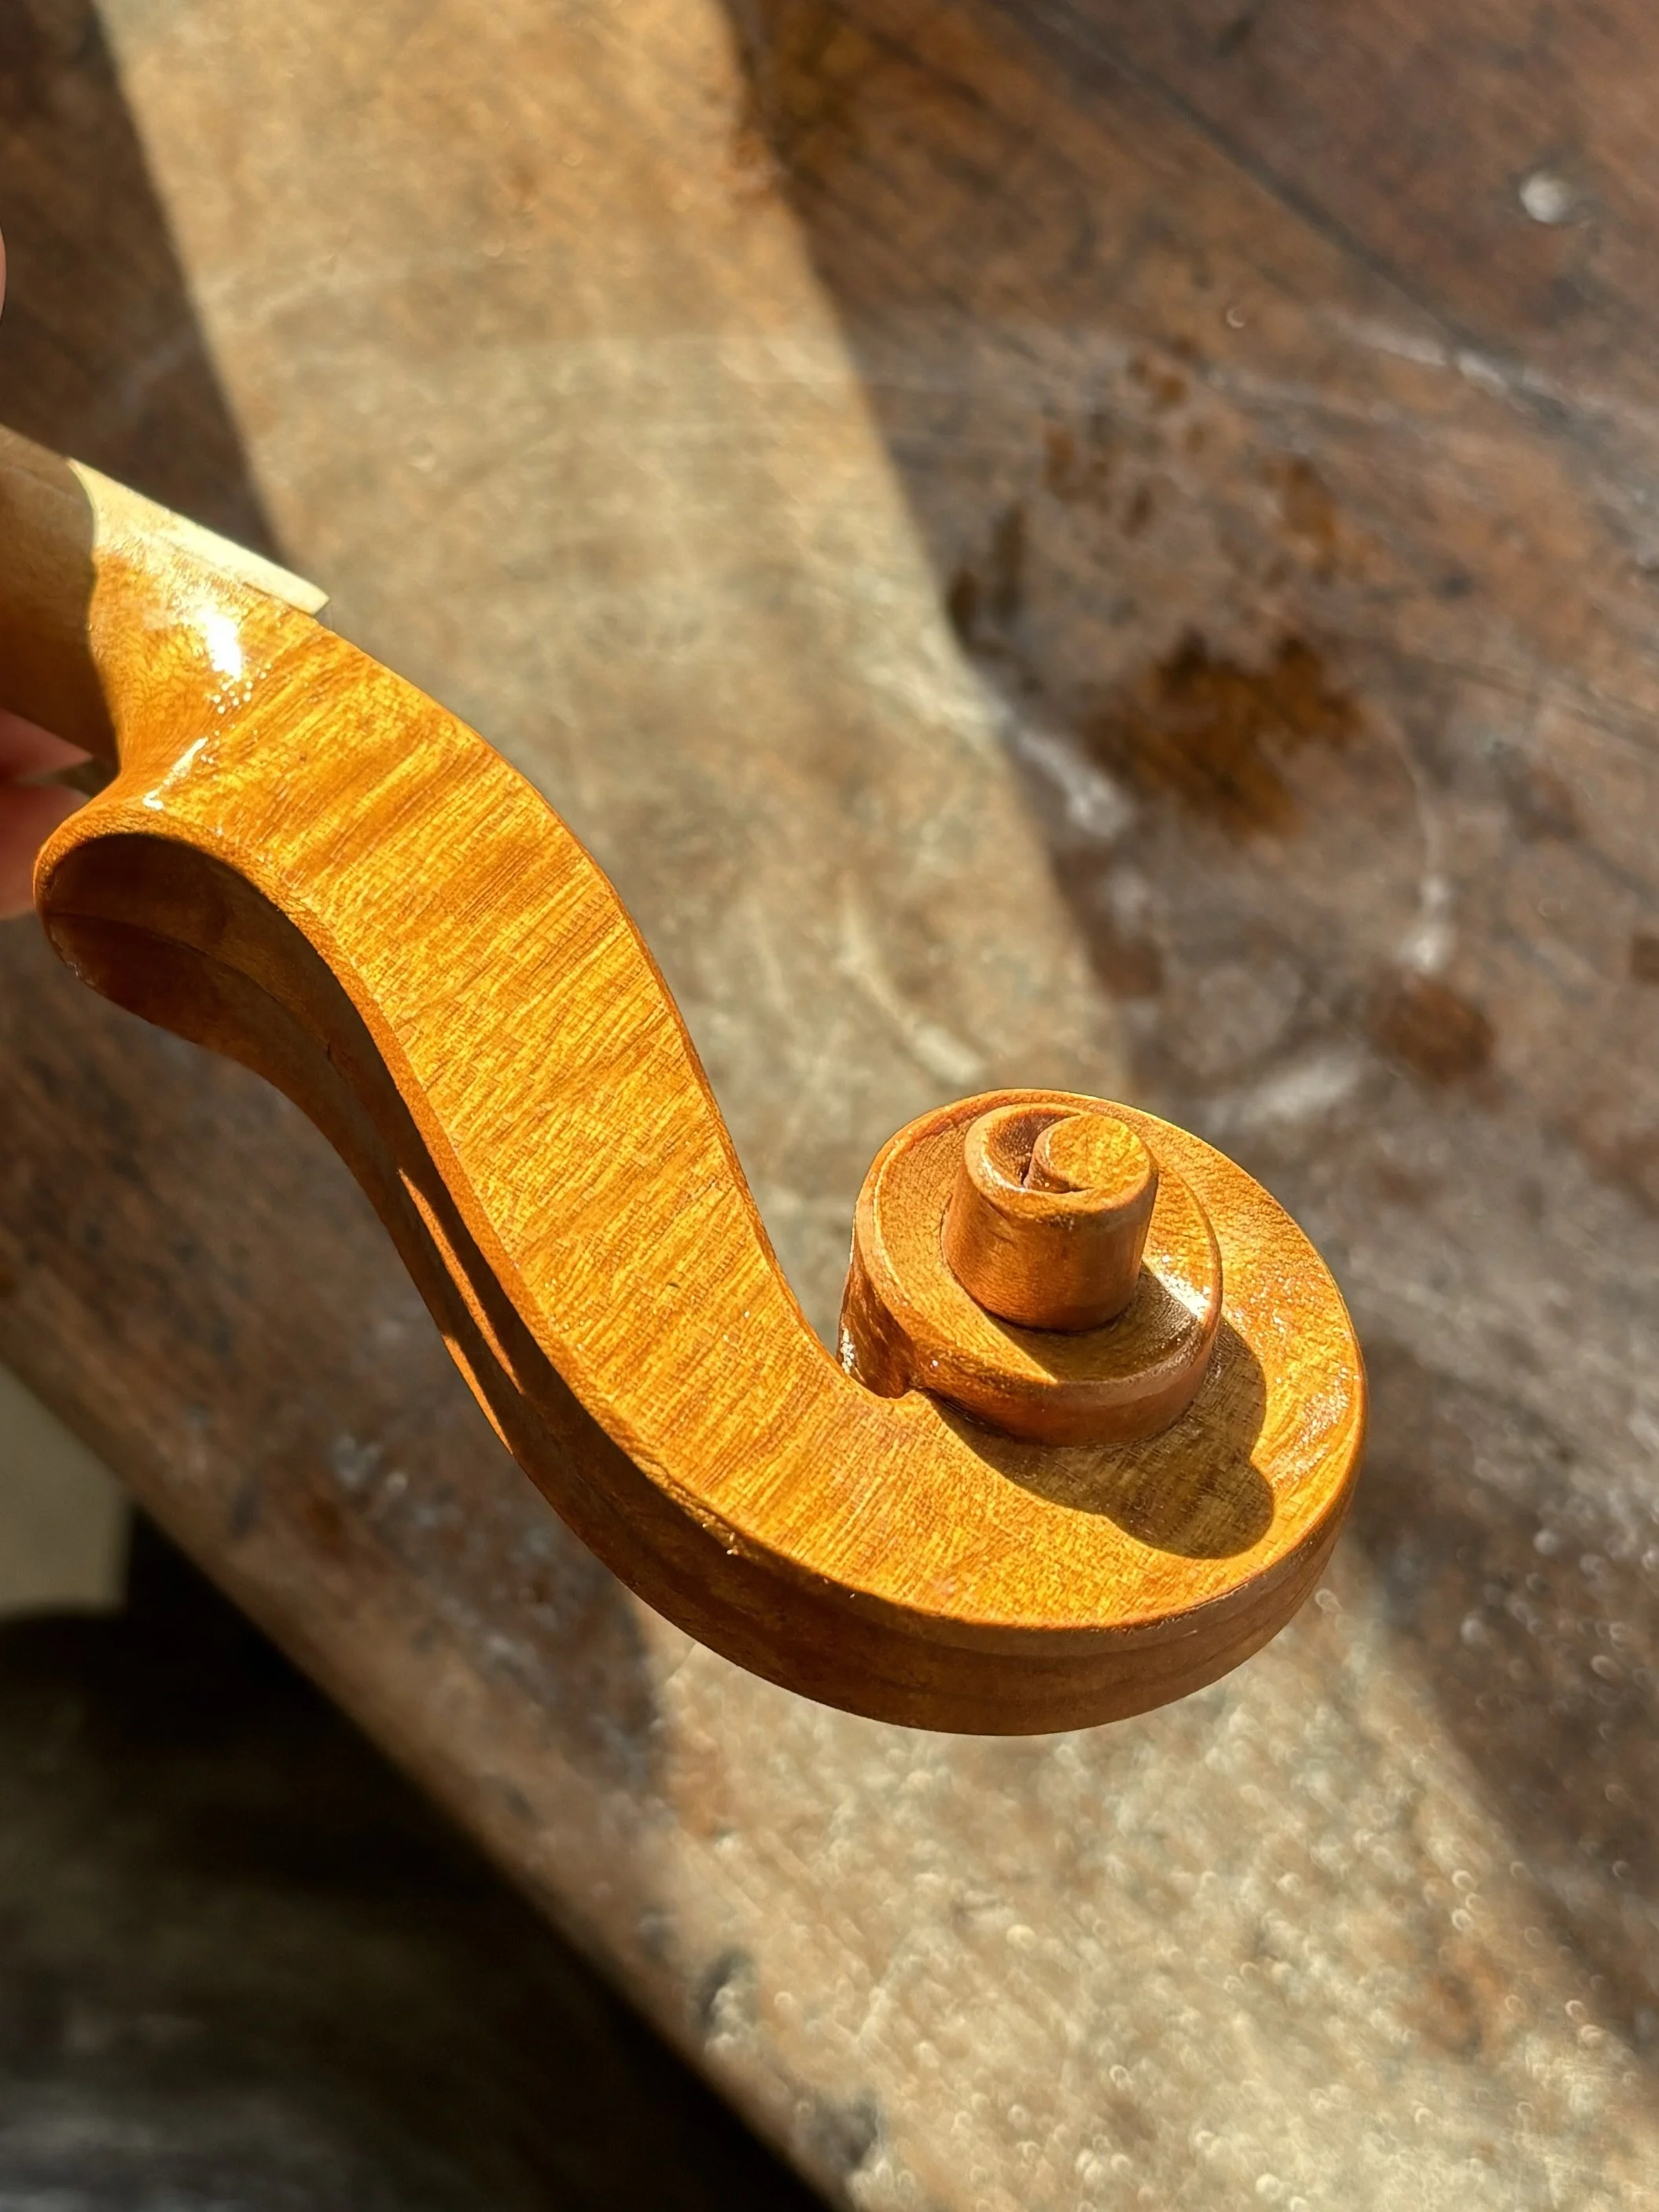
Below: The scroll of a violin during the tanning and enhancement stage of varnishing.

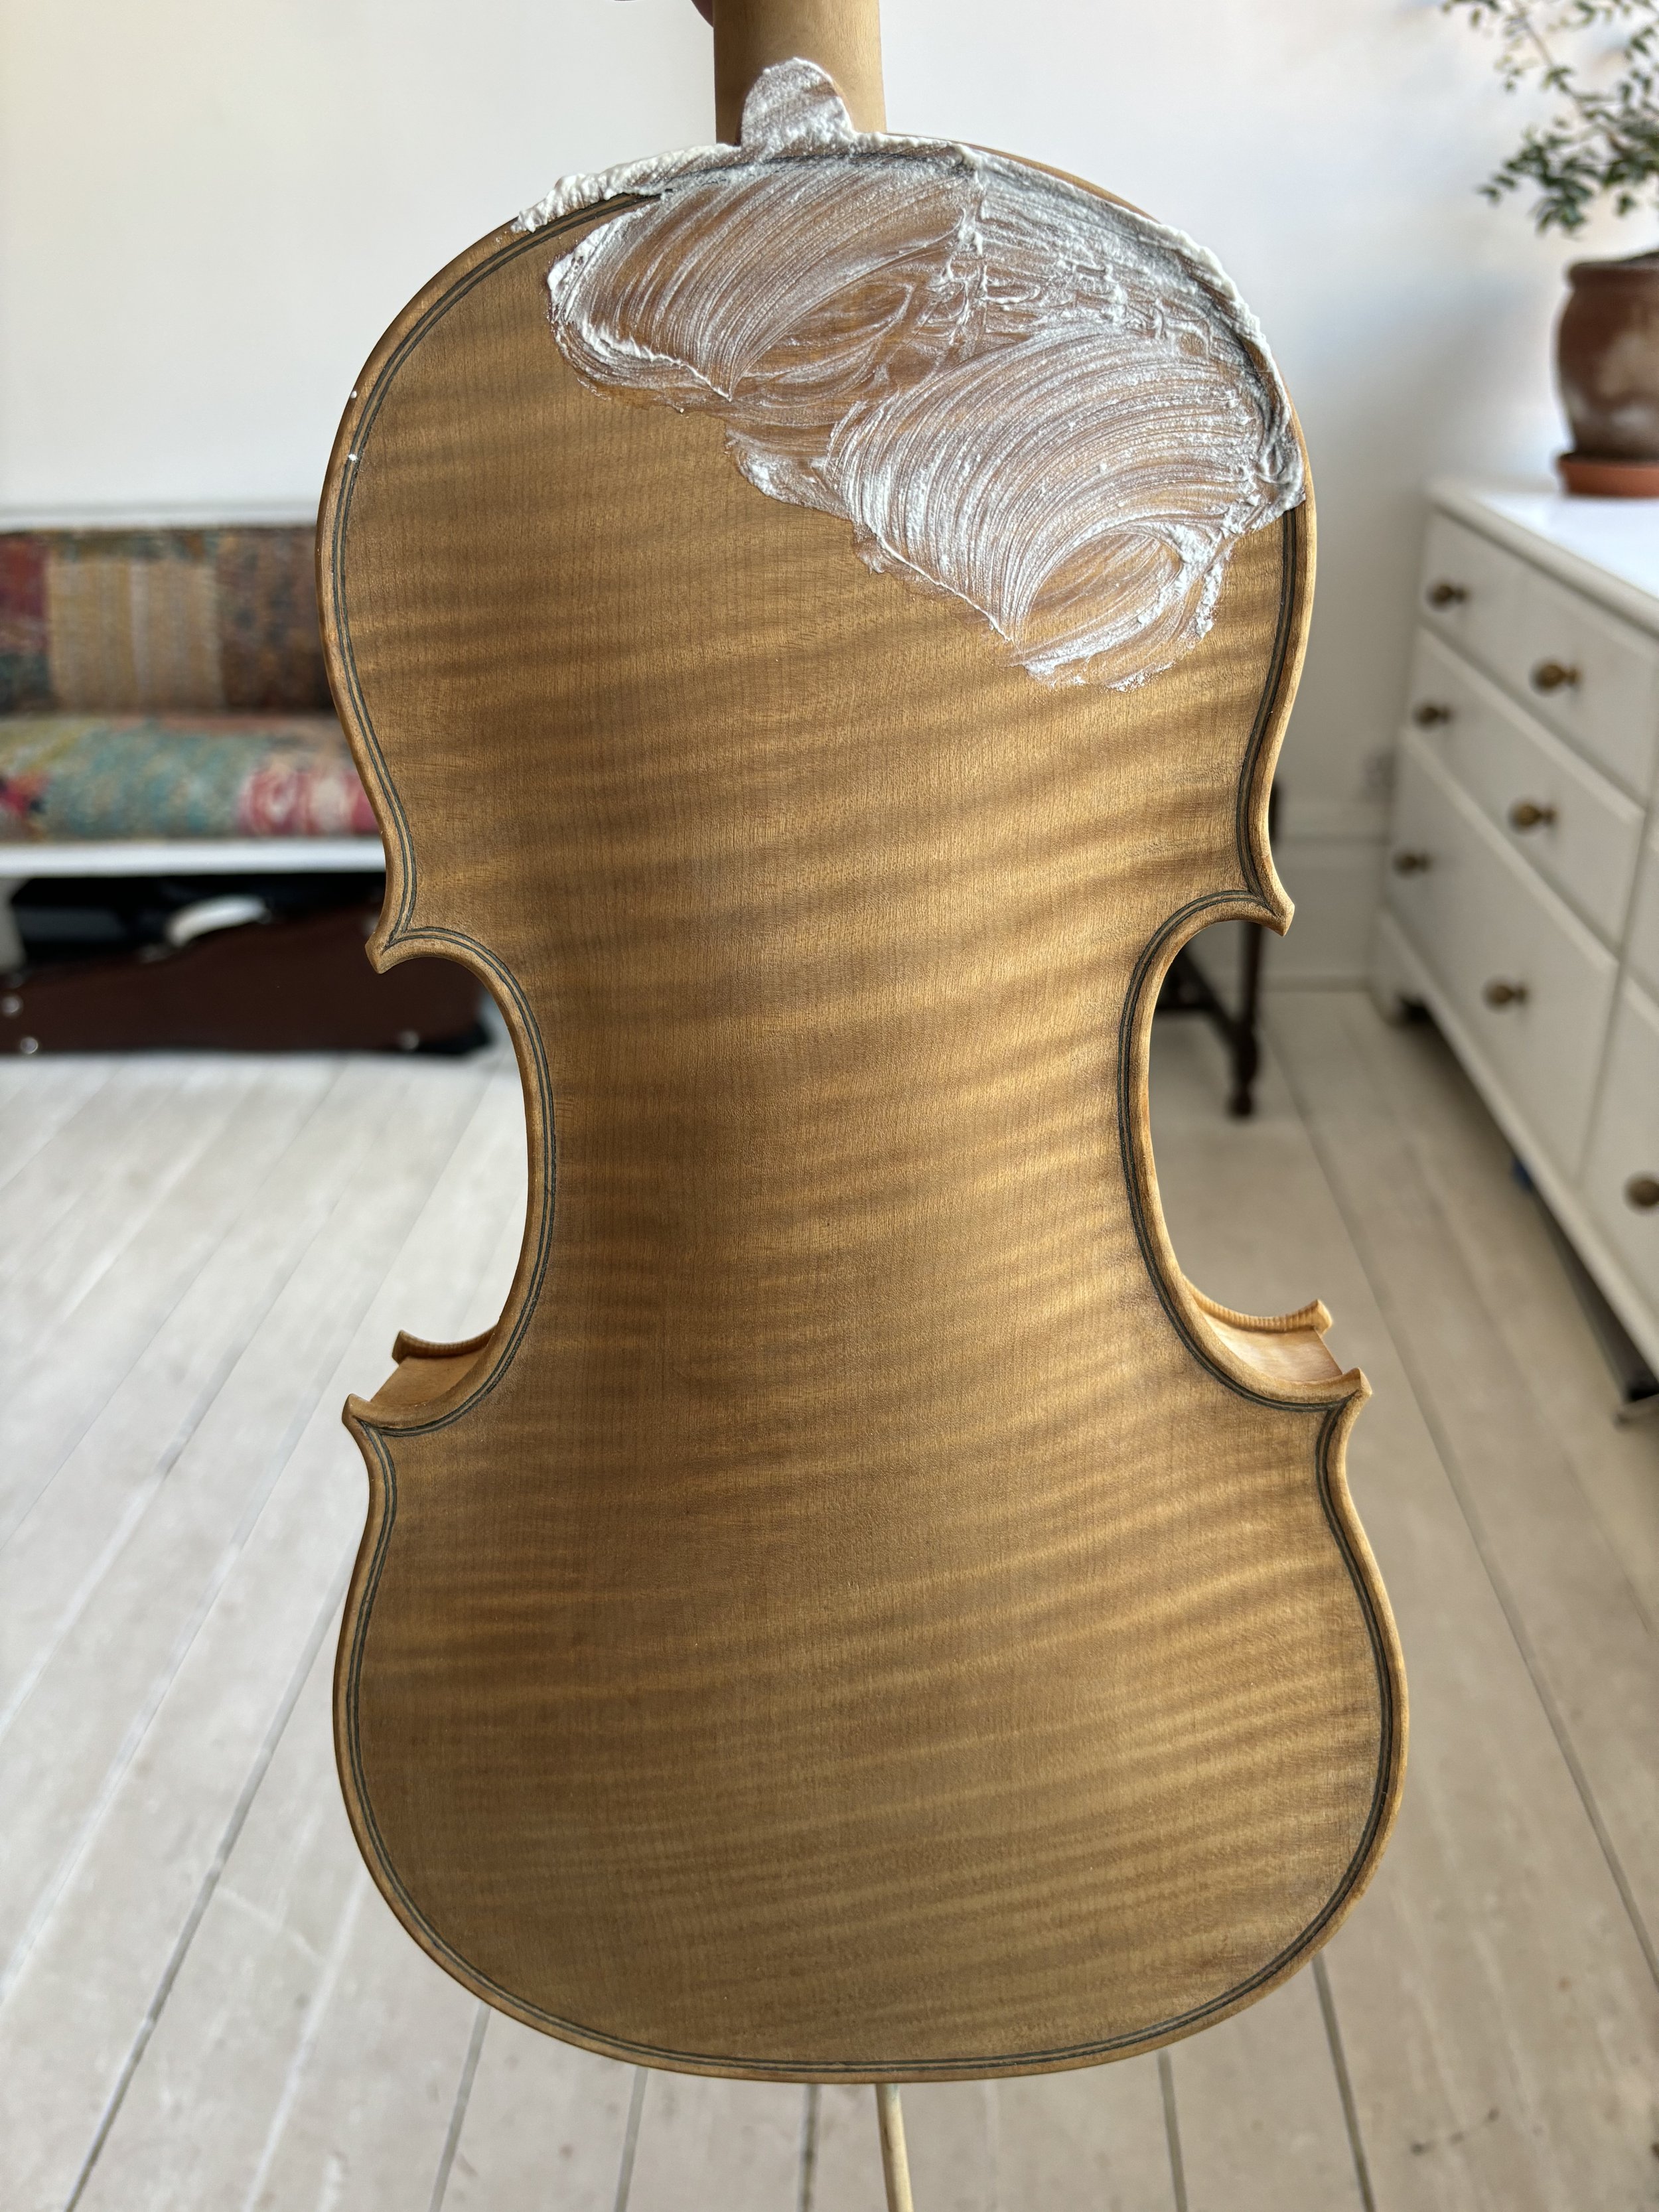
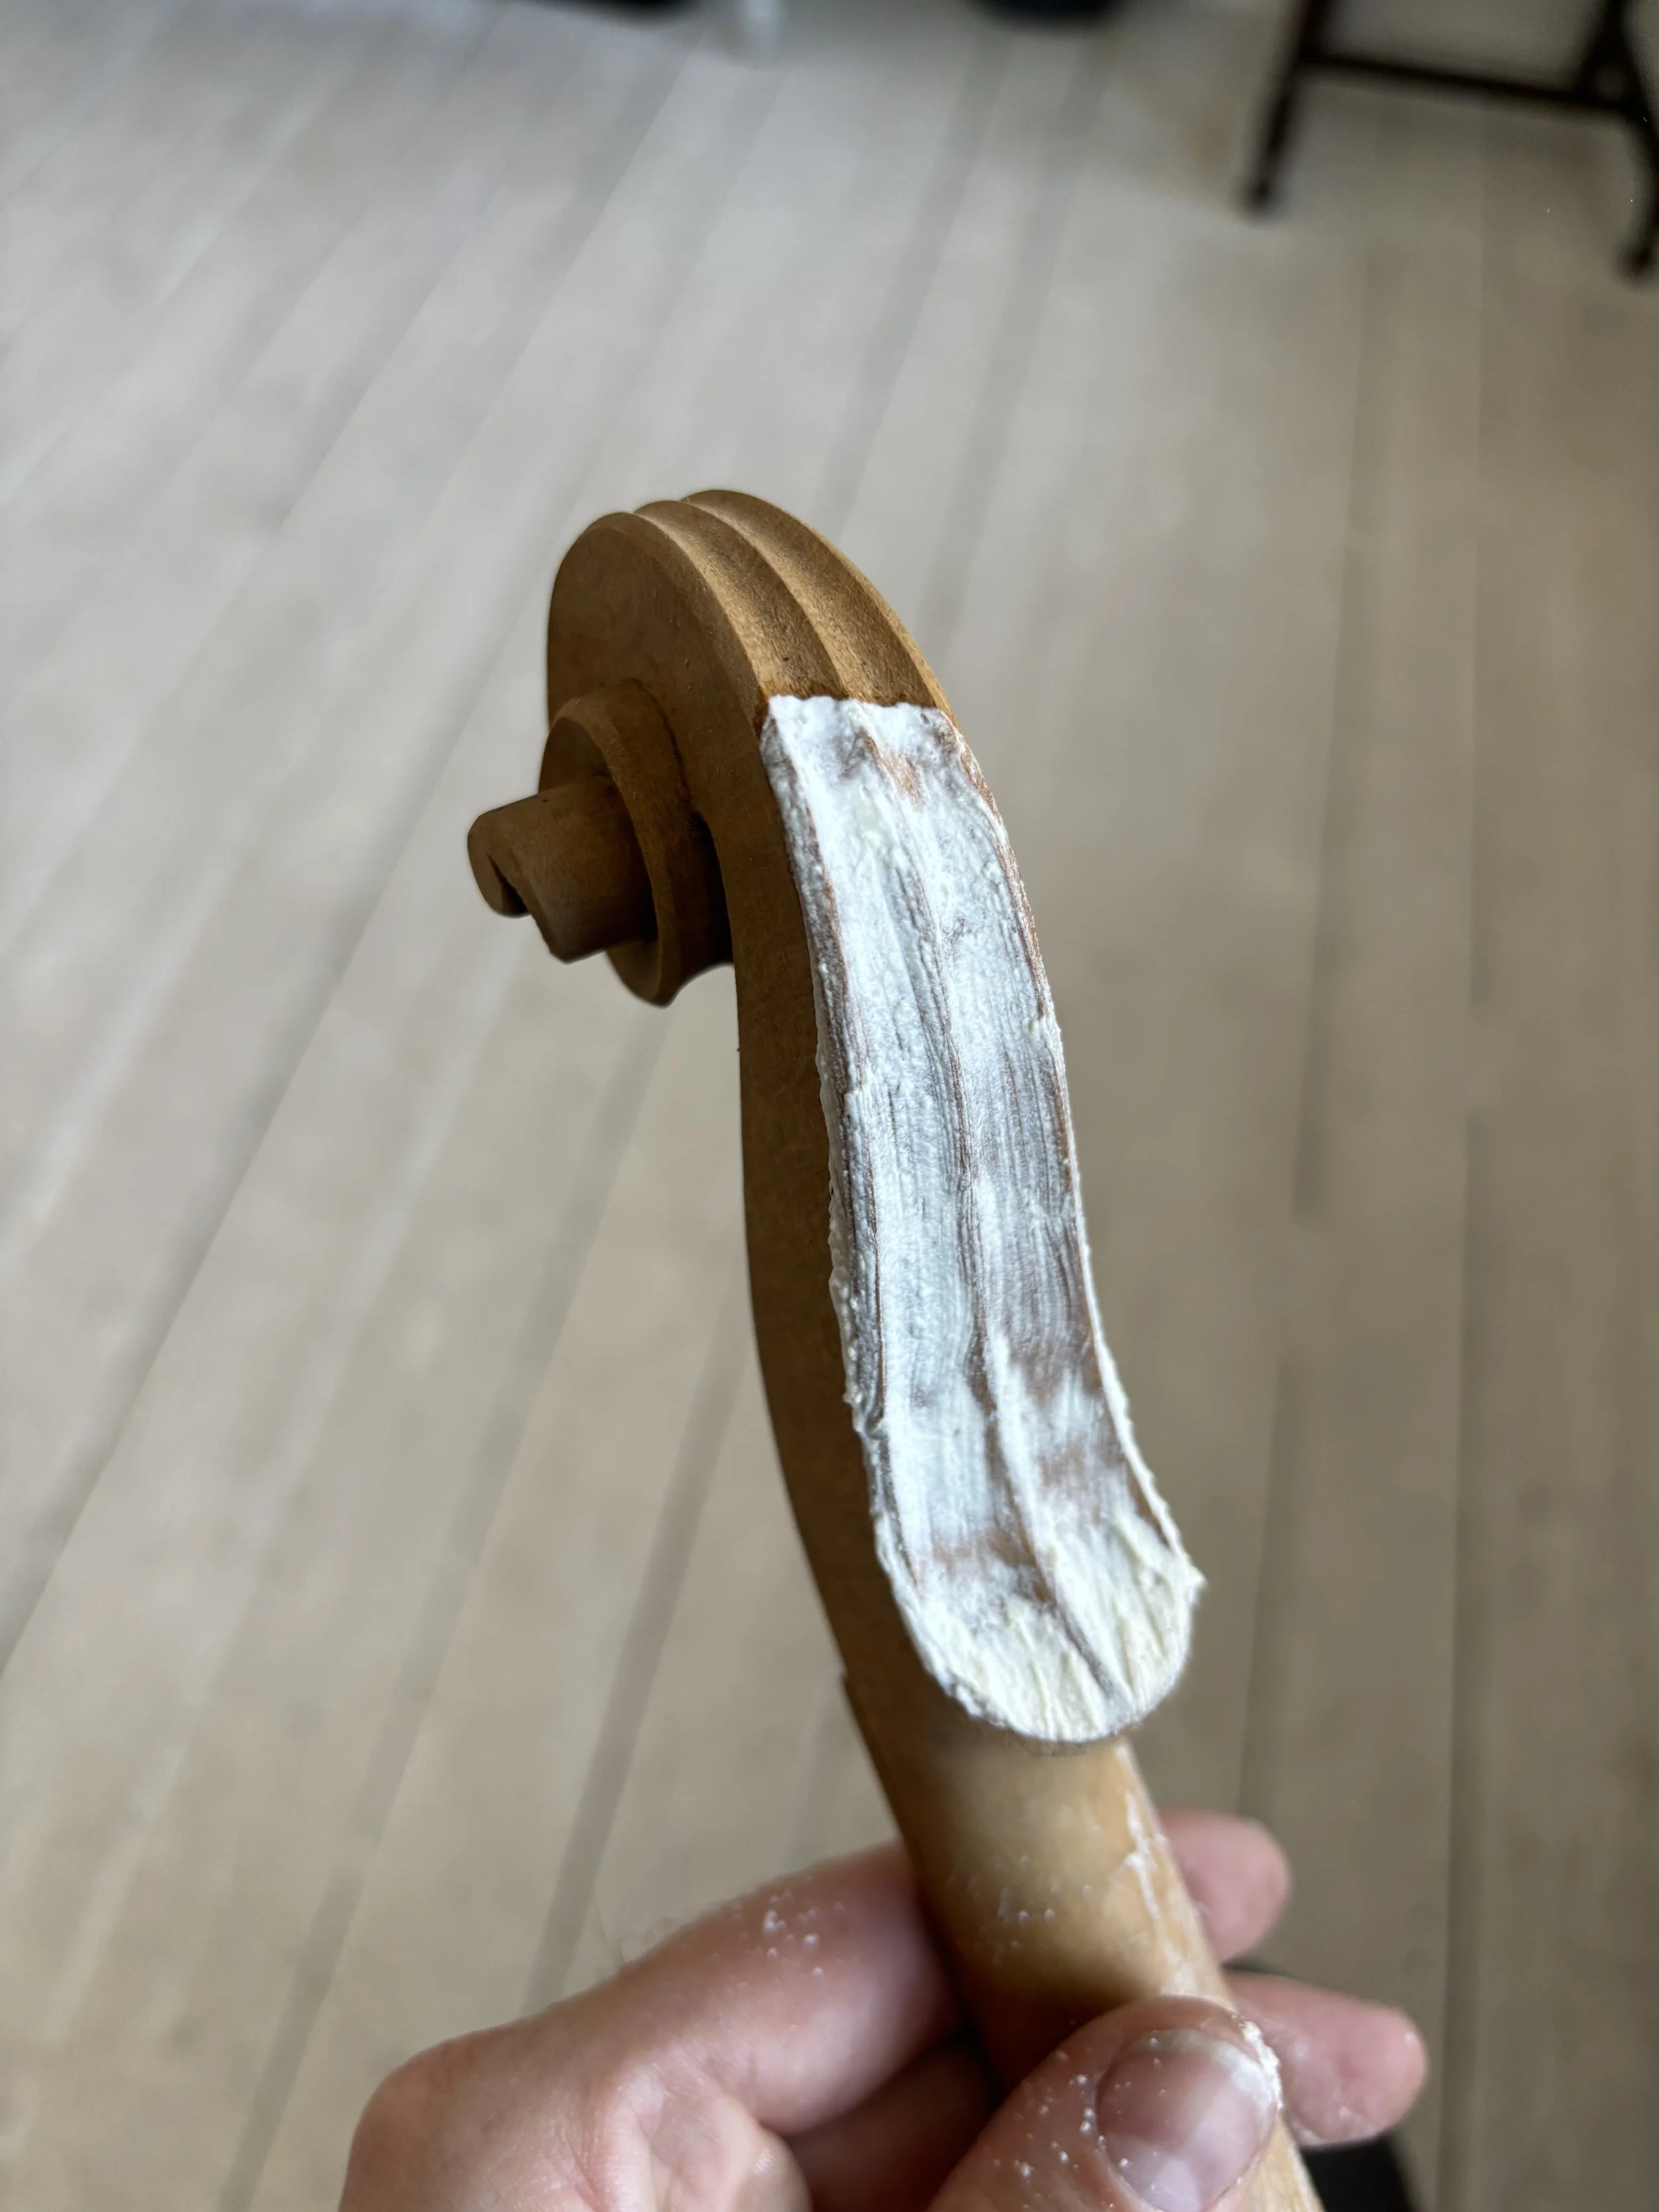
Applying Gesso
The “gesso”, a filler and substrate on which the other layers of varnish bind with, is now applied. The purpose of this added filler is to fill the pores of the wood and bind the oil varnish with the fibres below, whilst being perfectly transparent.
This traditional method will protect the violin for centuries to come, whilst enhancing the sound to be akin to a fine Italian instrument.
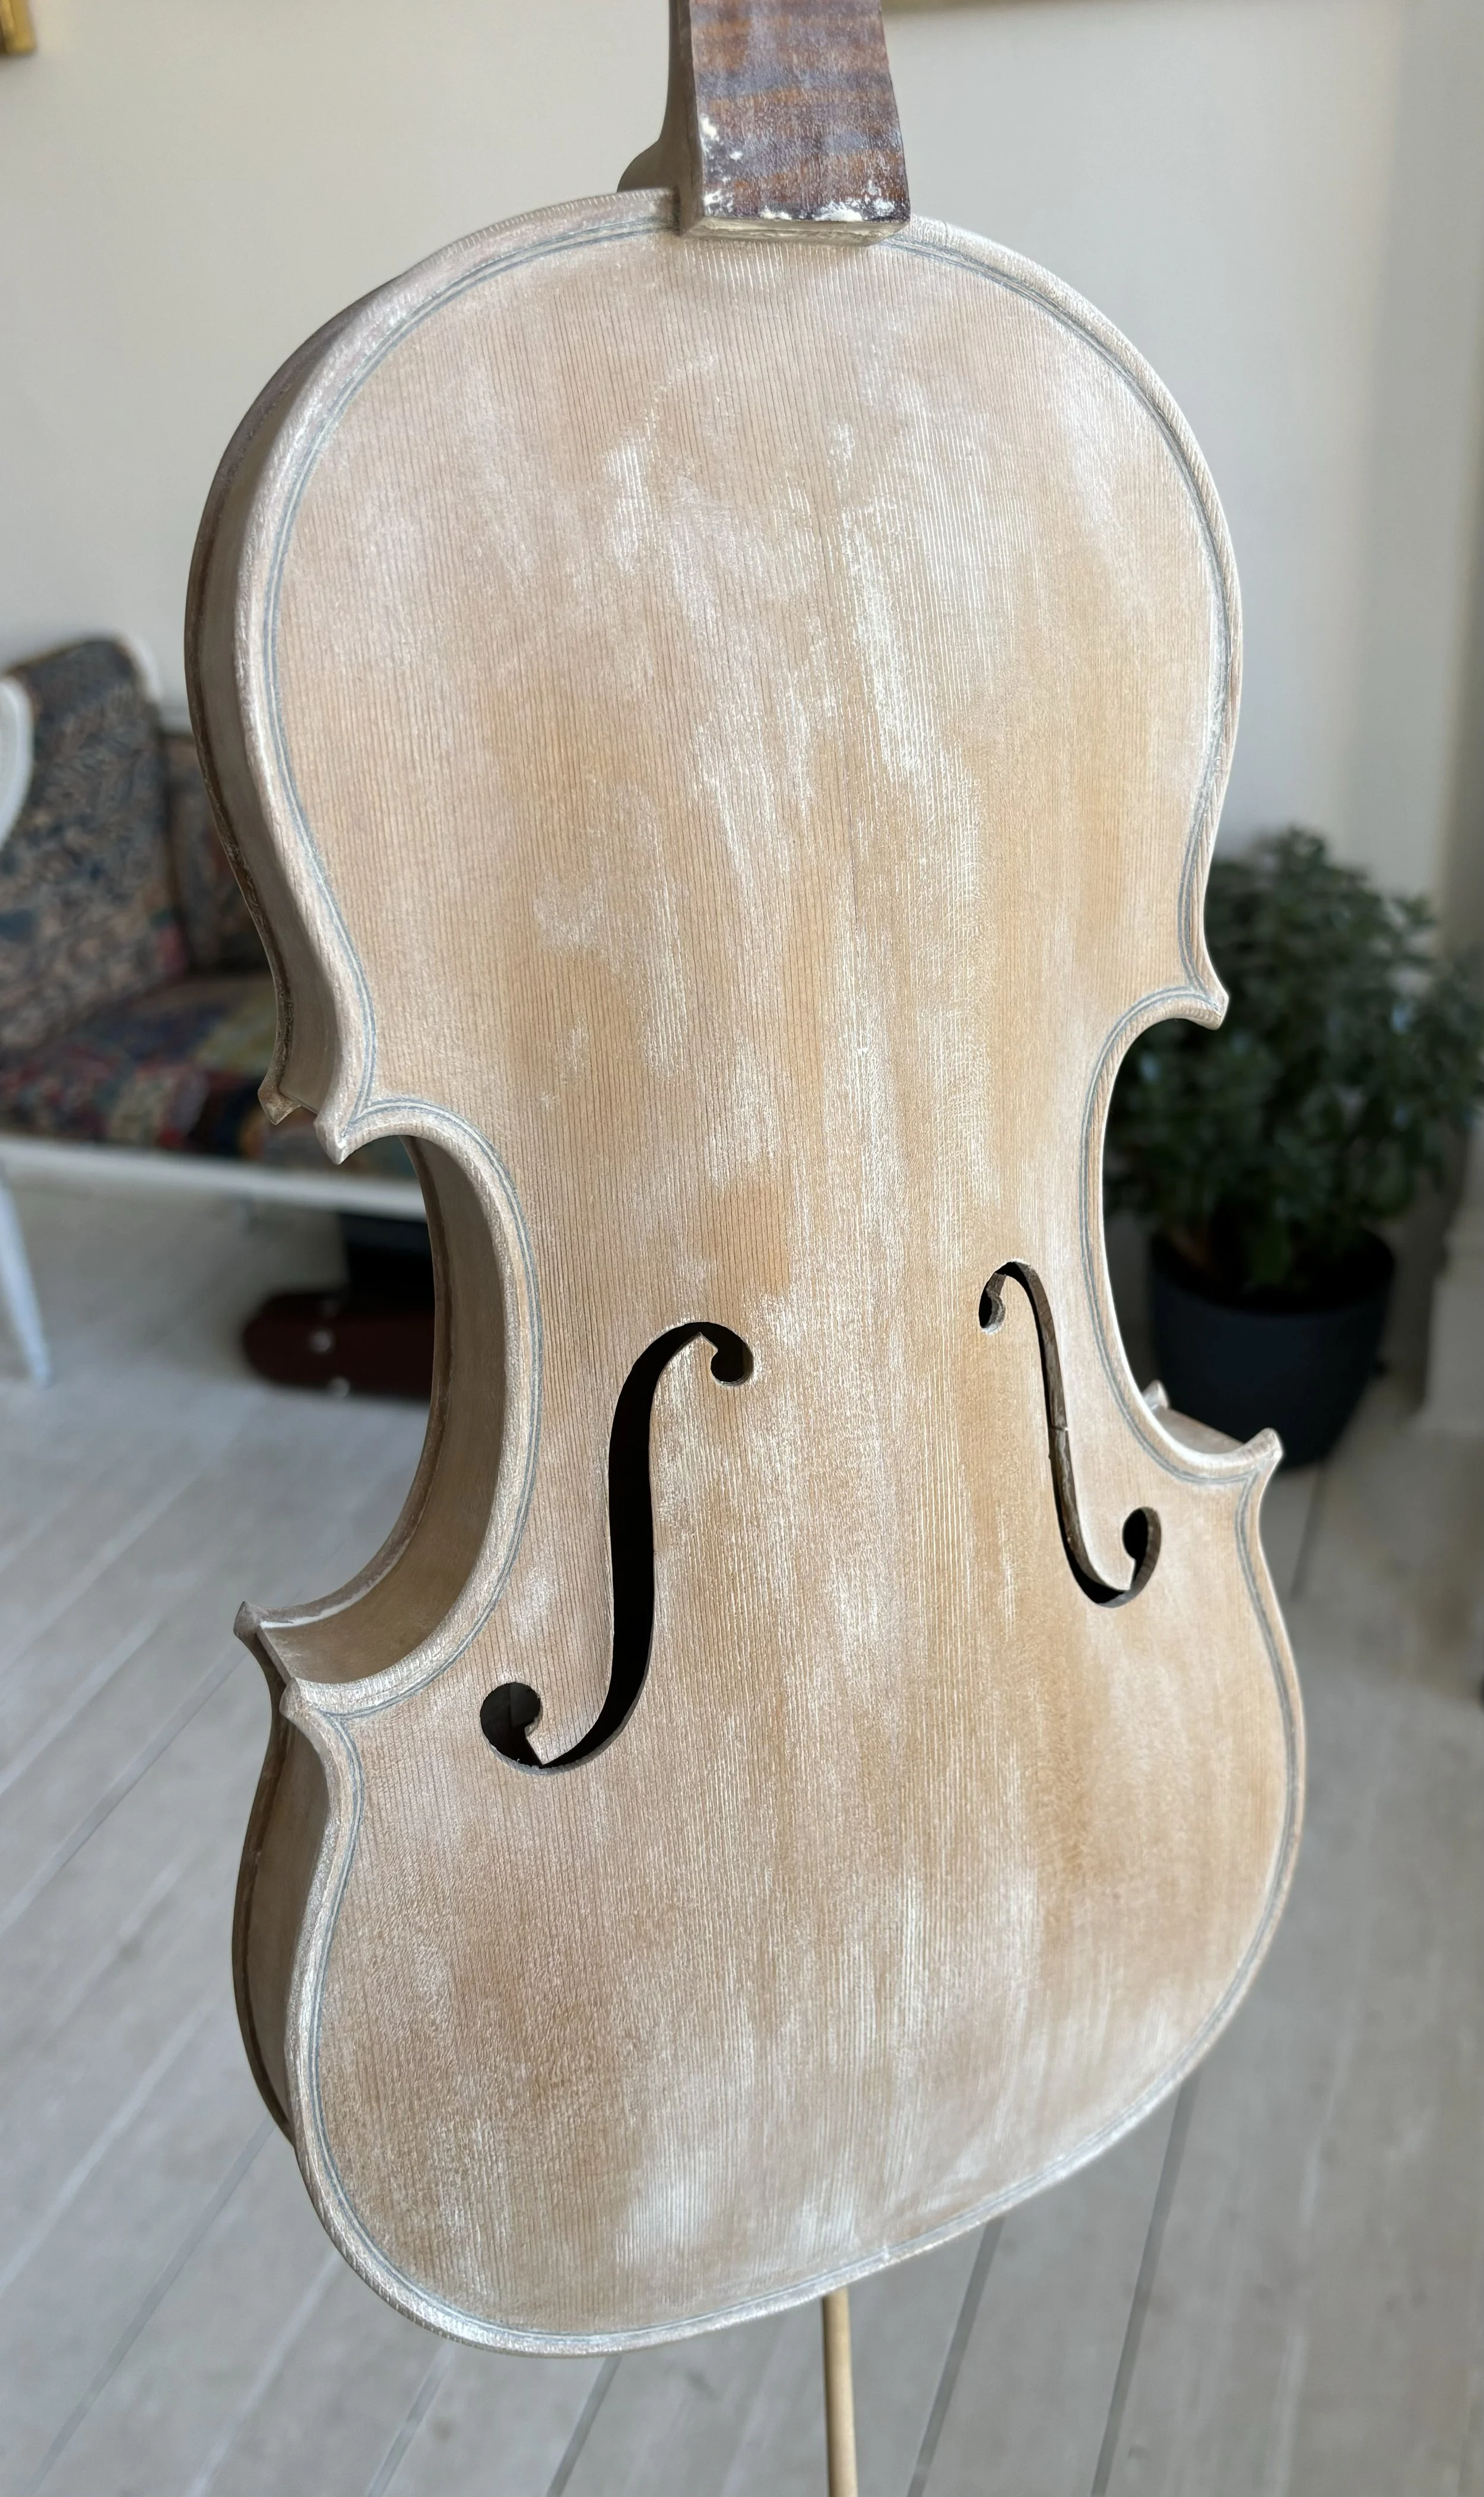
The visual effect will be the increase in reflectiveness of the wood, creating a transparent, dichroic effect.
There are many types of filler that will bind well with oil varnish; talc, powdered glass, silica, pumice… the best one will be incredibly fine, to fill the pores of the instrument and have the same refractive index as the oil varnish, making it completely invisible.

Applying a Fine Oil Varnish
The oil varnish applied to a new violin is also completely handmade in the Ruschil workshop, London. Cooked over a week-long process of colour development and refining. This process can be read about in the article, “Making a Fine Oil Varnish”
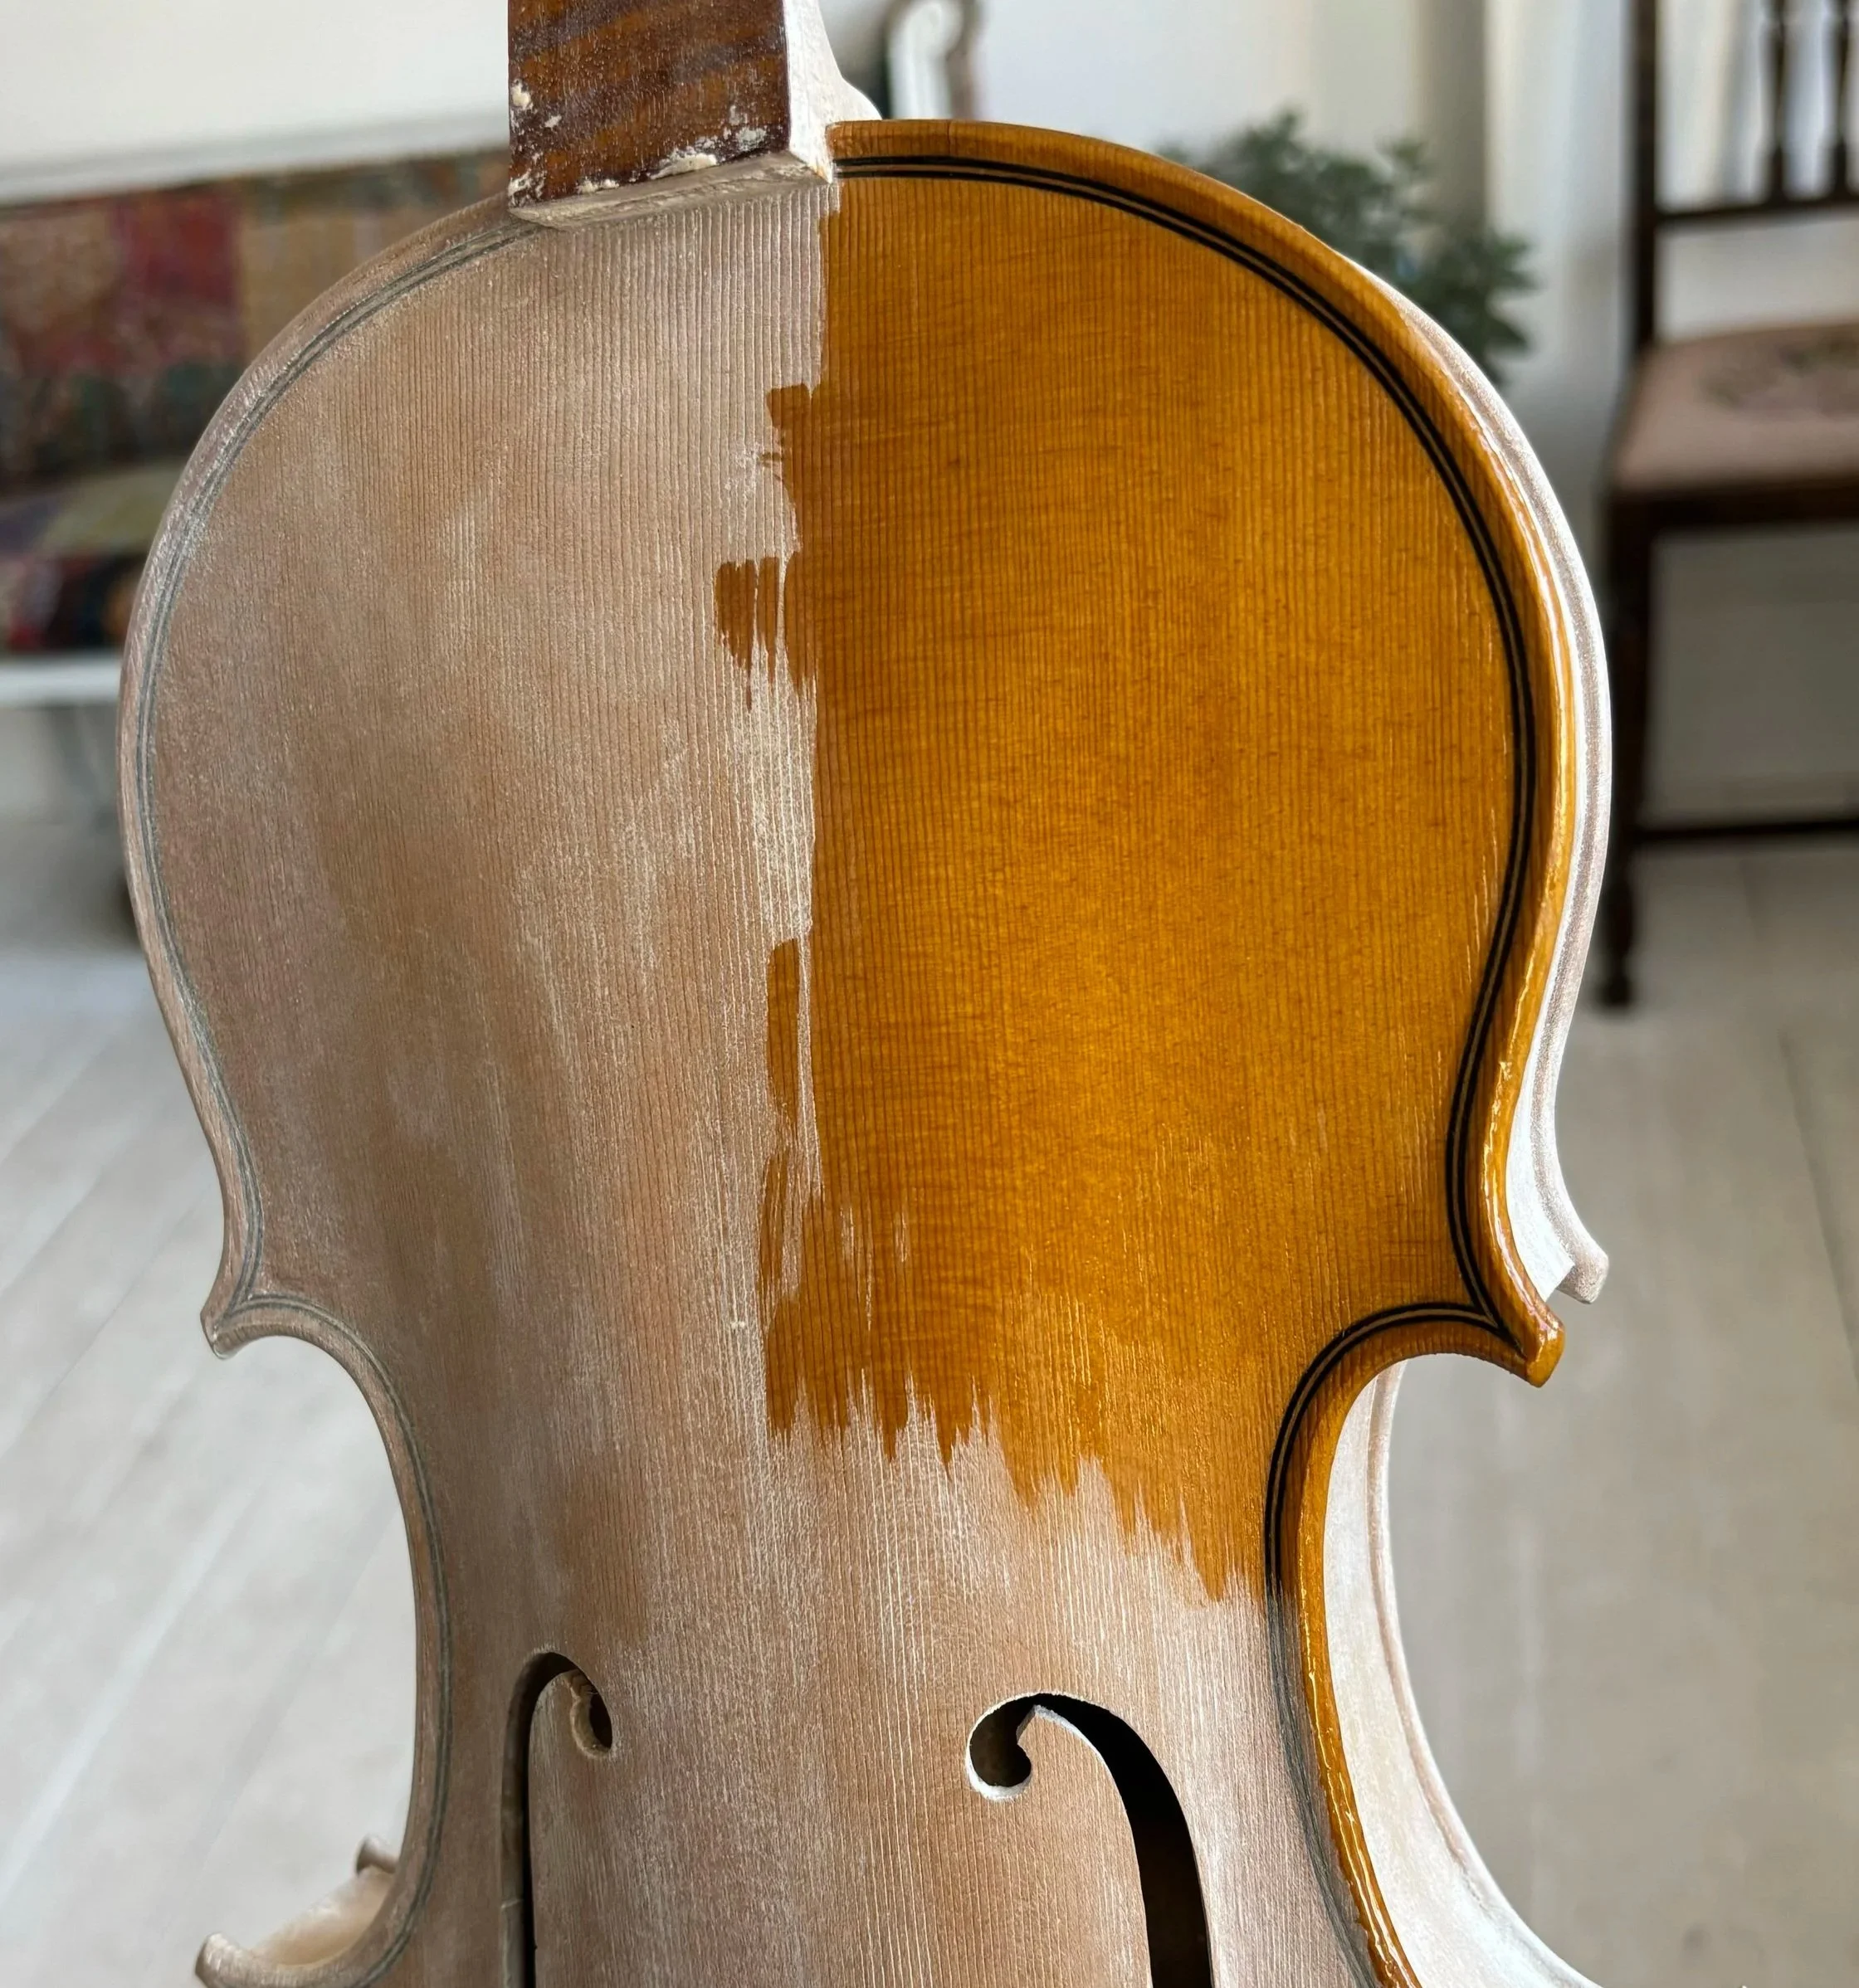
Above: Applying the first layer of handmade oil varnish to the wood of a fine violin, binding with the filler below to strengthen the wood and reveal its beauty.
Creating a Golden Core
The varnish is left to set into the wood and bind with the layers below for a short while. It is then rubbed off with turpentine back to the wood. When this is done, it is left for two days to dry in the UV cabinet. This process creates a solid golden core for all the varnish above to be placed on above. Even the lightest coat of colour varnish may be all that is required from this point.
Applying Colour Oil Varnish
Once the violin has its solid golden core, colour coats are applied over the top to create the desired tone. As written about in the article, “Making a Fine Oil Varnish”, the colour is created during a very long process of cooking natural resins and oils. No pigments are added at all and the colour occurs naturally from the refined cooking process.
This is a very traditional, old Italian method, which requires the skill and patience of a master luthier. Applied with a fine sable brush, the colour oil varnish is left in UV light for two days to dry and cure between coats.
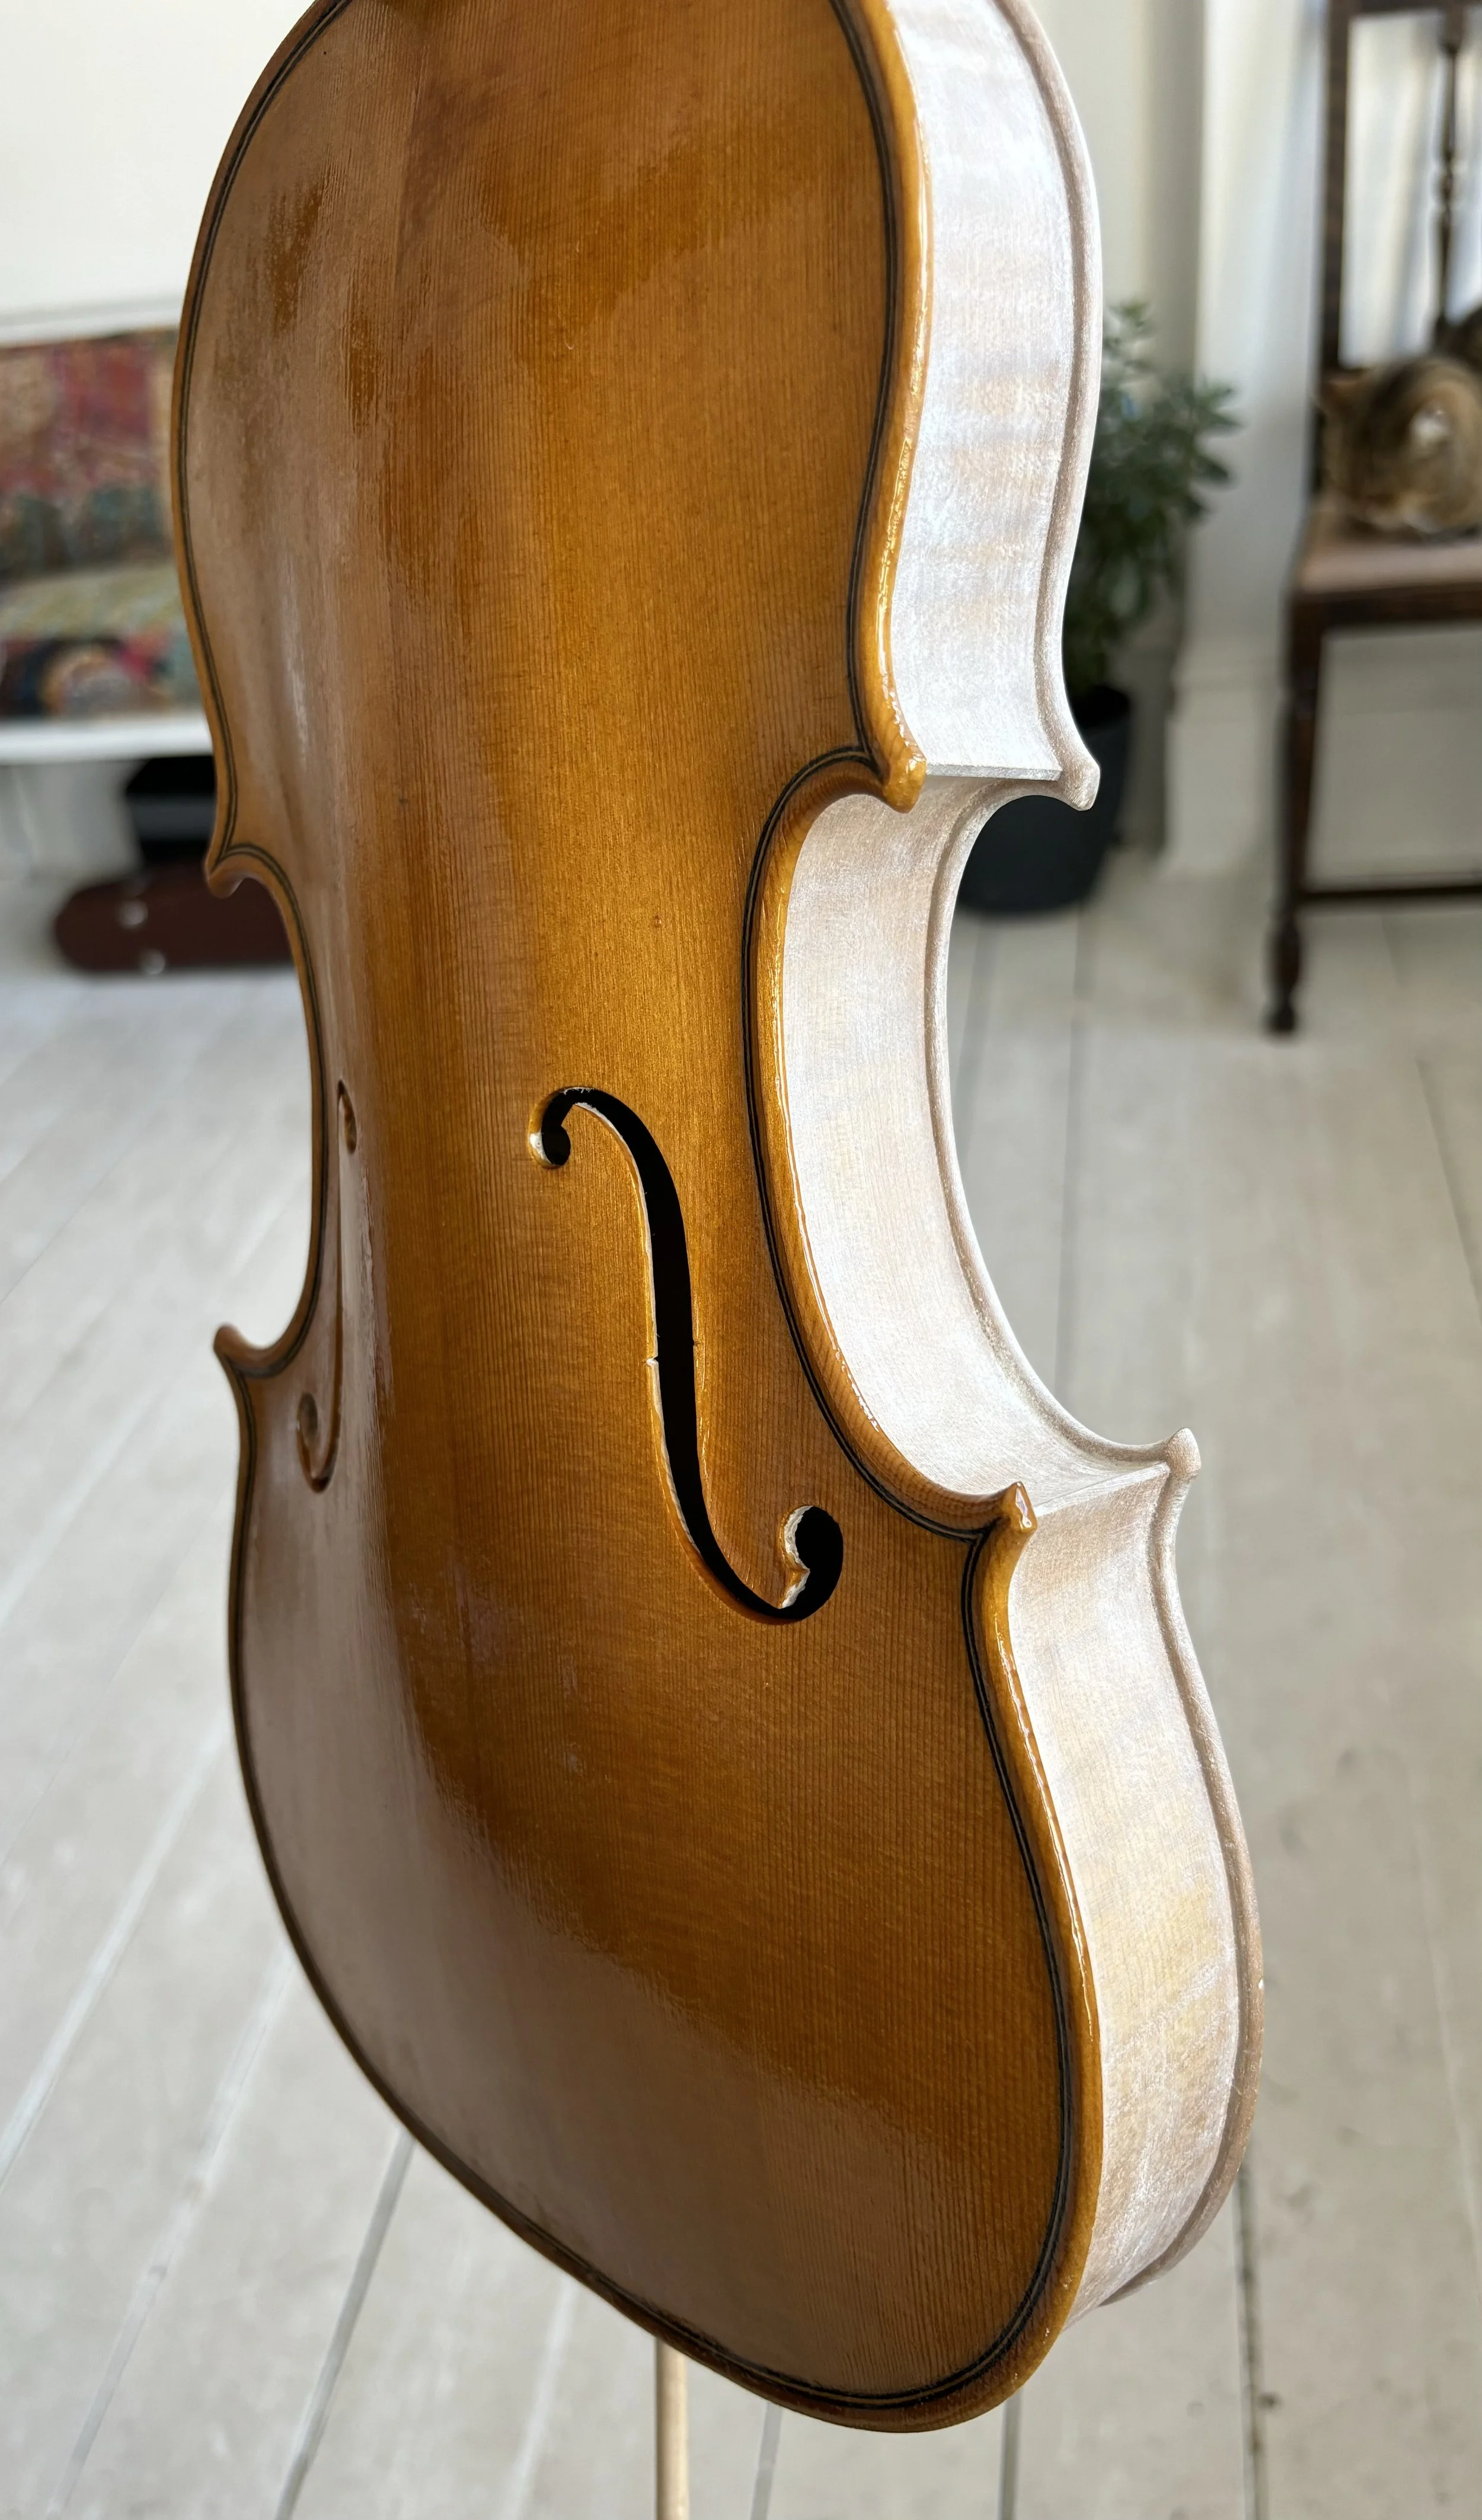
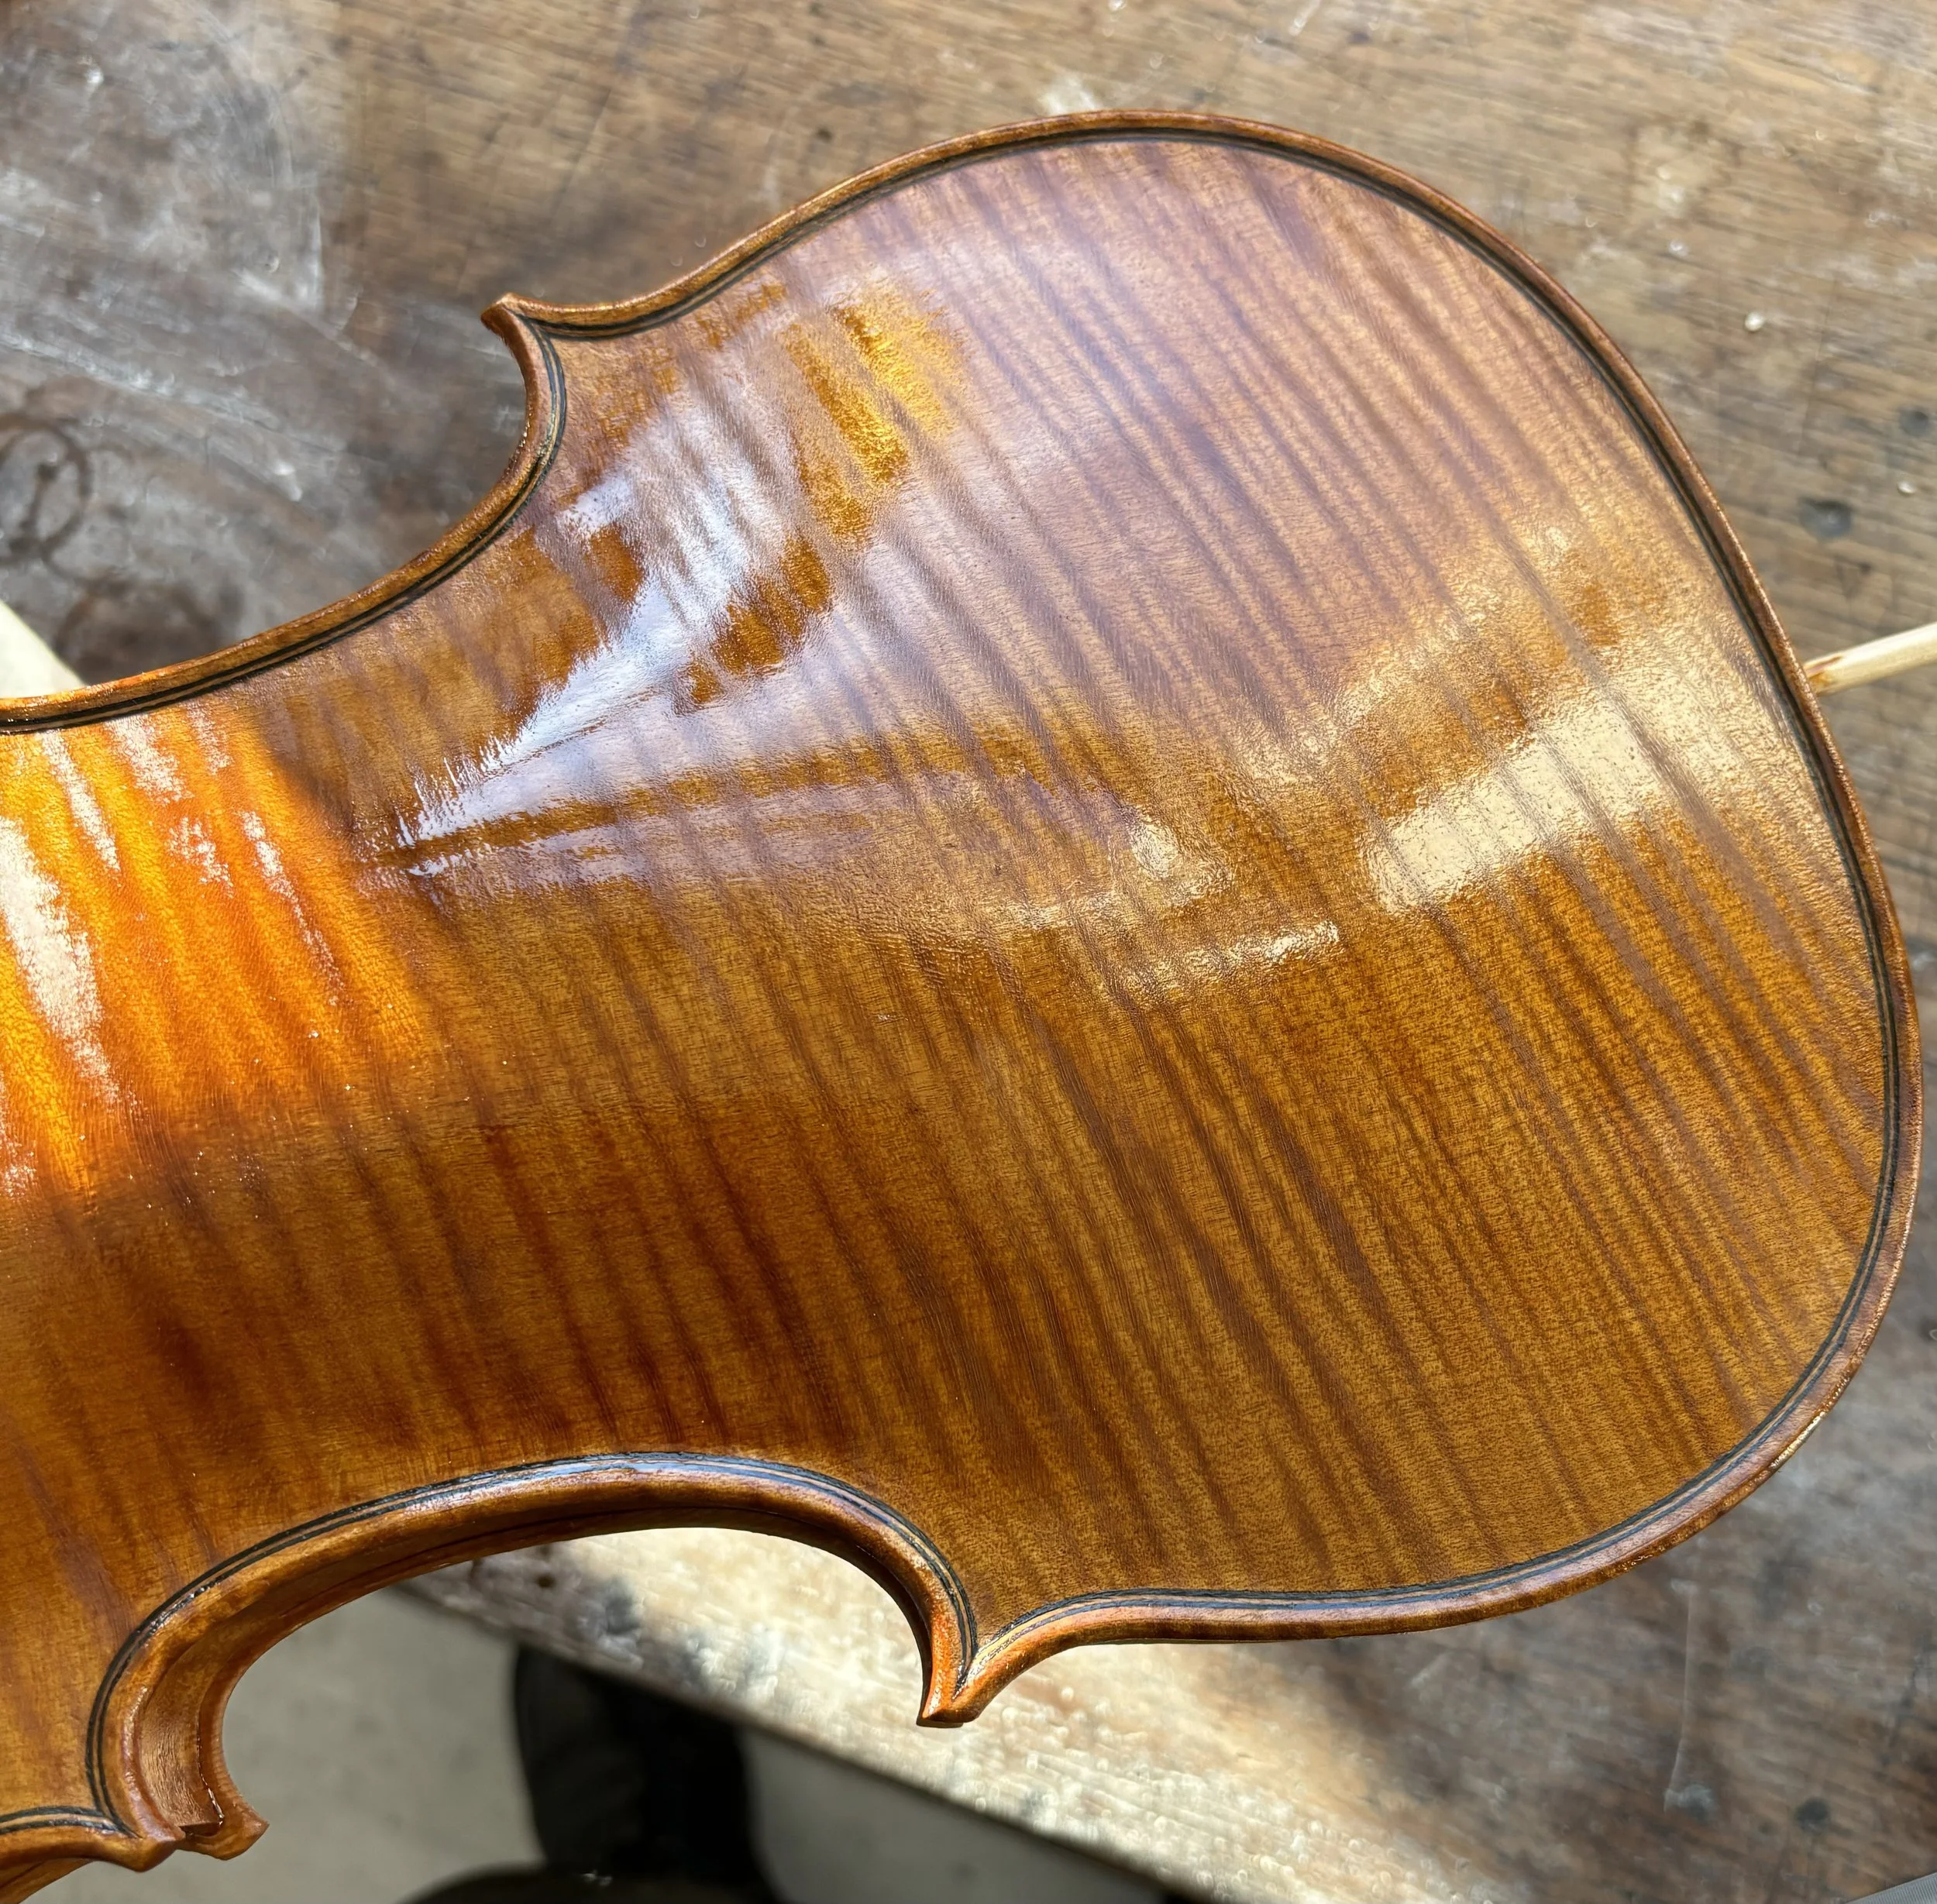
The aim for violin, “The Argyle, 2024” was to create a traditional, ultra transparent Italian red, by applying a very fine coat of varnish over the ground layer.
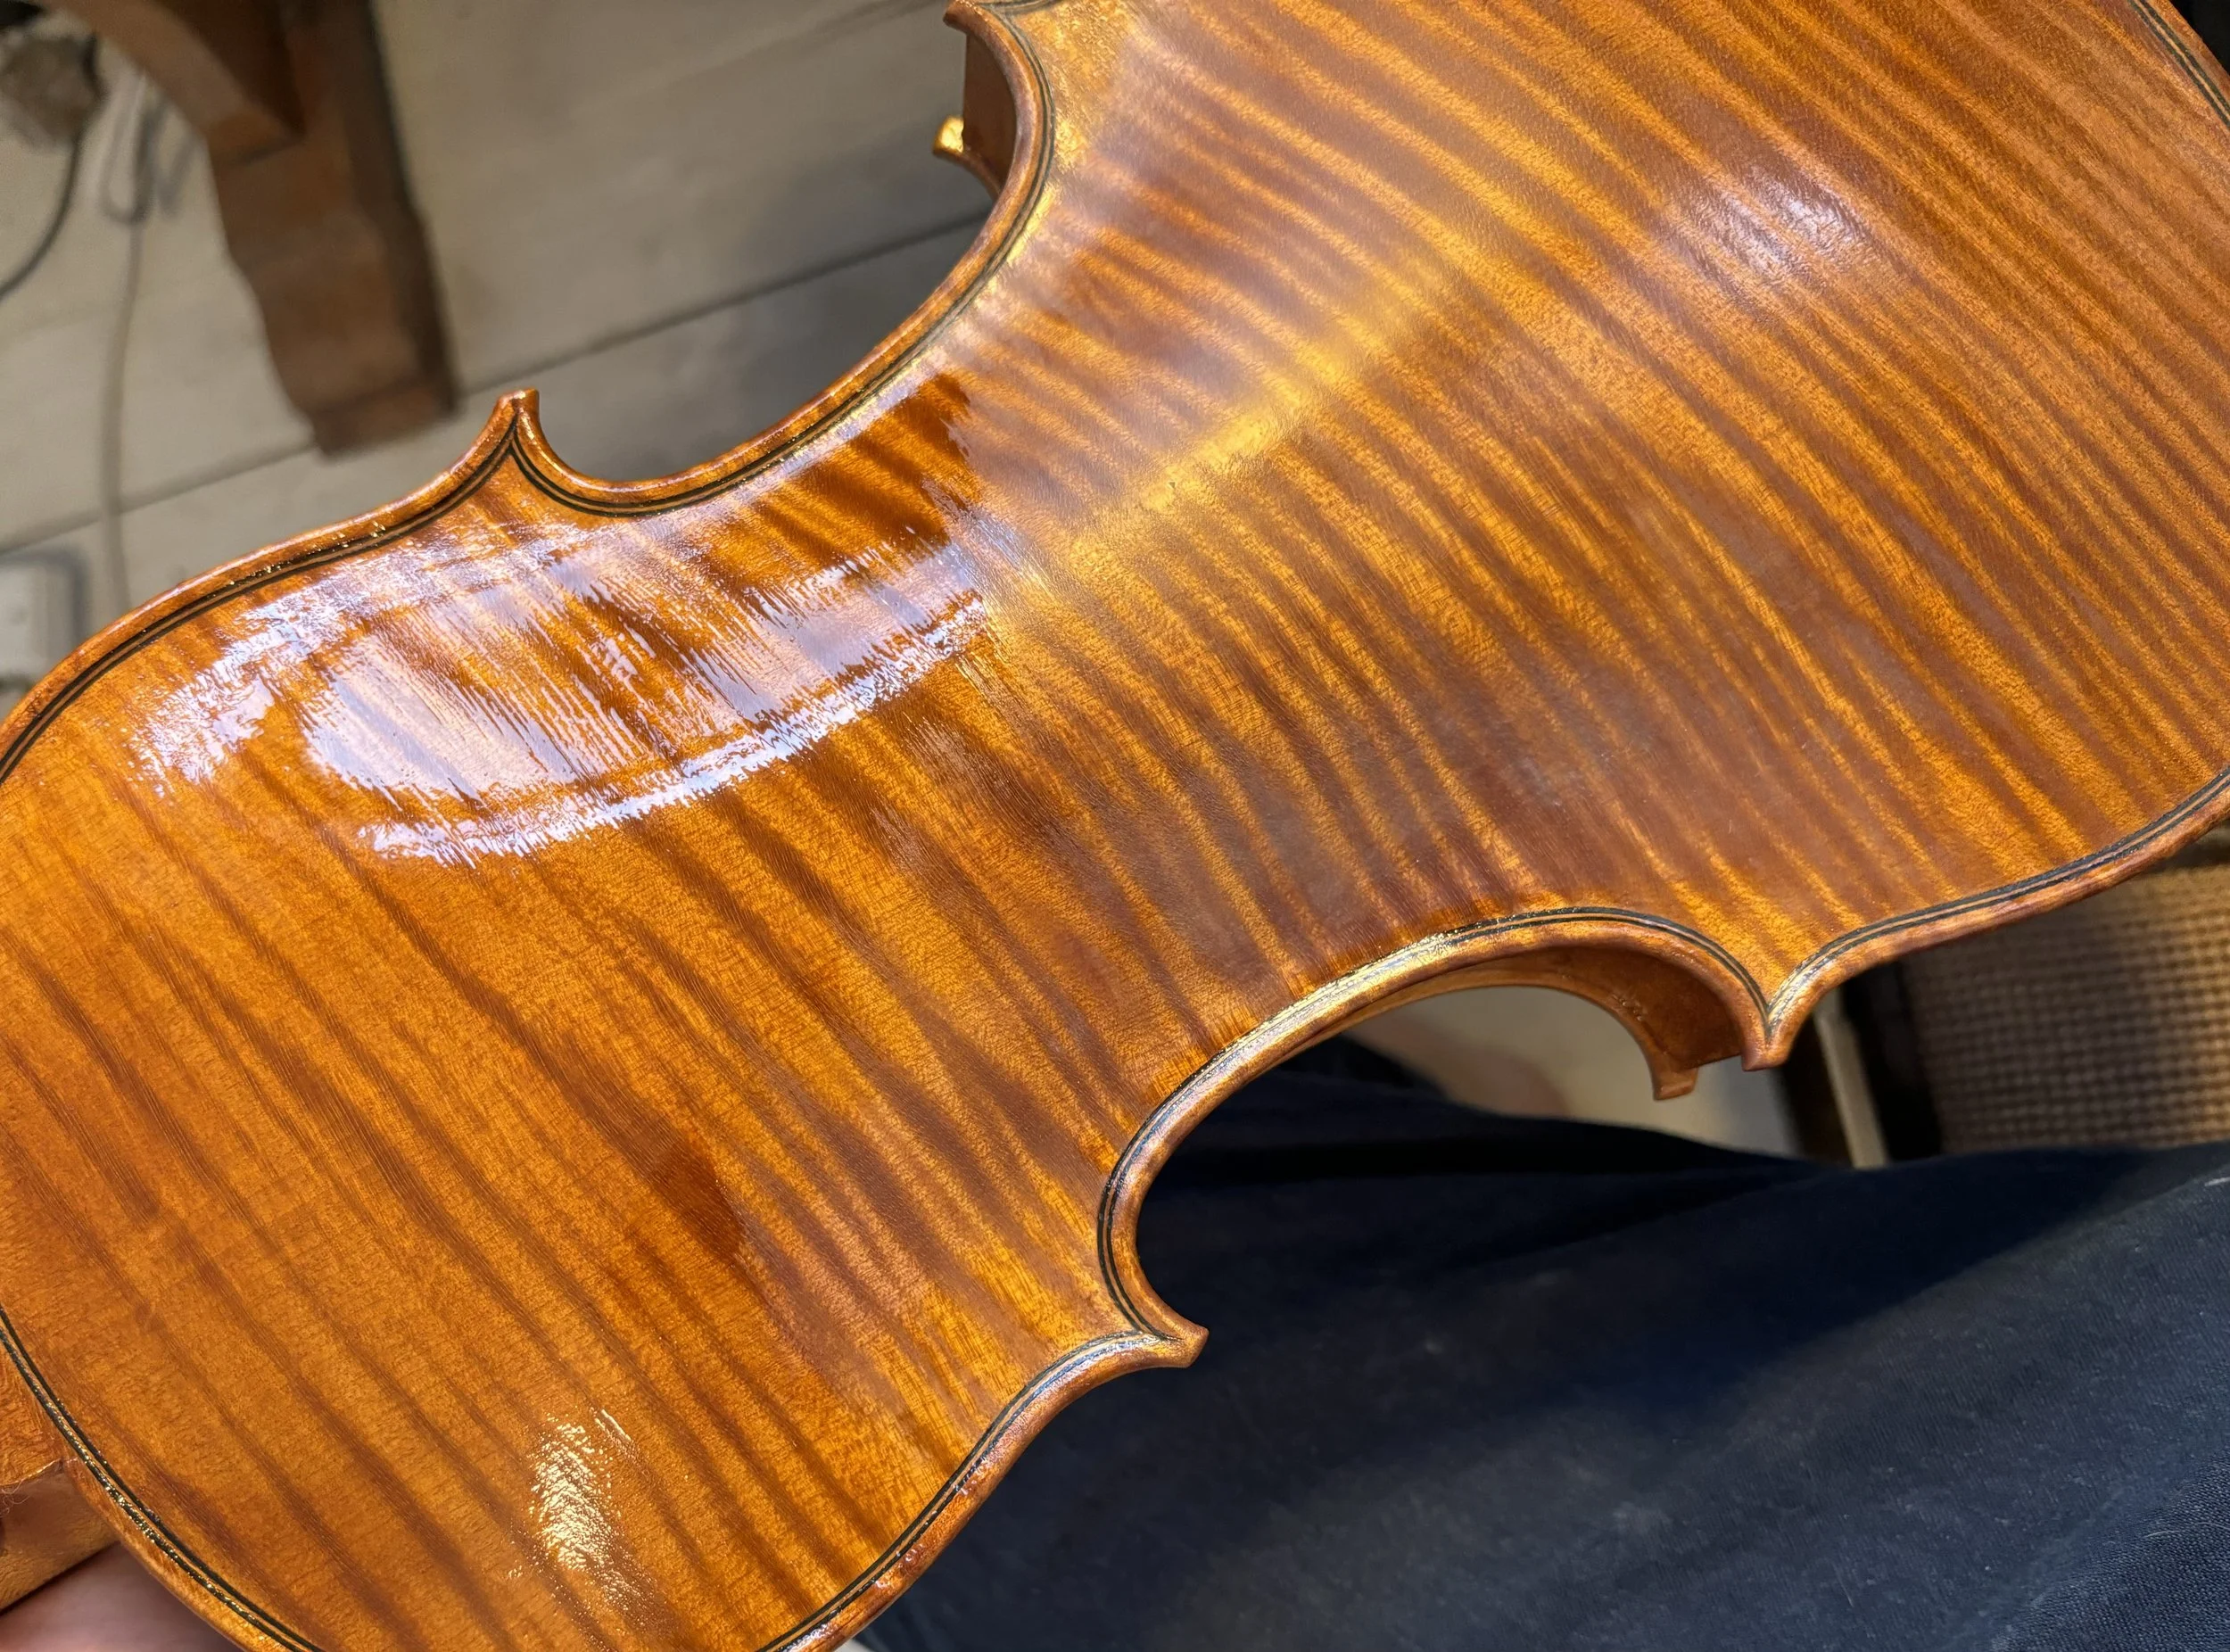
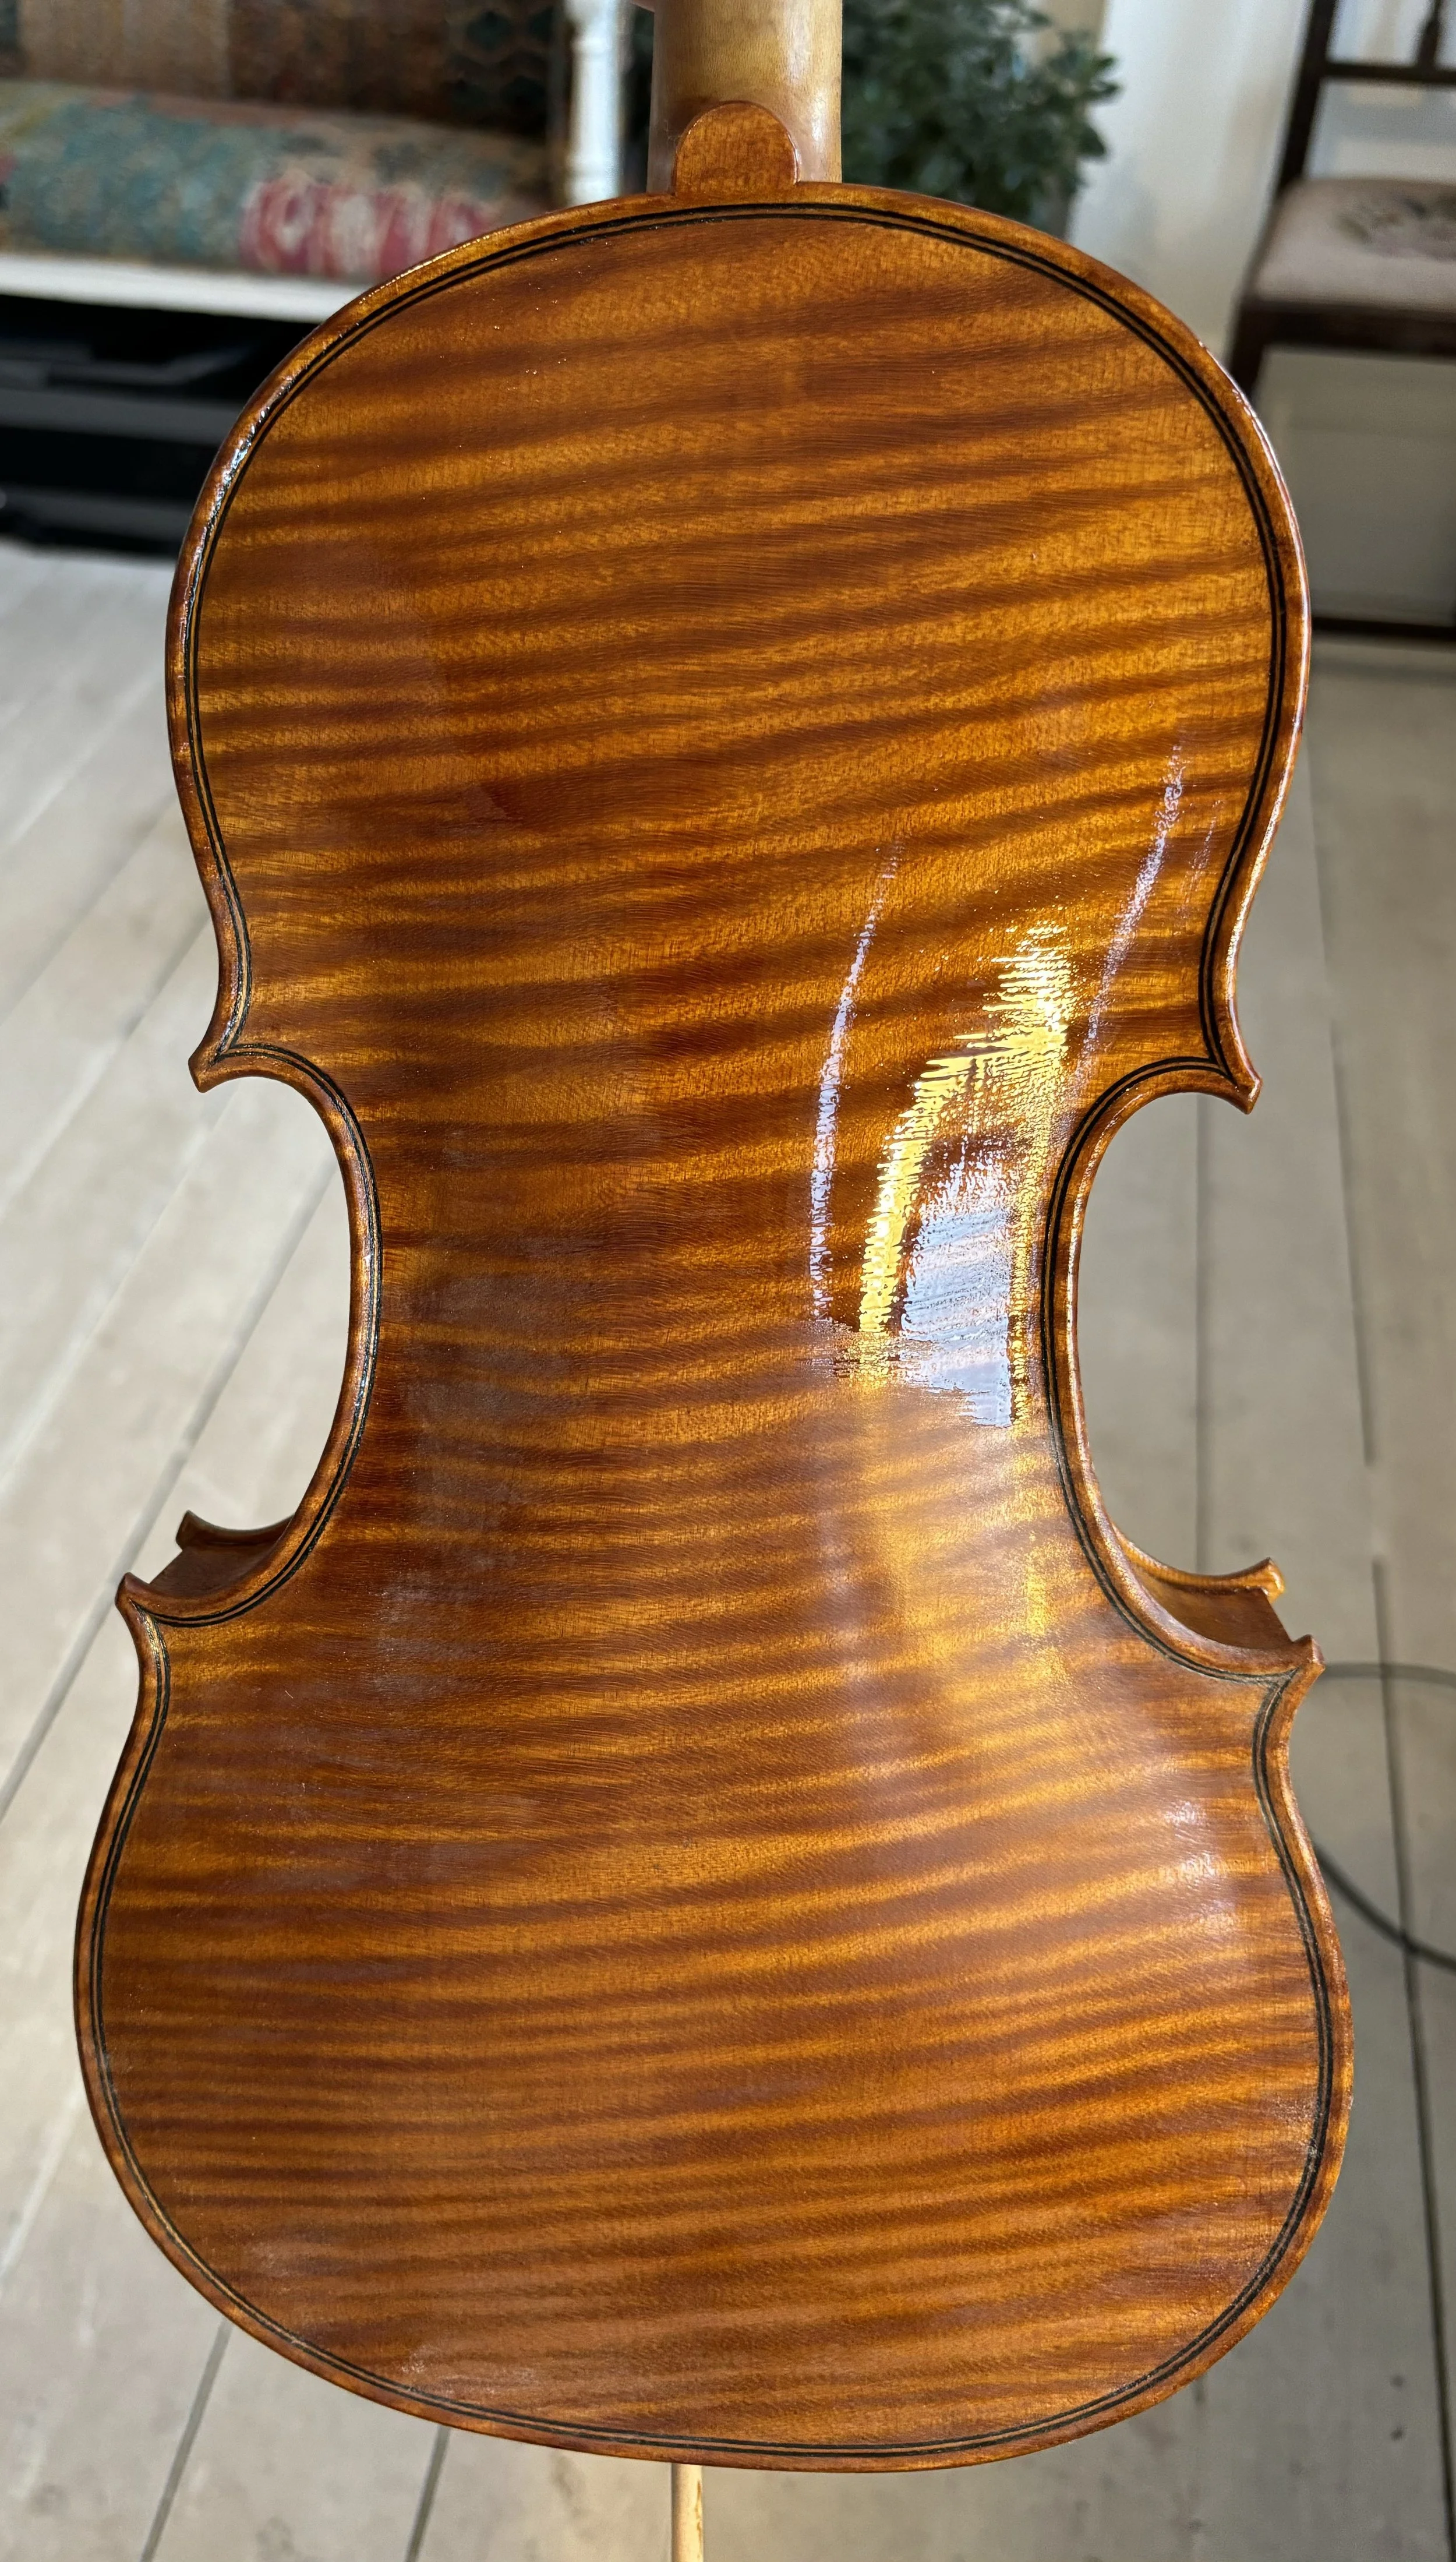
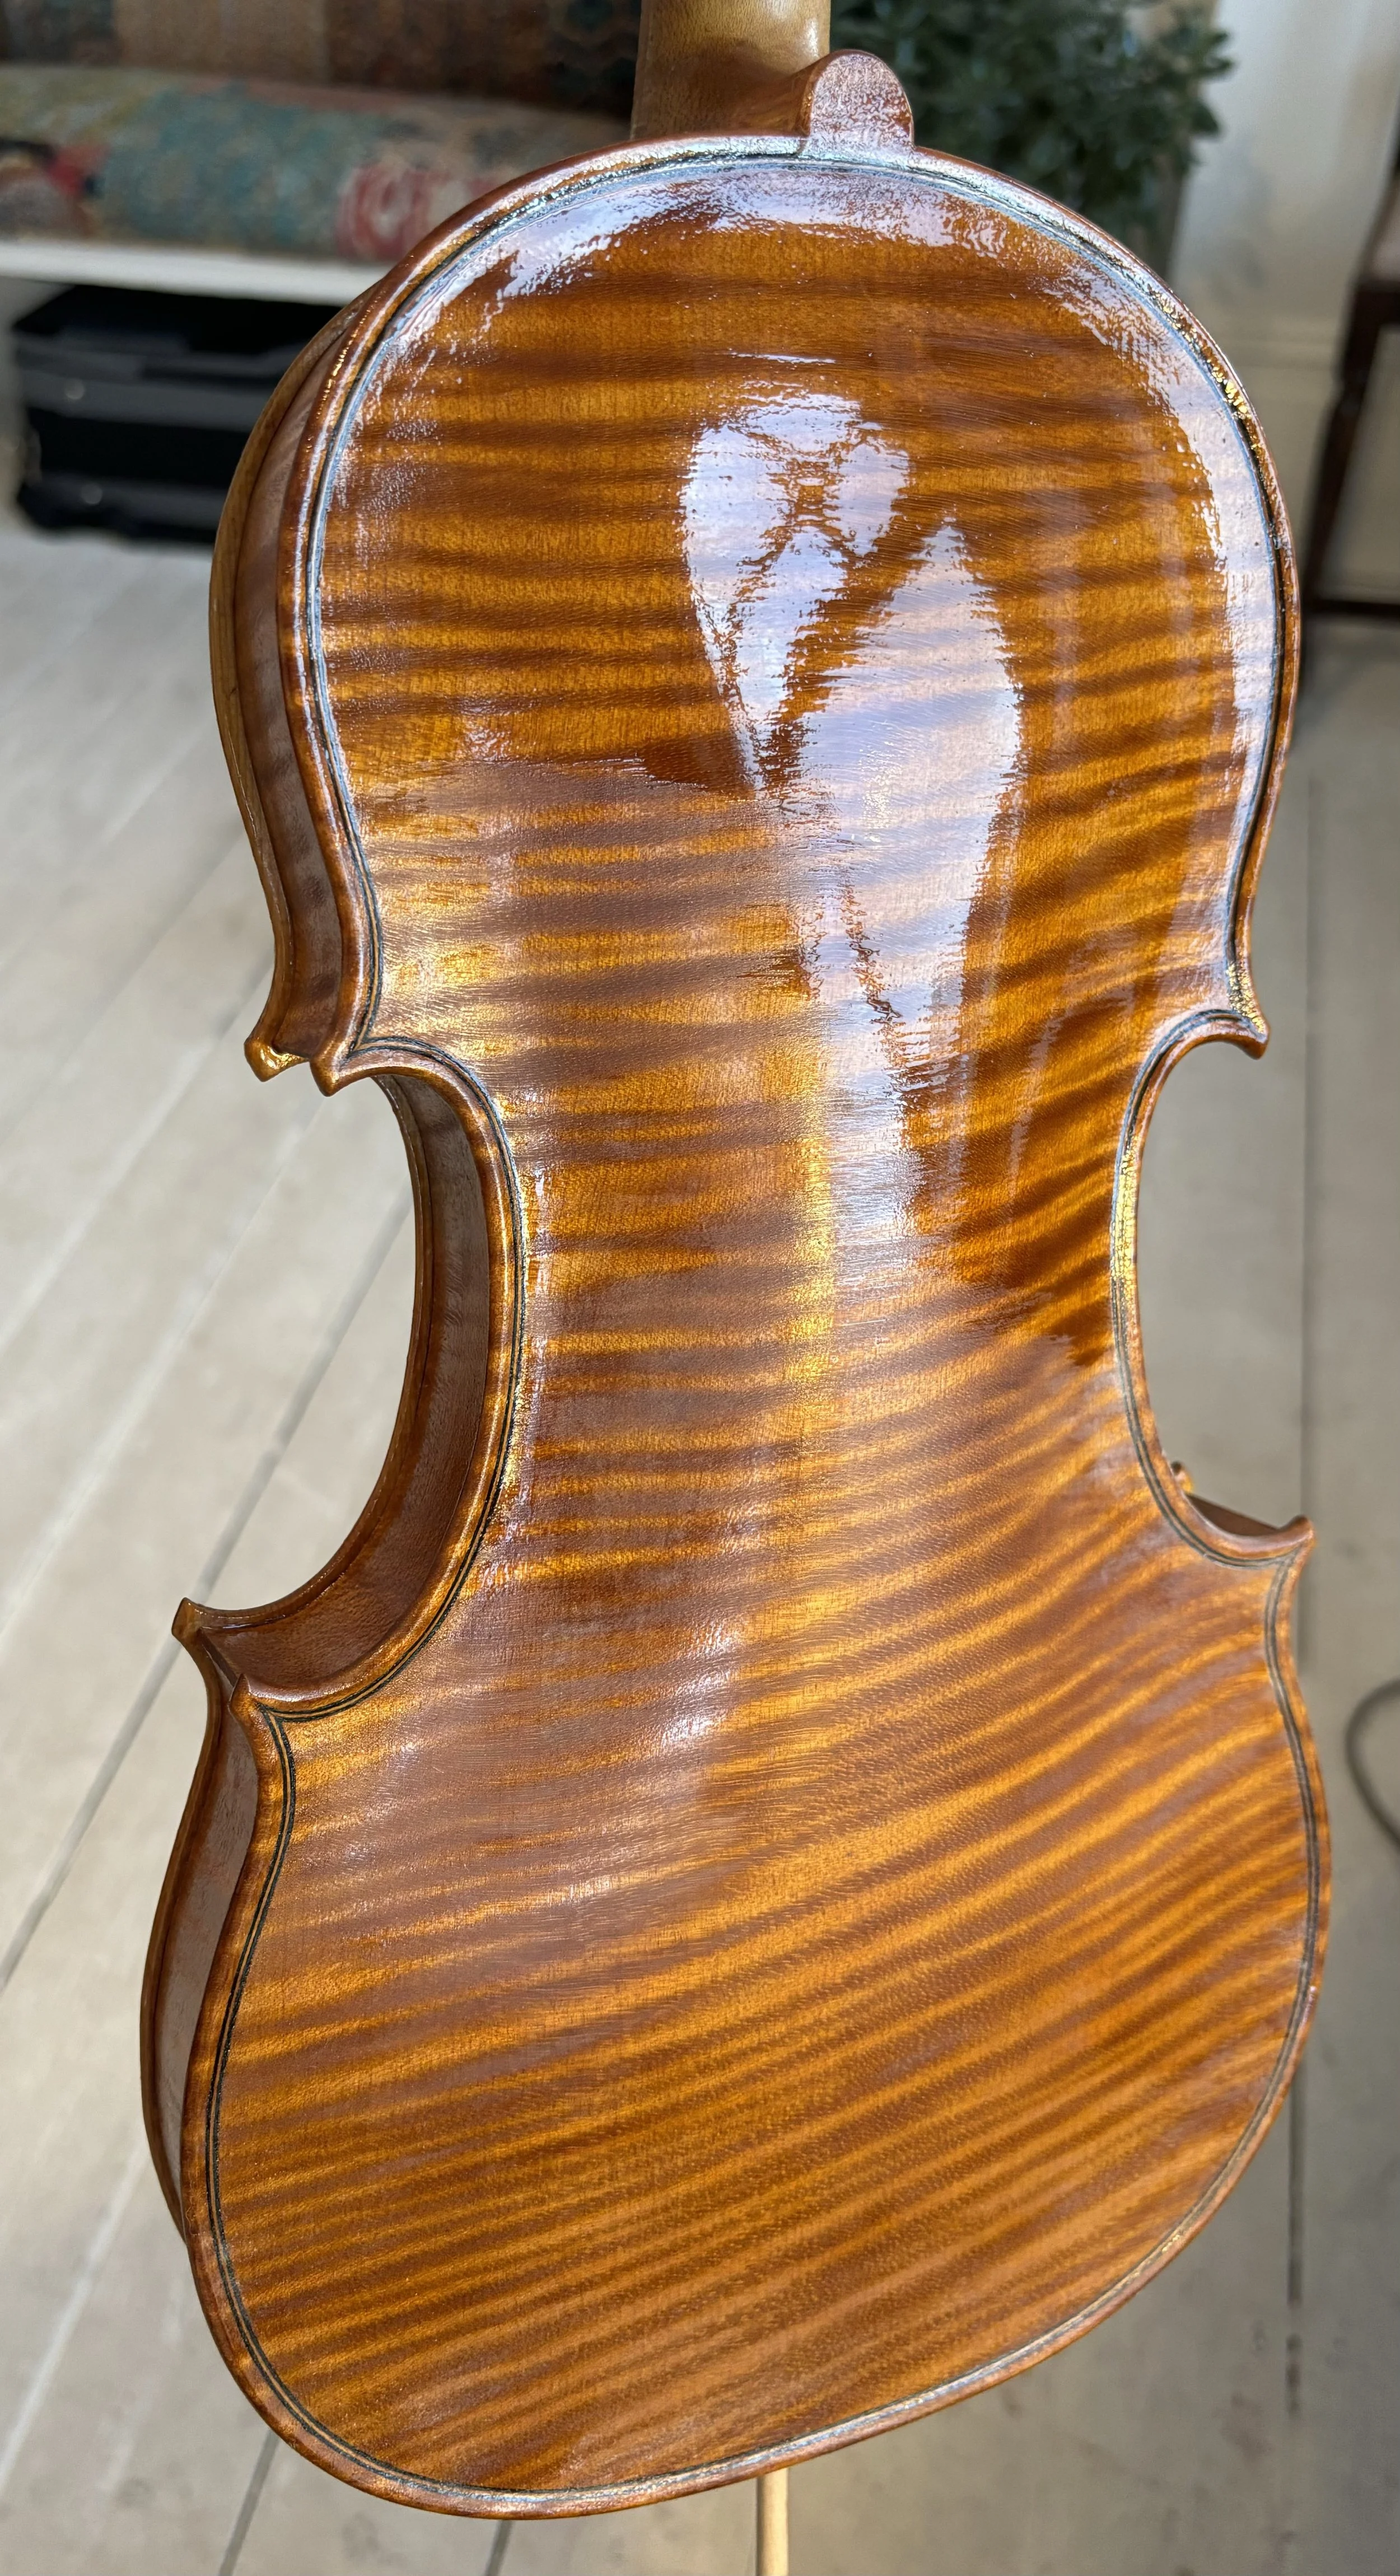
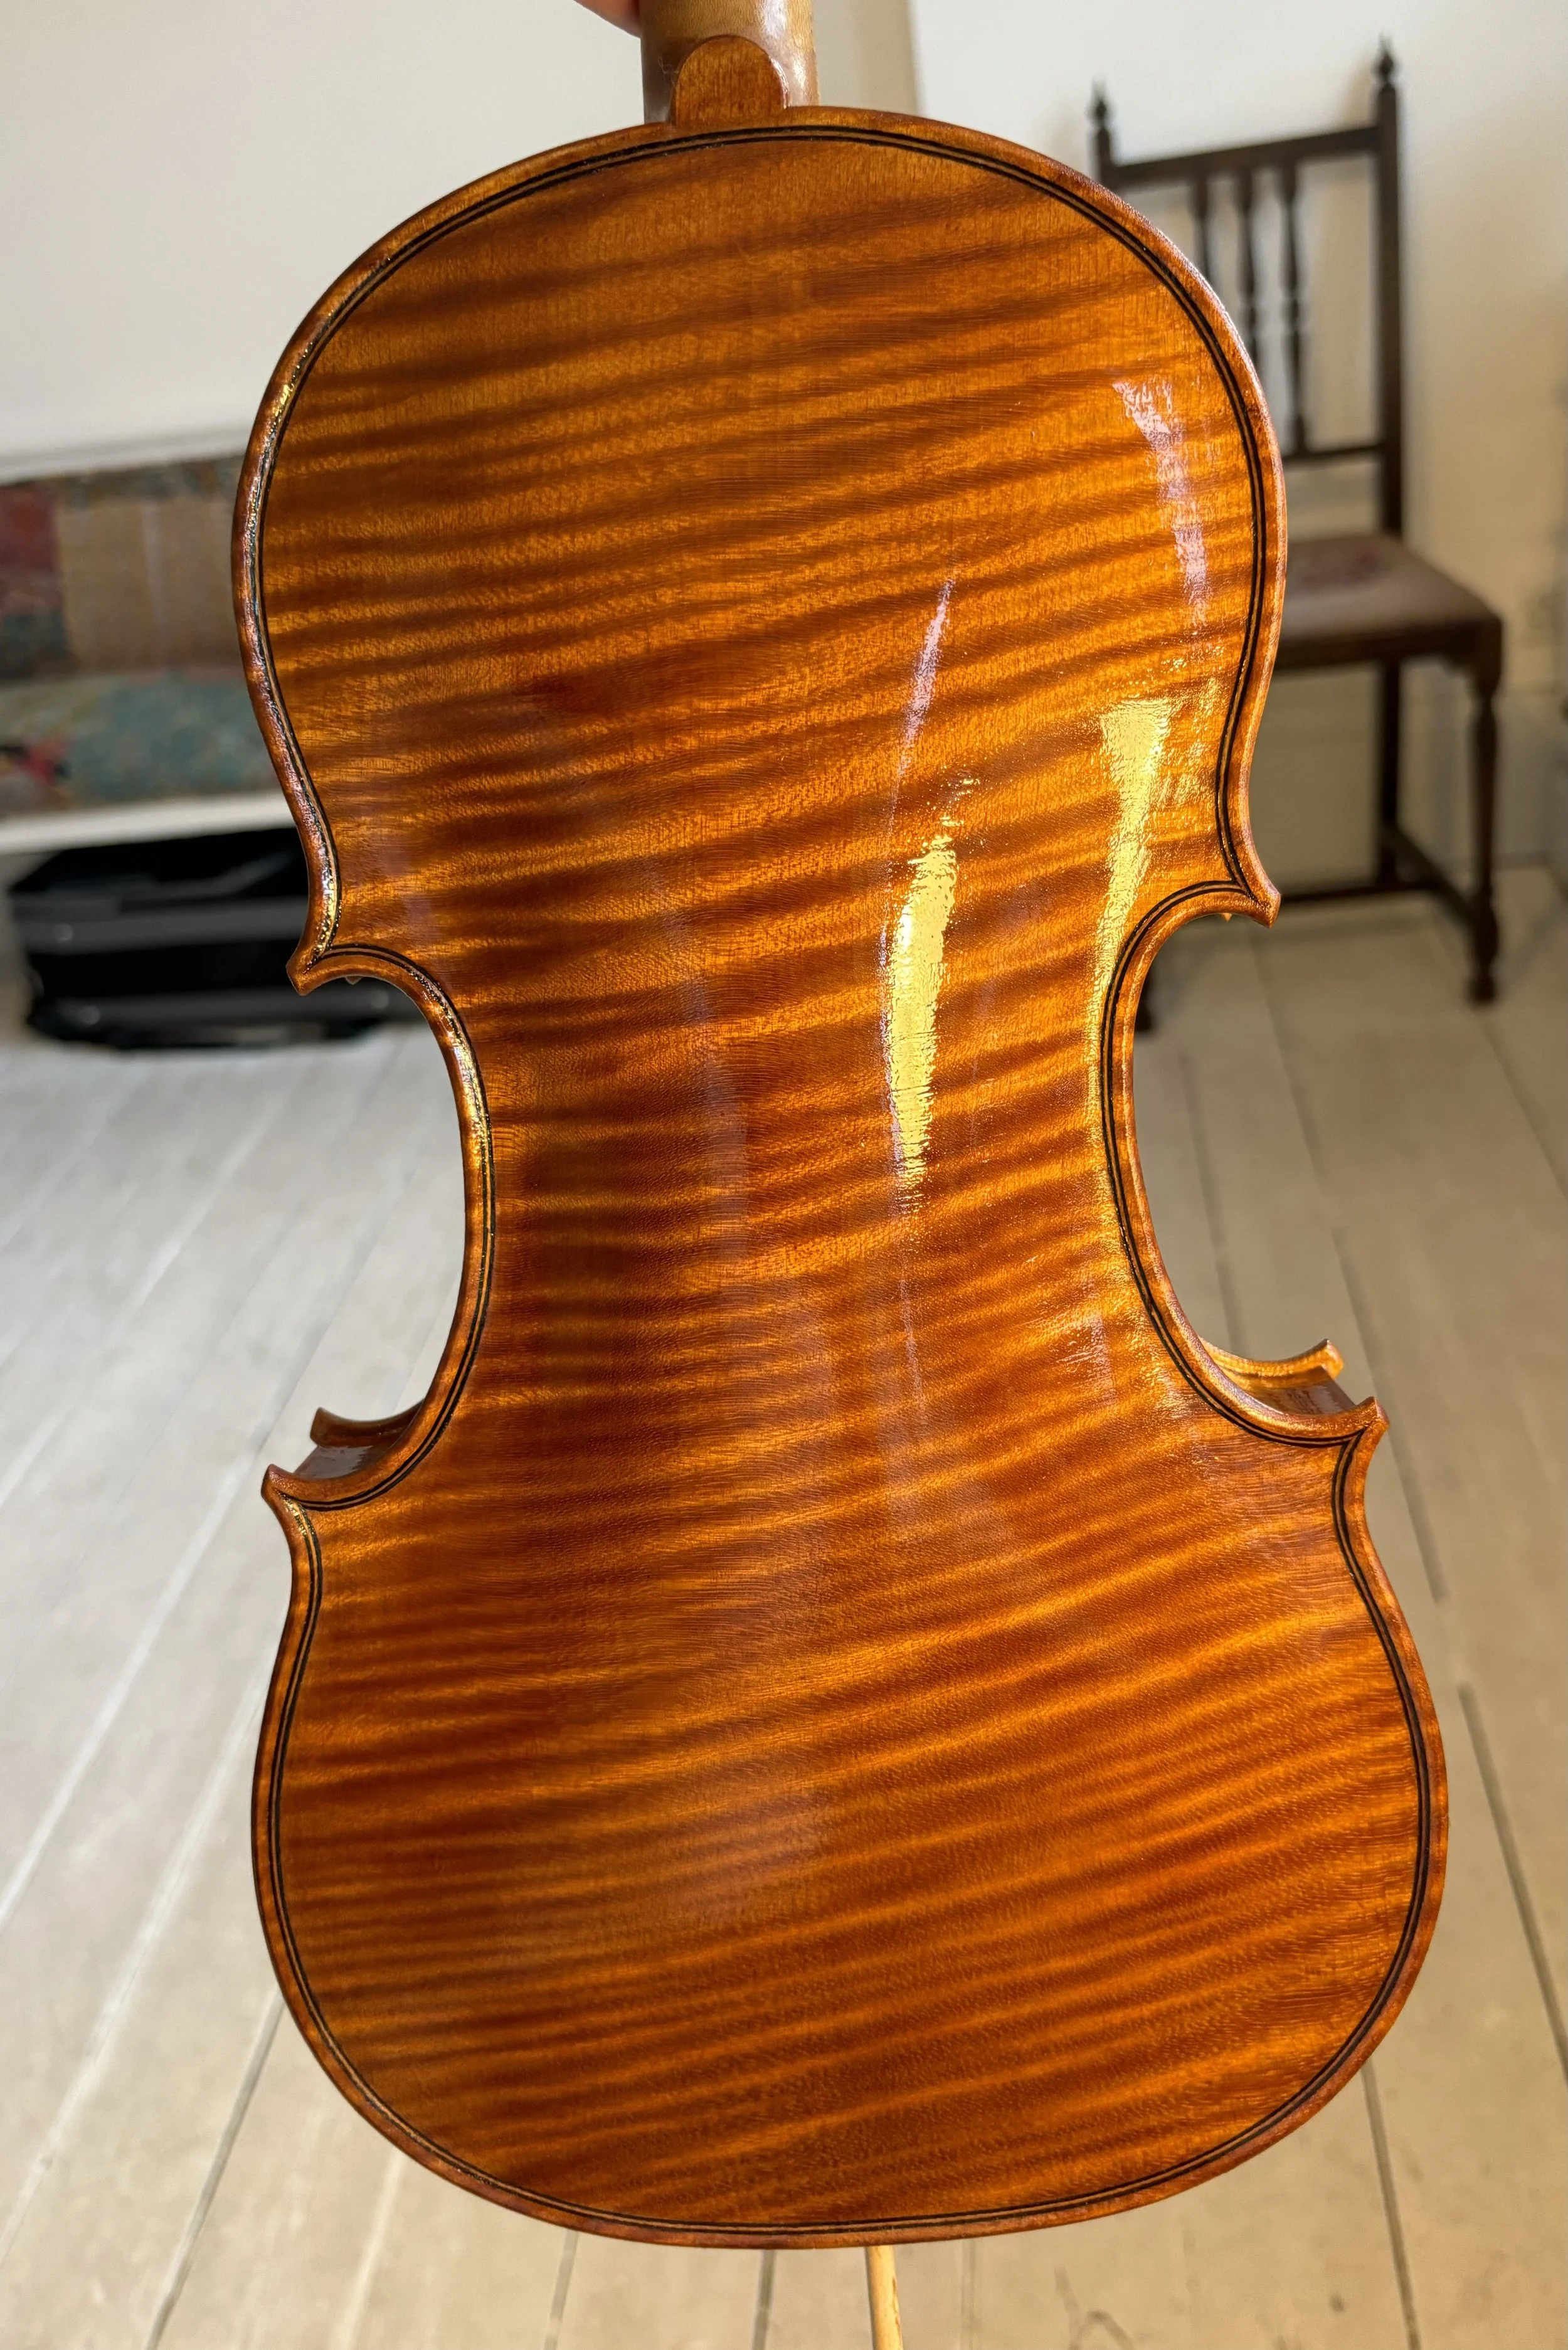
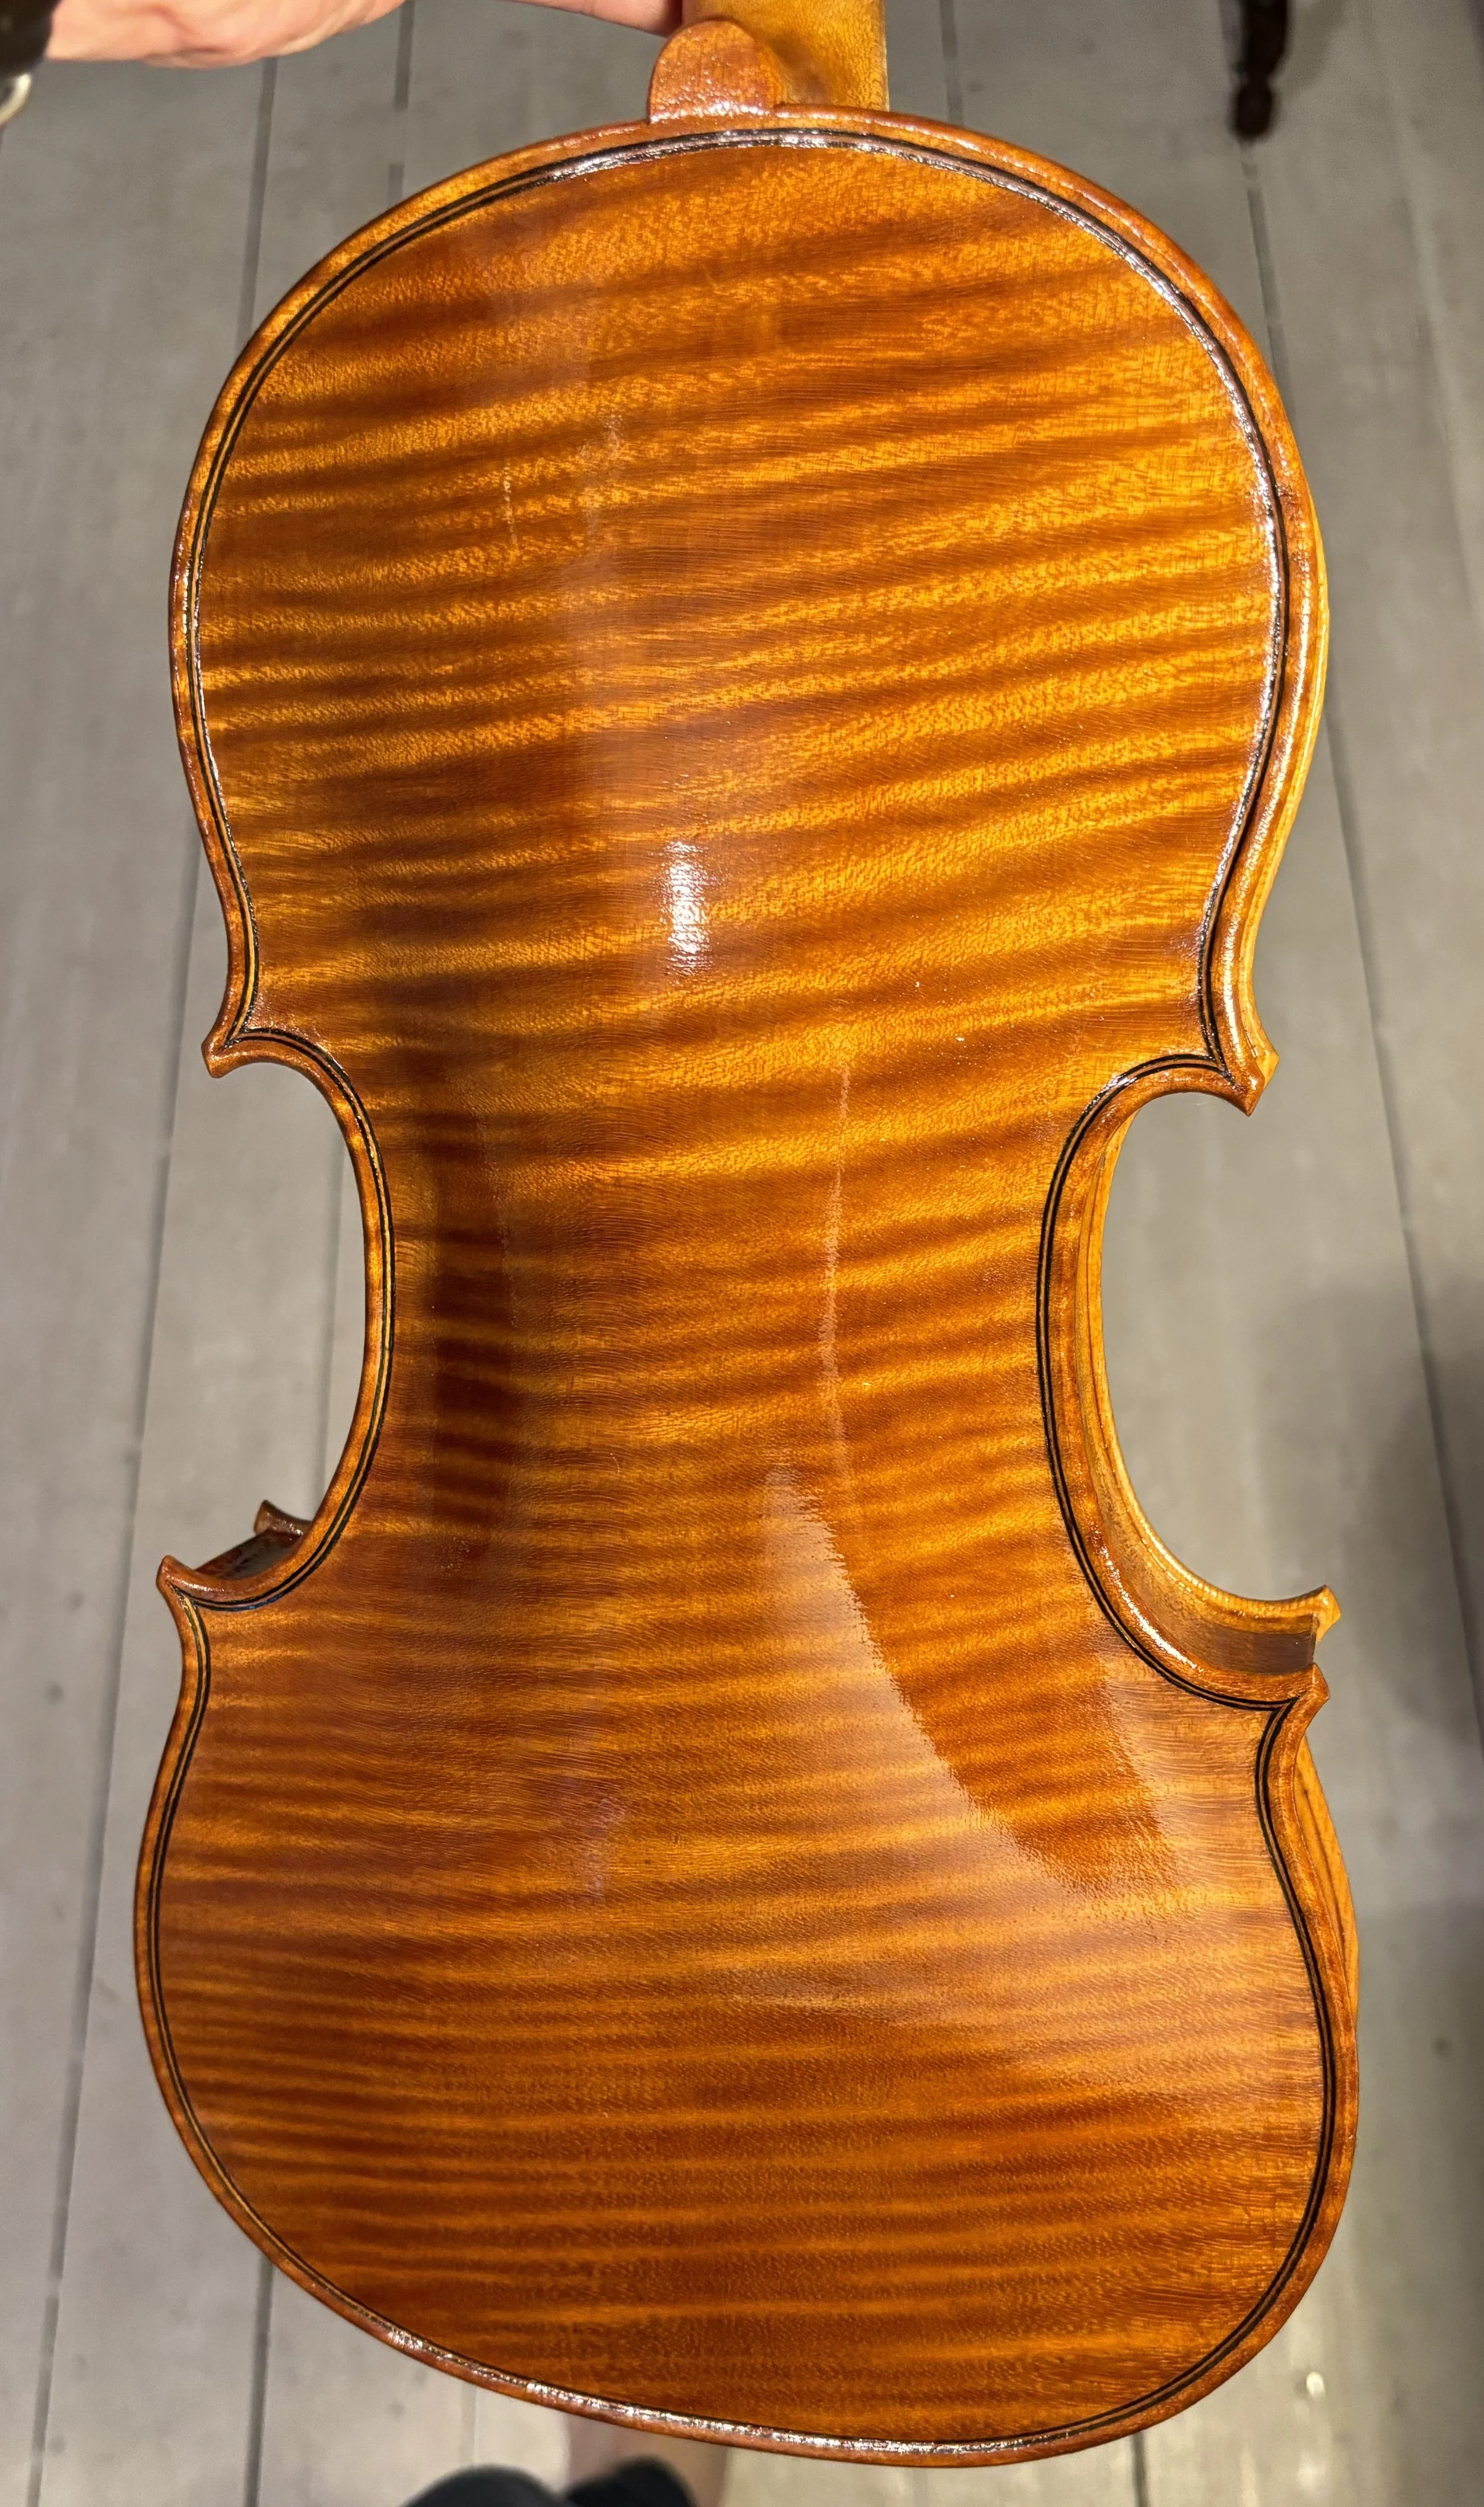
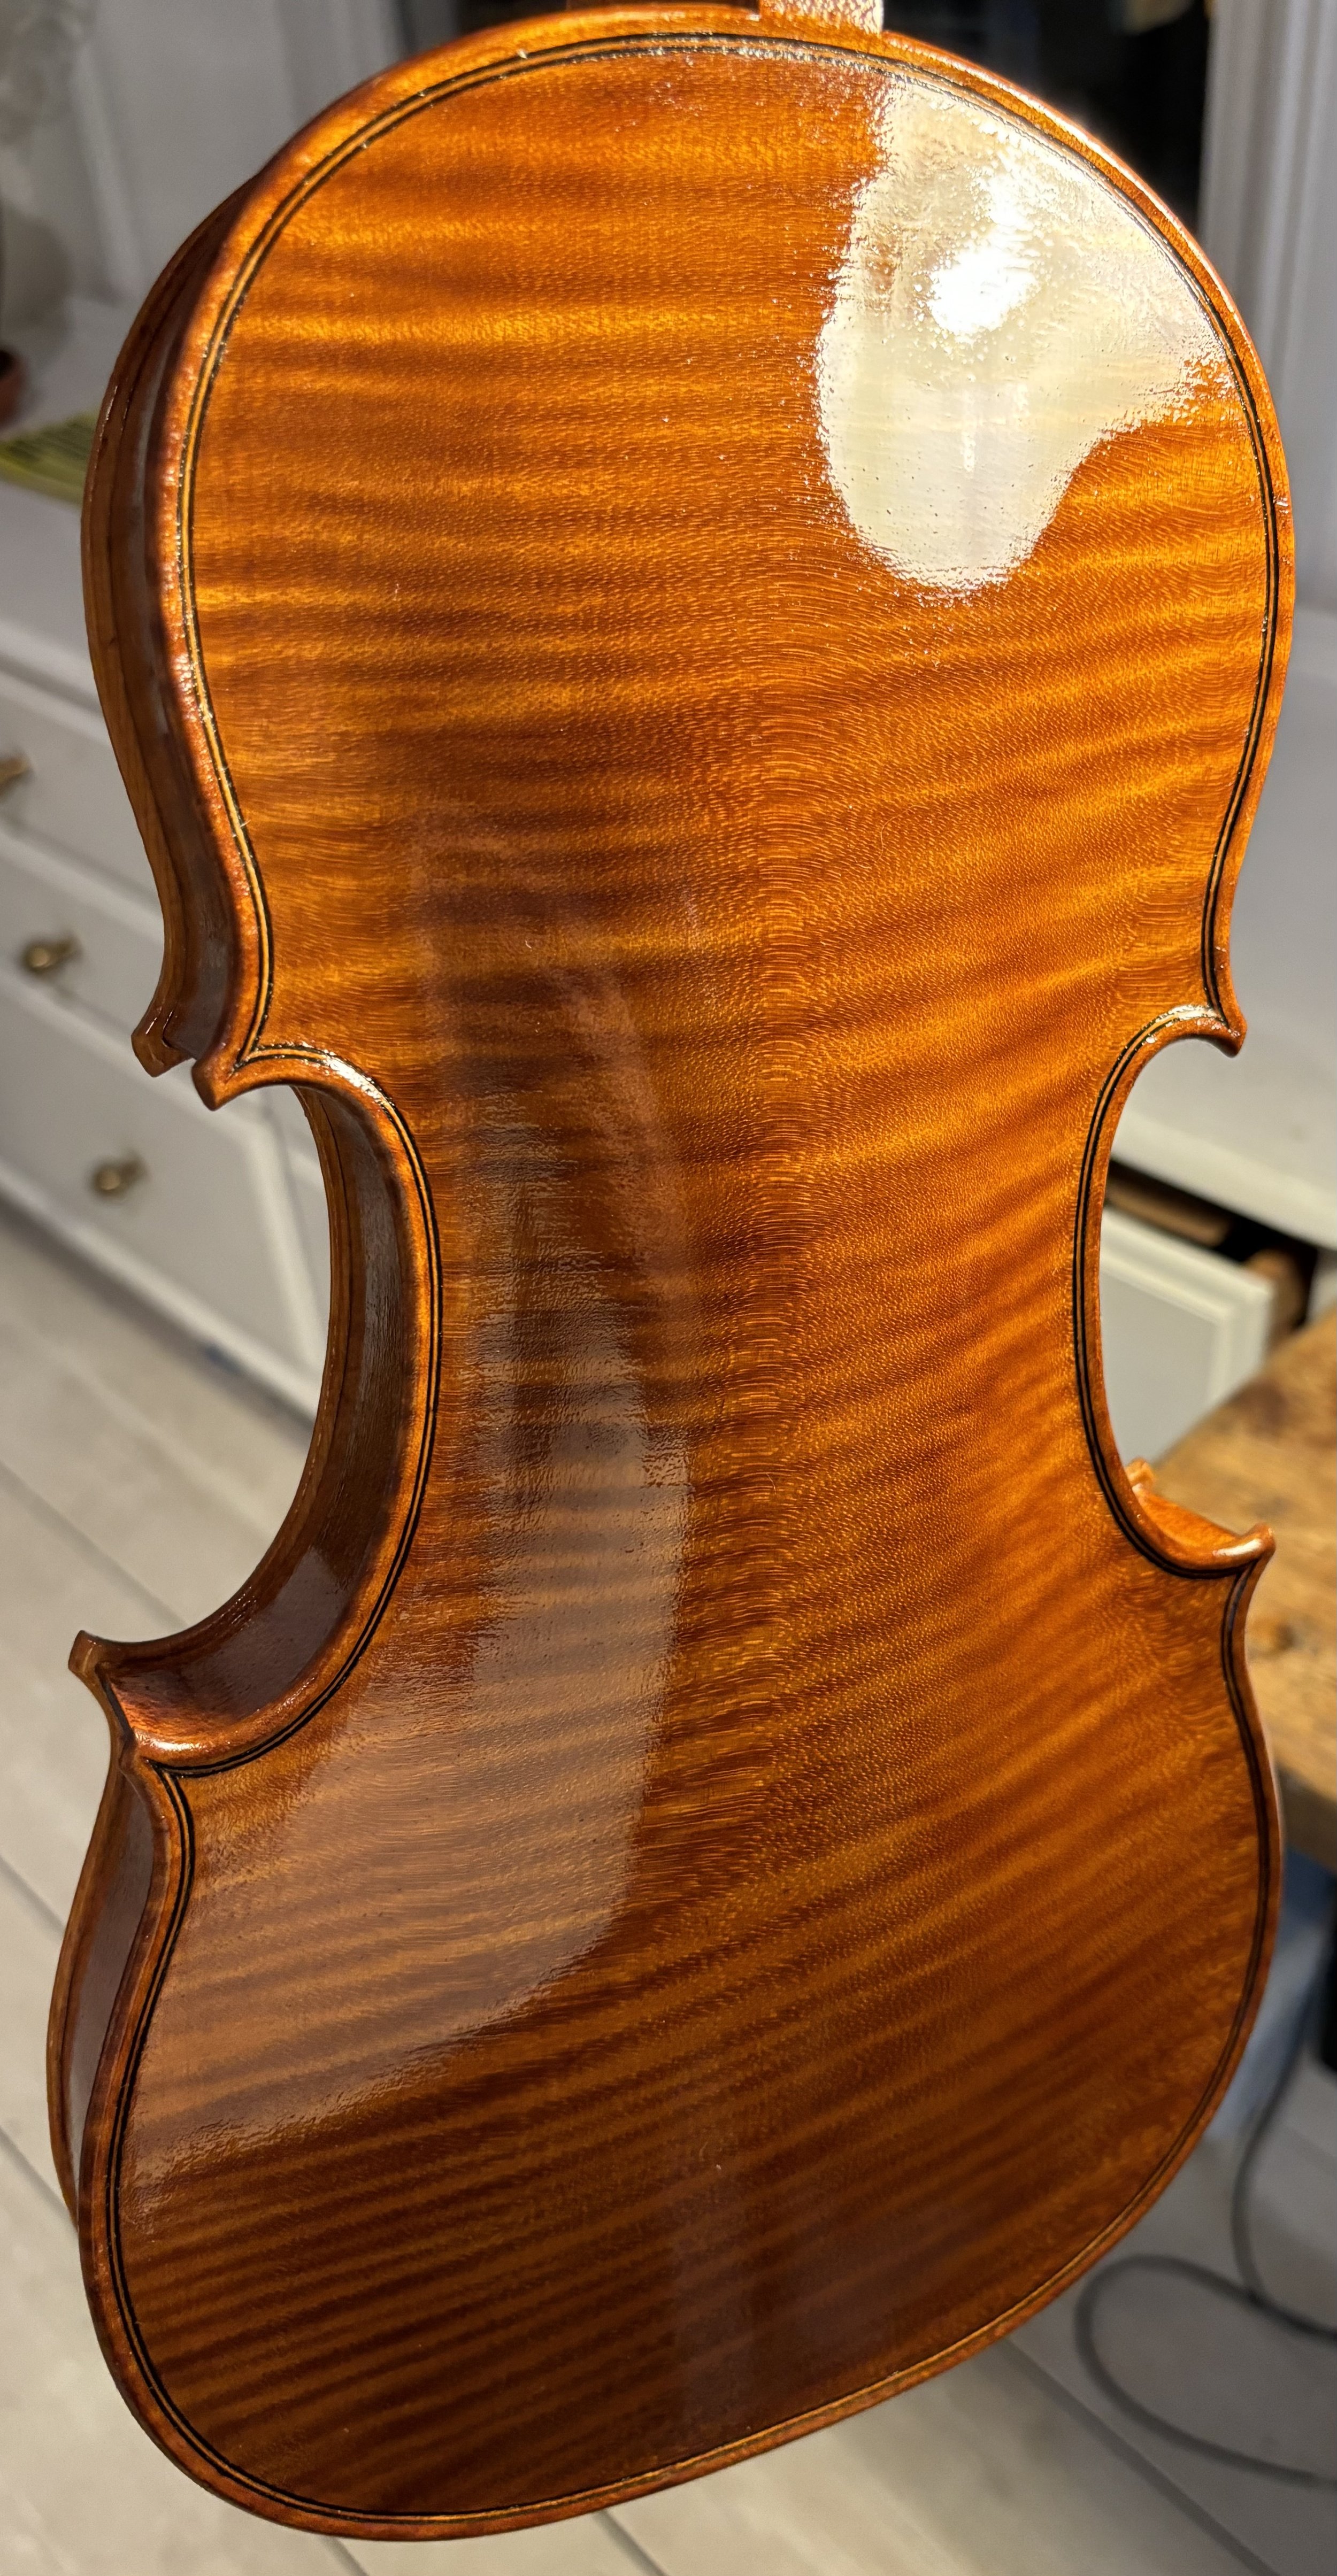
Above: “The Argyle, 2024” having a single, fine coat of colour varnish applied to it
Below: Video of “The Argyle, 2024” having its single varnish layer applied.
Finishing and Perfecting
There are various ways to finish varnishing a violin. Sometimes by adding clear layers over the top, cutting them back with a fine abrasive, or French polishing with shellacs.
The absolute best from the Ruschil workshop are finished off the brush, as simple and traditional as possible.
When the varnish is completely dry, a polish reviver by Priory Polishes is used to flatten and refine it further, followed by a light cleaner & protector by Roberson and finally two coats of Harrell’s Antique Wax for a beautiful waxy shine.
The process of varnishing a fine, handmade violin at Ruschil London is complete.